16 ORIENTATION
User’s manual
Planmeca Chairside CAD/CAM solution 75
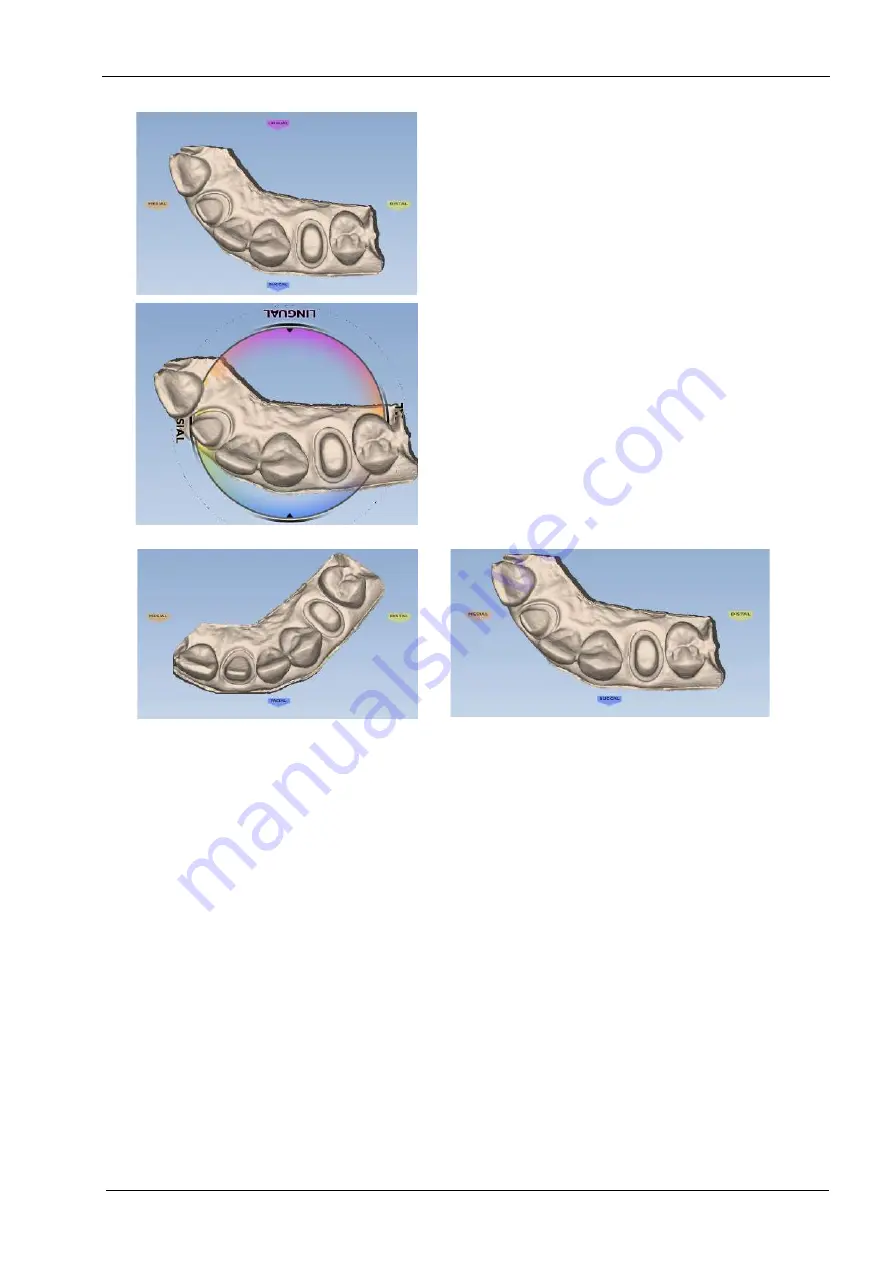
5. Click the tab for the next tooth.
The model reorients back to the original orientation. If you
click back on the previous tab, the model will shift to the
path for that tooth.
6. While on the second tab, click Orientation to designate
the orientation for the second preparation.
7. Drag the model so that the second preparation is centred.
8. Rotate the model to the correct orientation.
9. Click Orientation to accept.
Clicking on each tooth’s tab moves the model to that
tooth’s orientation.
NOTE
The model is centred on the original central point
regardless of which tooth you have selected.


