Using the Tools Menu
6-56
3.
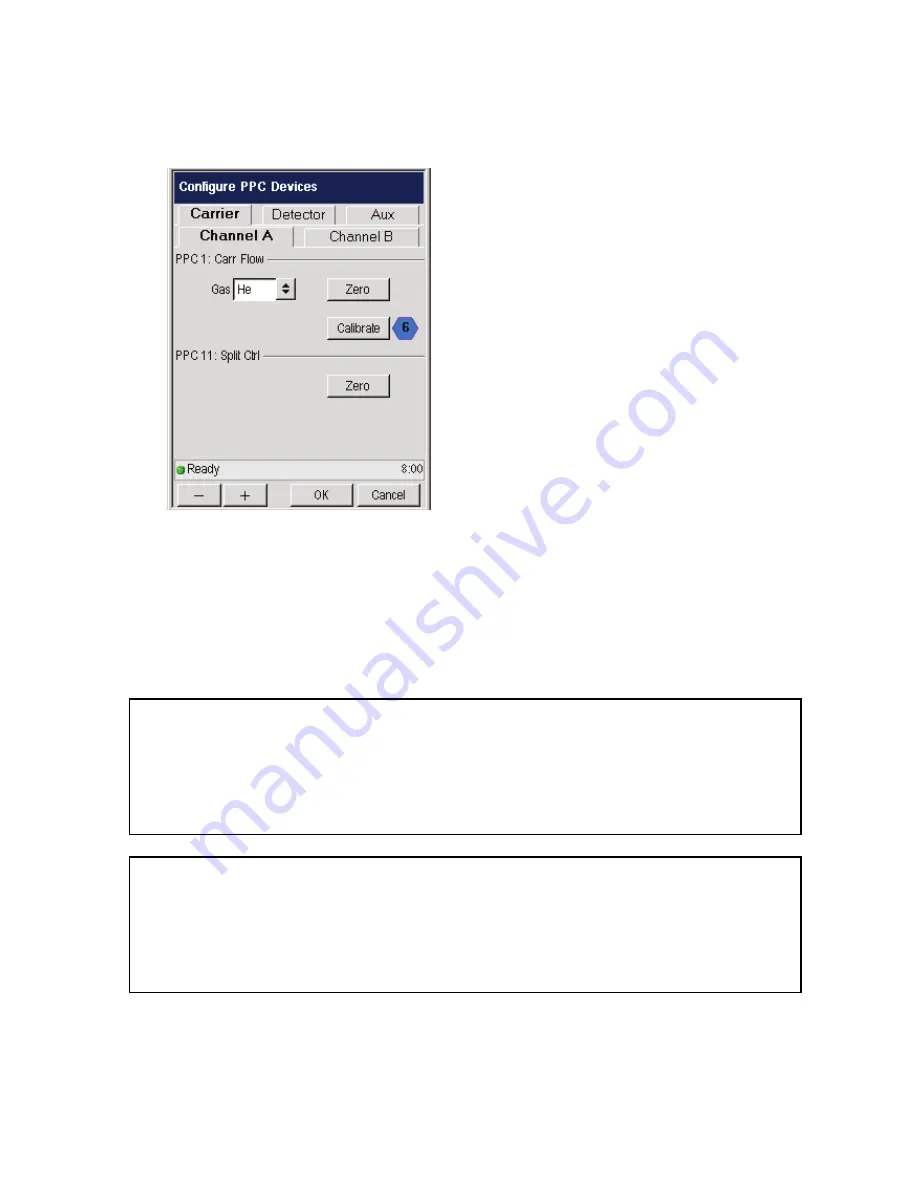
In the Calibrate screen use drop down menu to select the proper carrier gas and
use the plus minus buttons to input the other values needed.
In this example, the injector is a capillary split/splitless and the restrictor
installed is a number 6. The restrictor/frit number has been entered in the
software at the factory. Do not change this number unless you have replaced
the restrictor with a different one. The number is stamped into the restrictor.
CAUTION
If you are performing this calibration procedure and you do not
have a column connected to the detector, you must plug the detector
fitting in the oven with an Swagelok 1/8-inch cap before proceeding.
This will ensure that all the gas flows up through the detector and
not into the oven.
CAUTION
All carrier gas modules are calibrated with helium gas at the
factory. If you are using a gas other than helium, you must select
the correct gas for your application. We also recommend
recalibrating the carrier gas module.
Summary of Contents for CLARUS 600 GC
Page 1: ...CLARUS 600 680 GC User s Guide GAS CHROMATOGRAPHY ...
Page 2: ......
Page 3: ...Clarus 600 680 GC User s Guide ...
Page 10: ...viii ...
Page 11: ...Introduction 1 ...
Page 12: ...Introduction 1 2 ...
Page 23: ...Touch Screen Navigation 2 ...
Page 24: ...Touch Screen Navigation 2 2 ...
Page 73: ...Using the Active Method 3 ...
Page 74: ...Using the Active Method 3 2 ...
Page 87: ...Clarus 600 680 User s Guide 3 15 The injector information displays ...
Page 119: ...Clarus 600 680 User s Guide 3 47 Setting the Timed Events 1 Touch the Events tab ...
Page 137: ...Setting Up the Detectors 4 ...
Page 138: ...Setting Up the Detectors 4 2 ...
Page 194: ...Setting Up the Detectors 4 58 2 The FPD page is now visible ...
Page 199: ...Clarus 600 680 User s Guide 4 63 4 The FPD tab page is now displayed ...
Page 230: ...Setting Up the Detectors 4 94 NOTE When Autozero is Off the output signal is never autozeroed ...
Page 231: ...Using the Method Editor 5 ...
Page 232: ...Using the Method Editor 5 2 ...
Page 248: ...Using the Method Editor 5 18 ...
Page 249: ...Using the Tools Menu 6 ...
Page 250: ...Using the Tools Menu 6 2 ...
Page 272: ...Using the Tools Menu 6 24 PID NPD ...
Page 273: ...Clarus 600 680 GC User s Guide 6 25 FPD Output Configured ...
Page 282: ...Using the Tools Menu 6 34 PPC Configure ...
Page 329: ...Setting up a Typical Analysis 7 ...
Page 330: ...Setting up a Typical Analysis 7 2 ...
Page 333: ...Clarus 600 680 GC User s Guide 7 5 ...
Page 354: ...Setting up a Typical Analysis 7 26 ...
Page 355: ...Index ...
Page 356: ...I 2 ...
Page 361: ......


