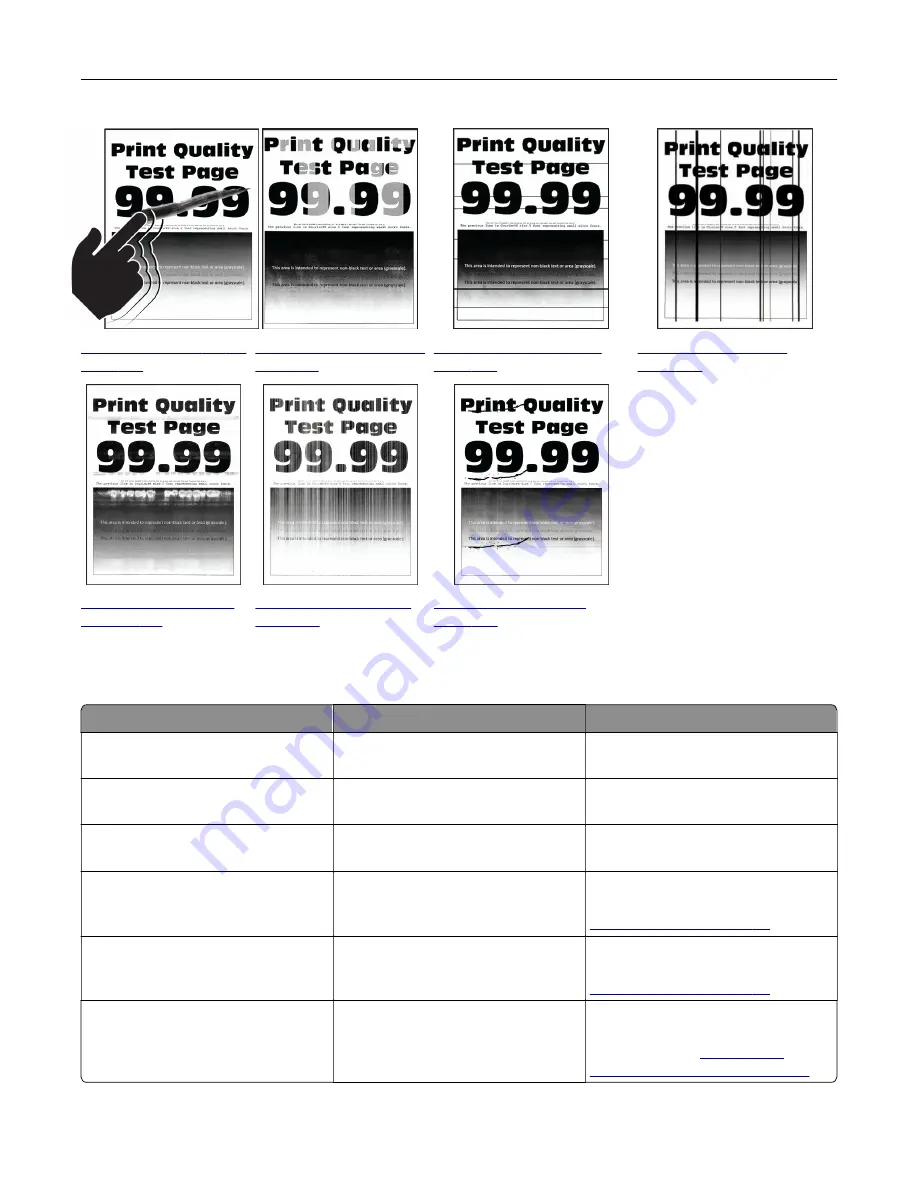
“Toner easily rubs off” on
page 277
“Uneven print density” on
page 278
“Horizontal dark lines” on
page 279
“Vertical dark lines” on
page 280
“Horizontal white lines”
on page 281
“Vertical white lines” on
page 282
“Repeating defects” on
page 284
Printer error codes
Error codes
Error message
Solution
8.01
Close all doors.
Close all doors, and then insert the
waste toner bottle.
8.03
Close door C.
Keep all doors closed unless
performing maintenance.
9.00
Printer had to restart.
Last job may be incomplete.
Touch
Continue
to clear the message
and continue printing.
11.11, 11.21, 11.31, 11.41, 11.51
Load <source/> with <type/>
<size/>.
Open the indicated tray, and then
load paper. For more information, see
11.12, 11.22, 11.32, 11.42, 11.52
Load <source/> with <type/>
<size/> <orientation/>.
Open the indicated tray, and then
load paper. For more information, see
11.91
Load multipurpose feeder
with <type/> <size/>.
Open the multipurpose feeder, and
then load paper. For more
information, see
multipurpose feeder” on page 49
Troubleshoot a problem
257
Summary of Contents for XC4342
Page 64: ...3 Remove the fax cover 4 Remove the fax bracket Set up install and configure 64 ...
Page 65: ...5 Install the fax card to the bracket Set up install and configure 65 ...
Page 70: ...4 Install the ISP into its housing Set up install and configure 70 ...
Page 71: ...5 Attach the housing to the controller board shield Set up install and configure 71 ...
Page 76: ...Set up install and configure 76 ...
Page 84: ...Set up install and configure 84 ...
Page 85: ...3 Install the wireless module into its housing Set up install and configure 85 ...
Page 86: ...4 Attach the wireless module to the controller board shield Set up install and configure 86 ...
Page 88: ...6 Attach the controller board shield Set up install and configure 88 ...
Page 205: ...2 Remove the used toner cartridge 3 Unpack the new toner cartridge Maintain the printer 205 ...
Page 206: ...4 Insert the new toner cartridge 5 Close door B Maintain the printer 206 ...
Page 207: ...Replacing the black imaging unit 1 Open door B Maintain the printer 207 ...
Page 209: ...3 Remove the toner cartridges Maintain the printer 209 ...
Page 210: ...4 Disconnect the imaging kit cable Maintain the printer 210 ...
Page 214: ...9 Insert the imaging kit Maintain the printer 214 ...
Page 216: ...Replacing the color imaging kit 1 Open door B Maintain the printer 216 ...
Page 218: ...3 Remove the toner cartridges Maintain the printer 218 ...
Page 219: ...4 Disconnect the imaging kit cable Maintain the printer 219 ...
Page 220: ...5 Remove the used imaging kit Maintain the printer 220 ...
Page 222: ...8 Insert the black imaging unit into the new imaging kit Maintain the printer 222 ...
Page 223: ...9 Insert the new imaging kit Maintain the printer 223 ...
Page 225: ...Replacing the waste toner bottle 1 Open door B Maintain the printer 225 ...
Page 238: ...2 Remove the used ADF pick roller Maintain the printer 238 ...
Page 240: ...5 Insert the new ADF separator roller until it clicks into place Maintain the printer 240 ...
Page 250: ...2 Remove the ADF pick roller Maintain the printer 250 ...
Page 252: ...5 Insert the ADF separator roller until it clicks into place Maintain the printer 252 ...


