


Menu item
Description
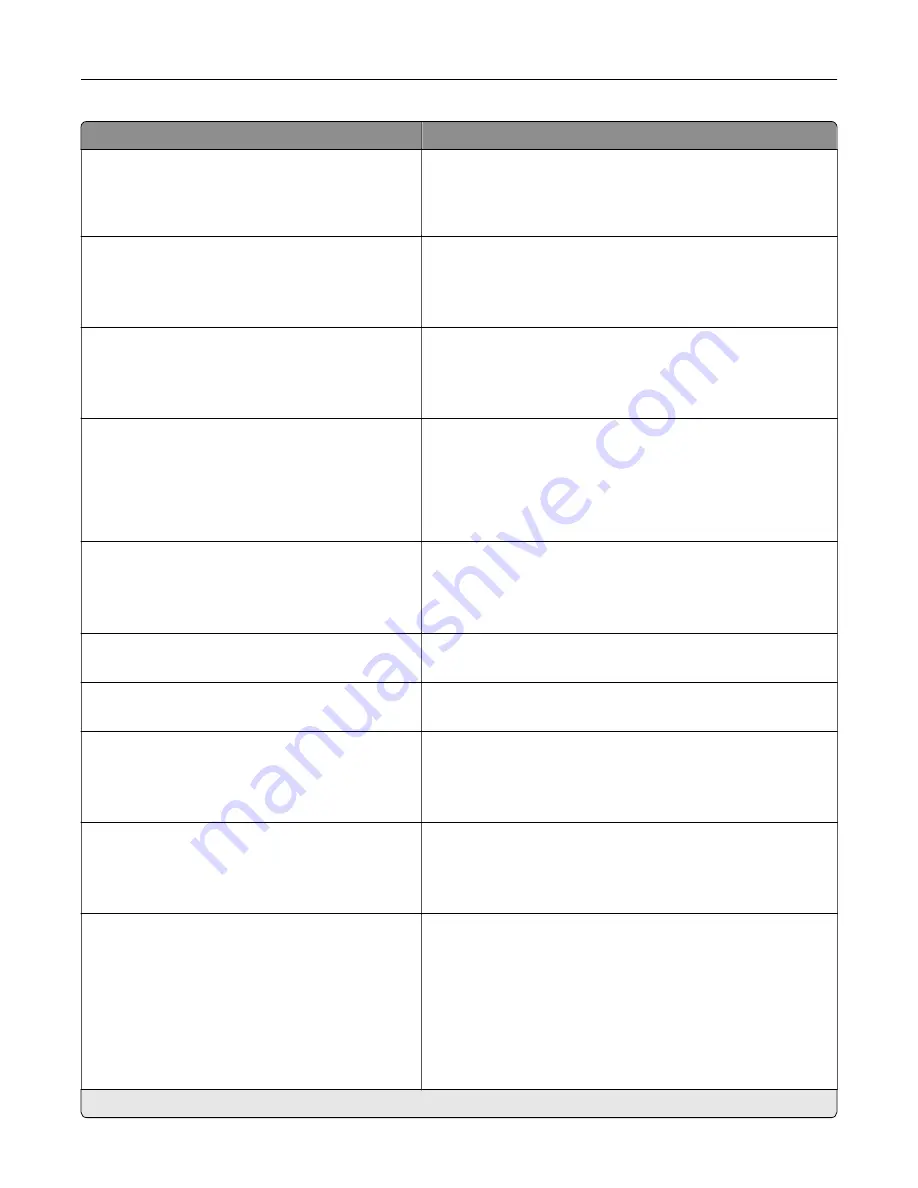
Print Configuration
Font Sharpening
0–150 (24*)
Set a text point-size value below which the high
‑
frequency
screens are used when printing font data.
For example, if the value is 24, then all fonts sized 24 points or
less use the high
‑
frequency screens.
Device Operations
Quiet Mode
Off*
On
Set the printer to operate in Quiet Mode.
Note:
Enabling this setting slows down the overall
performance of the printer.
Device Operations
Panel Menus
Off
On*
Enable access to the printer menus from the control panel.
Device Operations
Safe Mode
Off*
On
Set the printer to operate in a special mode, in which it attempts
to continue offering as much functionality as possible, despite
known issues.
For example, when set to On, and the duplex motor is
nonfunctional, the printer performs one
‑
sided printing of the
documents even if the job is two
‑
sided printing.
Device Operations
Minimum Copy Memory
80 MB*
100 MB
Set the minimum memory allocation for storing copy jobs.
Device Operations
Clear Custom Status
Erase user
‑
defined strings for the Default or Alternate custom
messages.
Device Operations
Clear all remotely
‑
installed messages
Erase messages that were remotely installed.
Device Operations
Automatically Display Error Screens
Off
On*
Show existing error messages on the display after the printer
remains inactive on the home screen for a length of time.
Device Operations
Honor orientation on fast path copy
Off*
On
Enable the printer to use the orientation setting under the Copy
menu when sending quick copy jobs.
Toner patch sensor setup
Calibration frequency preference
Disabled
Fewest color adjustments
Fewer color adjustments
Normal*
Better color accuracy
Best color accuracy
Set the printer to put down the correct amount of toner to
maintain color consistency.
Note:
An asterisk (*) next to a value indicates the factory default setting.
Use printer menus
129
Summary of Contents for XC4342
Page 64: ...3 Remove the fax cover 4 Remove the fax bracket Set up install and configure 64 ...
Page 65: ...5 Install the fax card to the bracket Set up install and configure 65 ...
Page 70: ...4 Install the ISP into its housing Set up install and configure 70 ...
Page 71: ...5 Attach the housing to the controller board shield Set up install and configure 71 ...
Page 76: ...Set up install and configure 76 ...
Page 84: ...Set up install and configure 84 ...
Page 85: ...3 Install the wireless module into its housing Set up install and configure 85 ...
Page 86: ...4 Attach the wireless module to the controller board shield Set up install and configure 86 ...
Page 88: ...6 Attach the controller board shield Set up install and configure 88 ...
Page 205: ...2 Remove the used toner cartridge 3 Unpack the new toner cartridge Maintain the printer 205 ...
Page 206: ...4 Insert the new toner cartridge 5 Close door B Maintain the printer 206 ...
Page 207: ...Replacing the black imaging unit 1 Open door B Maintain the printer 207 ...
Page 209: ...3 Remove the toner cartridges Maintain the printer 209 ...
Page 210: ...4 Disconnect the imaging kit cable Maintain the printer 210 ...
Page 214: ...9 Insert the imaging kit Maintain the printer 214 ...
Page 216: ...Replacing the color imaging kit 1 Open door B Maintain the printer 216 ...
Page 218: ...3 Remove the toner cartridges Maintain the printer 218 ...
Page 219: ...4 Disconnect the imaging kit cable Maintain the printer 219 ...
Page 220: ...5 Remove the used imaging kit Maintain the printer 220 ...
Page 222: ...8 Insert the black imaging unit into the new imaging kit Maintain the printer 222 ...
Page 223: ...9 Insert the new imaging kit Maintain the printer 223 ...
Page 225: ...Replacing the waste toner bottle 1 Open door B Maintain the printer 225 ...
Page 238: ...2 Remove the used ADF pick roller Maintain the printer 238 ...
Page 240: ...5 Insert the new ADF separator roller until it clicks into place Maintain the printer 240 ...
Page 250: ...2 Remove the ADF pick roller Maintain the printer 250 ...
Page 252: ...5 Insert the ADF separator roller until it clicks into place Maintain the printer 252 ...


