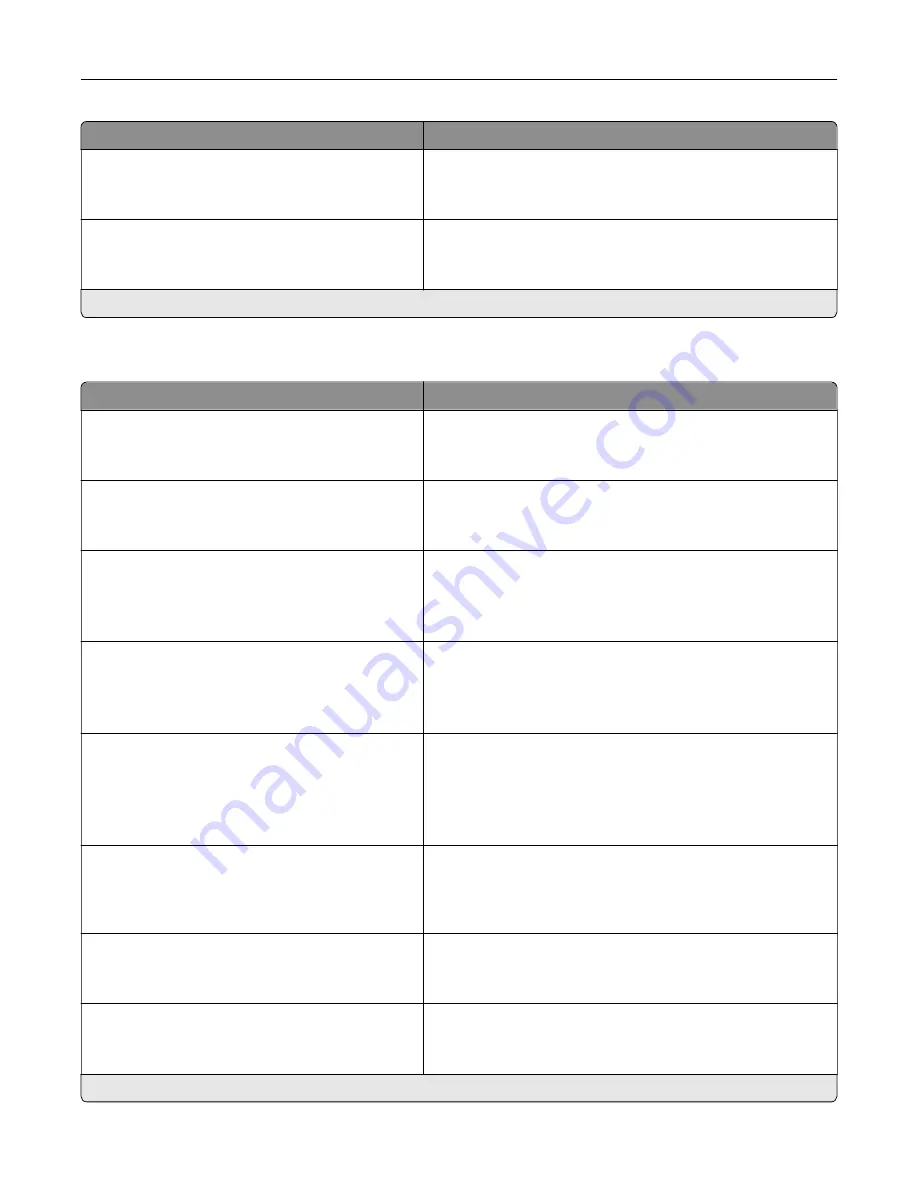
Menu item
Description
Authentication Type
None*
Standard Authentication
Set the authentication type when accessing the VNC client
server.
VNC Password
Specify the password to connect to the VNC client server.
Note:
This menu item appears only if Authentication Type is
set to Standard Authentication.
Note:
An asterisk (*) next to a value indicates the factory default setting.
Notifications
Menu item
Description
Error Lighting
Off
On*
Set the indicator light to come on when a printer error occurs.
ADF Loaded Beep
Off
On*
Enable a sound when loading paper into the ADF.
Alarm Control
Off
Single*
Continuous
Set the number of times that the alarm sounds when the printer
requires user intervention.
Supplies
Show Supply Estimates
Show estimates*
Do not show estimates
Show the estimated status of the supplies.
Supplies
Cartridge Alarm
Off
Single*
Continuous
Set the number of times that the alarm sounds when the
cartridge is low.
Supplies
Custom Supply Notifications
Configure notification settings when the printer requires user
intervention.
Note:
This menu item appears only in the Embedded Web
Server.
E
‑
mail Alerts Setup
E
‑
mail Setup
Primary SMTP Gateway
Type the IP address or host name of the primary SMTP server
for sending e-mail.
E
‑
mail Alerts Setup
E
‑
mail Setup
Primary SMTP Gateway Port (25*)
Enter the port number of the primary SMTP server.
Note:
An asterisk (*) next to a value indicates the factory default setting.
Use printer menus
120
Summary of Contents for XC4342
Page 64: ...3 Remove the fax cover 4 Remove the fax bracket Set up install and configure 64 ...
Page 65: ...5 Install the fax card to the bracket Set up install and configure 65 ...
Page 70: ...4 Install the ISP into its housing Set up install and configure 70 ...
Page 71: ...5 Attach the housing to the controller board shield Set up install and configure 71 ...
Page 76: ...Set up install and configure 76 ...
Page 84: ...Set up install and configure 84 ...
Page 85: ...3 Install the wireless module into its housing Set up install and configure 85 ...
Page 86: ...4 Attach the wireless module to the controller board shield Set up install and configure 86 ...
Page 88: ...6 Attach the controller board shield Set up install and configure 88 ...
Page 205: ...2 Remove the used toner cartridge 3 Unpack the new toner cartridge Maintain the printer 205 ...
Page 206: ...4 Insert the new toner cartridge 5 Close door B Maintain the printer 206 ...
Page 207: ...Replacing the black imaging unit 1 Open door B Maintain the printer 207 ...
Page 209: ...3 Remove the toner cartridges Maintain the printer 209 ...
Page 210: ...4 Disconnect the imaging kit cable Maintain the printer 210 ...
Page 214: ...9 Insert the imaging kit Maintain the printer 214 ...
Page 216: ...Replacing the color imaging kit 1 Open door B Maintain the printer 216 ...
Page 218: ...3 Remove the toner cartridges Maintain the printer 218 ...
Page 219: ...4 Disconnect the imaging kit cable Maintain the printer 219 ...
Page 220: ...5 Remove the used imaging kit Maintain the printer 220 ...
Page 222: ...8 Insert the black imaging unit into the new imaging kit Maintain the printer 222 ...
Page 223: ...9 Insert the new imaging kit Maintain the printer 223 ...
Page 225: ...Replacing the waste toner bottle 1 Open door B Maintain the printer 225 ...
Page 238: ...2 Remove the used ADF pick roller Maintain the printer 238 ...
Page 240: ...5 Insert the new ADF separator roller until it clicks into place Maintain the printer 240 ...
Page 250: ...2 Remove the ADF pick roller Maintain the printer 250 ...
Page 252: ...5 Insert the ADF separator roller until it clicks into place Maintain the printer 252 ...


