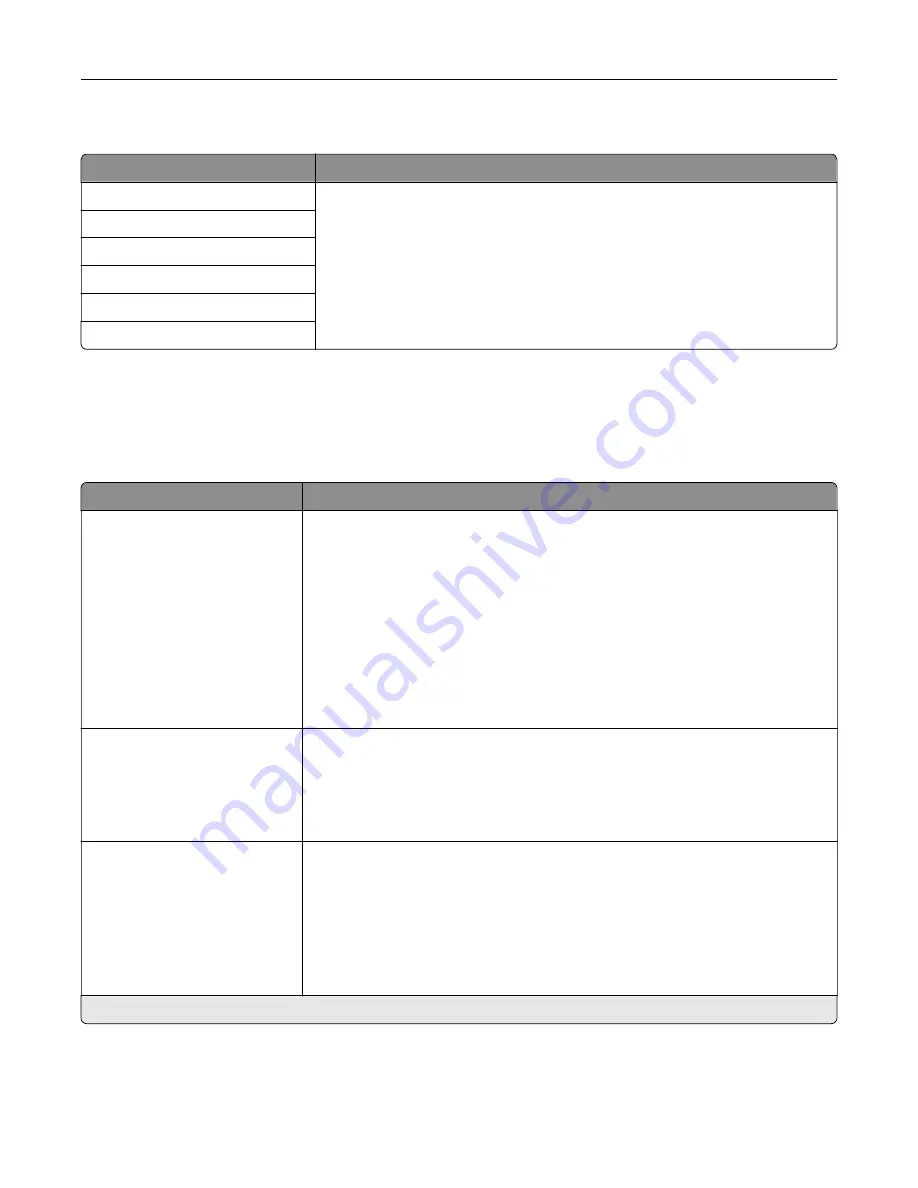
Web Link Setup
Menu item
Description
Server
Specify the credentials of the server that is hosting the images that are included
in the e-mail.
Login
Password
Path
File Name
Web Link
FTP
FTP Defaults
Menu item
Description
Format
JPEG (.jpg)
PDF (.pdf)*
TIFF (.tif)
XPS (.xps)
TXT (.txt)
RTF (.rtf)
DOCX (.docx)
XLSX (.xlsx)
CSV (.csv)
Specify the file format for the scanned image.
Global OCR Settings
Recognized Languages
Auto Rotate (Off*)
Despeckle (Off*)
Auto Contrast Enhance (Off*)
Configure the settings for optical character recognition (OCR).
Note:
This menu item appears only if you have purchased and installed an OCR
solution.
PDF Settings
PDF Version (1.5*)
Archival Version (A
‑
1a*)
Highly Compressed (Off*)
Secure (Off*)
Searchable (Off*)
Archival (PDF/A) (Off*)
Configure the PDF settings for the scanned image.
Notes:
•
Archival Version and Archival (PDF/A) are supported only when PDF
Version is set to 1.4.
•
Highly Compressed appears only when a hard disk or an intelligent storage
drive (ISD) is installed.
Note:
An asterisk (*) next to a value indicates the factory default setting.
Use printer menus
168
Summary of Contents for XC4342
Page 64: ...3 Remove the fax cover 4 Remove the fax bracket Set up install and configure 64 ...
Page 65: ...5 Install the fax card to the bracket Set up install and configure 65 ...
Page 70: ...4 Install the ISP into its housing Set up install and configure 70 ...
Page 71: ...5 Attach the housing to the controller board shield Set up install and configure 71 ...
Page 76: ...Set up install and configure 76 ...
Page 84: ...Set up install and configure 84 ...
Page 85: ...3 Install the wireless module into its housing Set up install and configure 85 ...
Page 86: ...4 Attach the wireless module to the controller board shield Set up install and configure 86 ...
Page 88: ...6 Attach the controller board shield Set up install and configure 88 ...
Page 205: ...2 Remove the used toner cartridge 3 Unpack the new toner cartridge Maintain the printer 205 ...
Page 206: ...4 Insert the new toner cartridge 5 Close door B Maintain the printer 206 ...
Page 207: ...Replacing the black imaging unit 1 Open door B Maintain the printer 207 ...
Page 209: ...3 Remove the toner cartridges Maintain the printer 209 ...
Page 210: ...4 Disconnect the imaging kit cable Maintain the printer 210 ...
Page 214: ...9 Insert the imaging kit Maintain the printer 214 ...
Page 216: ...Replacing the color imaging kit 1 Open door B Maintain the printer 216 ...
Page 218: ...3 Remove the toner cartridges Maintain the printer 218 ...
Page 219: ...4 Disconnect the imaging kit cable Maintain the printer 219 ...
Page 220: ...5 Remove the used imaging kit Maintain the printer 220 ...
Page 222: ...8 Insert the black imaging unit into the new imaging kit Maintain the printer 222 ...
Page 223: ...9 Insert the new imaging kit Maintain the printer 223 ...
Page 225: ...Replacing the waste toner bottle 1 Open door B Maintain the printer 225 ...
Page 238: ...2 Remove the used ADF pick roller Maintain the printer 238 ...
Page 240: ...5 Insert the new ADF separator roller until it clicks into place Maintain the printer 240 ...
Page 250: ...2 Remove the ADF pick roller Maintain the printer 250 ...
Page 252: ...5 Insert the ADF separator roller until it clicks into place Maintain the printer 252 ...


