Installation Instructions
9G9002 – 2011-08-15
1-11
Configuring Site-Specific Information
Important
To modify the configuration settings for several areas in this section, you must be logged on to the service tool via
Secure Link.
[1]
Log on to your Secure Link account.
[2]
Make sure that the IP address in the Secure Link window matches the service portal:
192.168.0.1
.
[3]
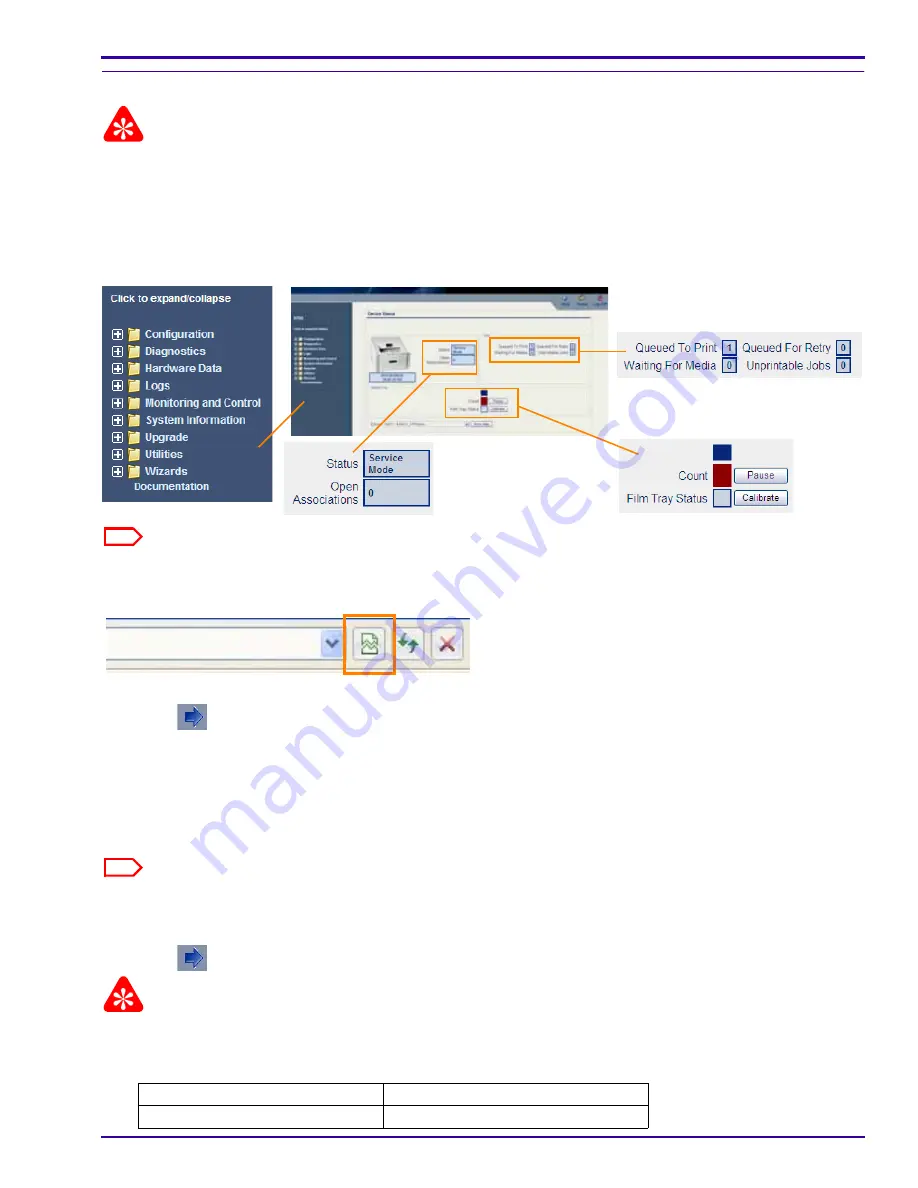
Launch the Web Service Portal Software (Web Portal).
The main screen for the service tool displays.
Note
If you are using INTERNET EXPLORER 8, set the browser window to Compatibility View: Click the Compatibility
View toolbar button. This corrects some potential viewing issues with IE8. If the icon is not on the toolbar, select
Tools > Compatibility View
from the browser menu.
[4]
Select
Wizards > Installation Assistant
.
[5]
Click
at the bottom of the screen. The Network Configuration screen appears.
[6]
Enter:
• Host Name
• IP Address
• Subnet Mask
• Default Gateway
Note
This information should have been gathered on the Pre-installation Manual. If you need help, see the network
administrator.
[7]
Click
Save
.
[8]
Click
. The Clock Configuration screen appears.
Important
The system clock is set before the laser imager is shipped to you. If the time zone is not correct, change it. When you
change the time zone, the time and date display correctly.
[9]
Are the time zone, date, and time correct?
Yes
No
Advance to Step
11
.
Continue with the next step.


