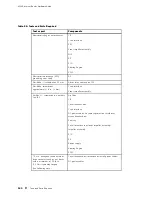


M160 Internet Router Hardware Guide
3.
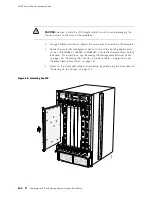
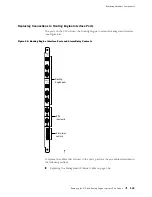
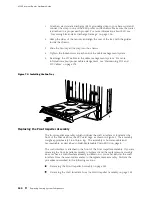
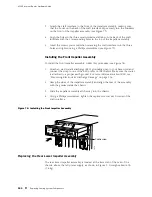
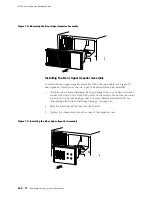
Attach the craft interface to the front of the impeller assembly, making sure
that the hooks on the back of the craft interface clip securely into the windows
on the front of the impeller assembly (see Figure 73).
4.
Align the holes in the three semicircular metal tabs on the back of the craft
interface with the corresponding holes in the top of the impeller assembly.
5.
Insert the screws you saved when removing the craft interface into the three
holes and tighten using a Phillips screwdriver (see Figure 72).
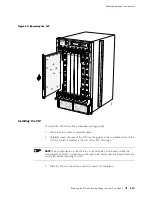
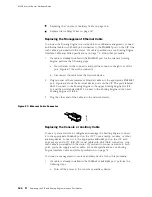
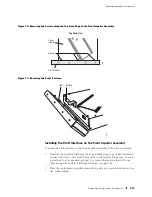
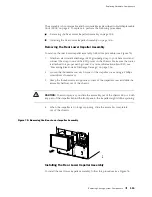
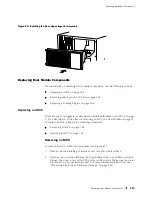
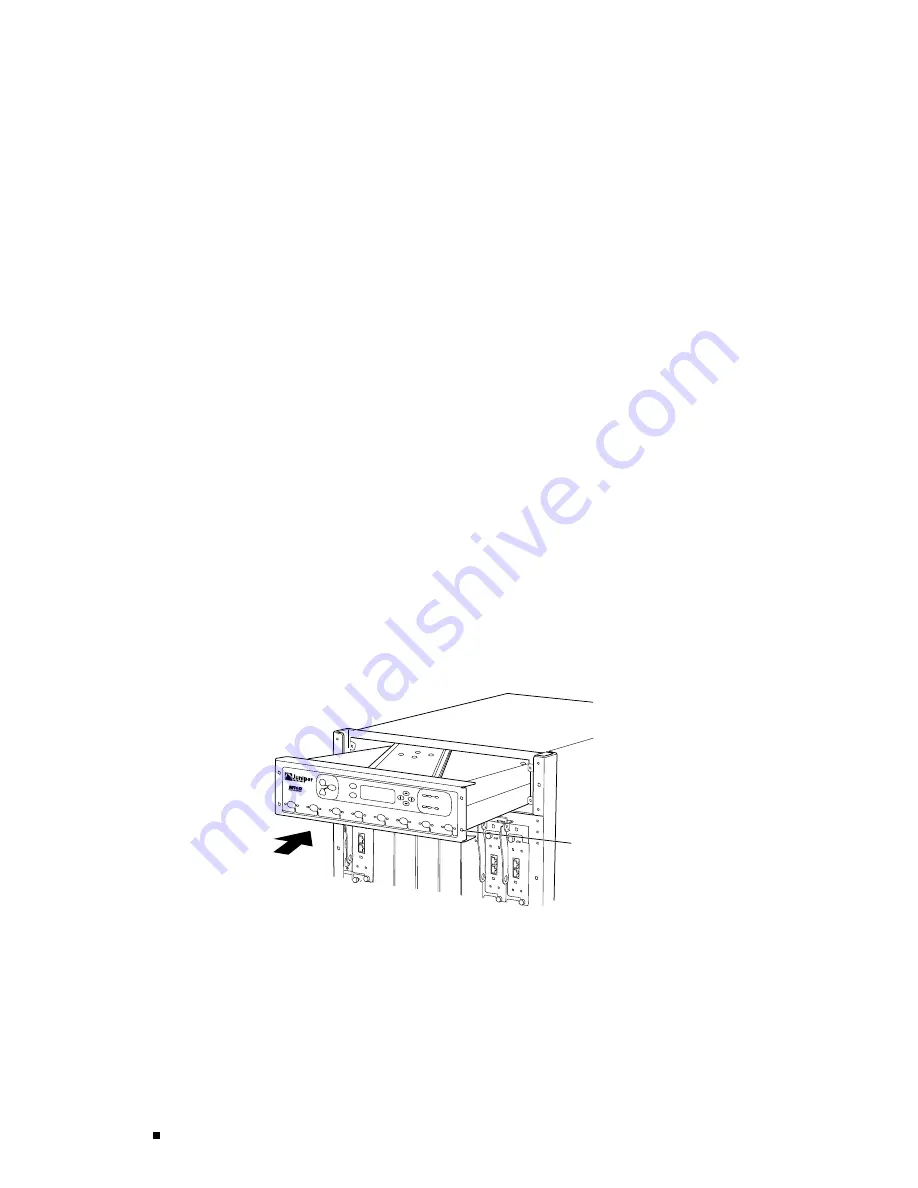
Installing the Front Impeller Assembly
To install the front impeller assembly, follow this procedure (see Figure 74):
1.
Attach an electrostatic discharge (ESD) grounding strap to your bare wrist and
connect the strap to one of the ESD points on the chassis. Make sure the router
is attached to a proper earth ground. For more information about ESD, see
“Preventing Electrostatic Discharge Damage” on page 226.
2.
Grasp the sides of the impeller assembly and align the rear of the assembly
with the guides inside the chassis.
3.
Slide the impeller assembly all the way into the chassis.
4.
Using a Phillips screwdriver, tighten the captive screw at each corner of the
craft interface.
Figure 74: Installing the Front Impeller Assembly
1216
R
Captive screw
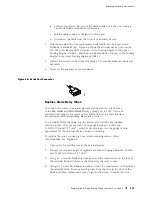
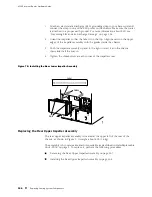
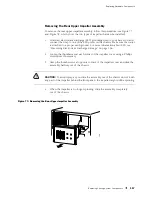
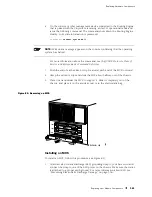
Replacing the Rear Lower Impeller Assembly
The rear lower impeller assembly is located at the lower left of the rear of the
chassis, above the left power supply, as shown in Figure 2. It weighs about 4 lb
(1.8 kg).
154
Replacing Cooling System Components
Summary of Contents for Internet Router M160
Page 12: ...M160 Internet Router Hardware Guide xii Table of Contents ...
Page 16: ...M160 Internet Router Hardware Guide xvi List of Figures ...
Page 18: ...M160 Internet Router Hardware Guide xviii List of Tables ...
Page 24: ...M160 Internet Router Hardware Guide xxiv Requesting Support ...
Page 26: ...2 Product Overview ...
Page 30: ...M160 Internet Router Hardware Guide 6 Safety Requirements Warnings and Guidelines ...
Page 66: ...M160 Internet Router Hardware Guide 42 Cable Management System ...
Page 80: ...M160 Internet Router Hardware Guide 56 Routing Engine Architecture ...
Page 82: ...58 Initial Installation ...
Page 104: ...M160 Internet Router Hardware Guide 80 Unpacking the Router ...
Page 148: ...M160 Internet Router Hardware Guide 124 Configuring the JUNOS Internet Software ...
Page 150: ...126 Hardware Maintenance Replacement and Troubleshooting Procedures ...
Page 242: ...M160 Internet Router Hardware Guide 218 Troubleshooting the Power System ...
Page 244: ...220 Appendixes ...
Page 292: ...M160 Internet Router Hardware Guide 268 Packing Components for Shipment ...
Page 301: ...Part 5 Index Index 277 ...
Page 302: ...278 Index ...


