85
Define
Database image
§
Select a DBImage. Set the width to '20000' and the hight to '30000' (Right-click => 'position'), as this will give the 2x3
ratio for pictures. Make sure to check Stretch to ensure the picture won't fill more then the area assigned to it, and check
'MaintainAspectRatio' to ensure it get stretched out of proportions.
§
Set the 'Datafield' to 'Photo'.
Multiple database texts inline
§
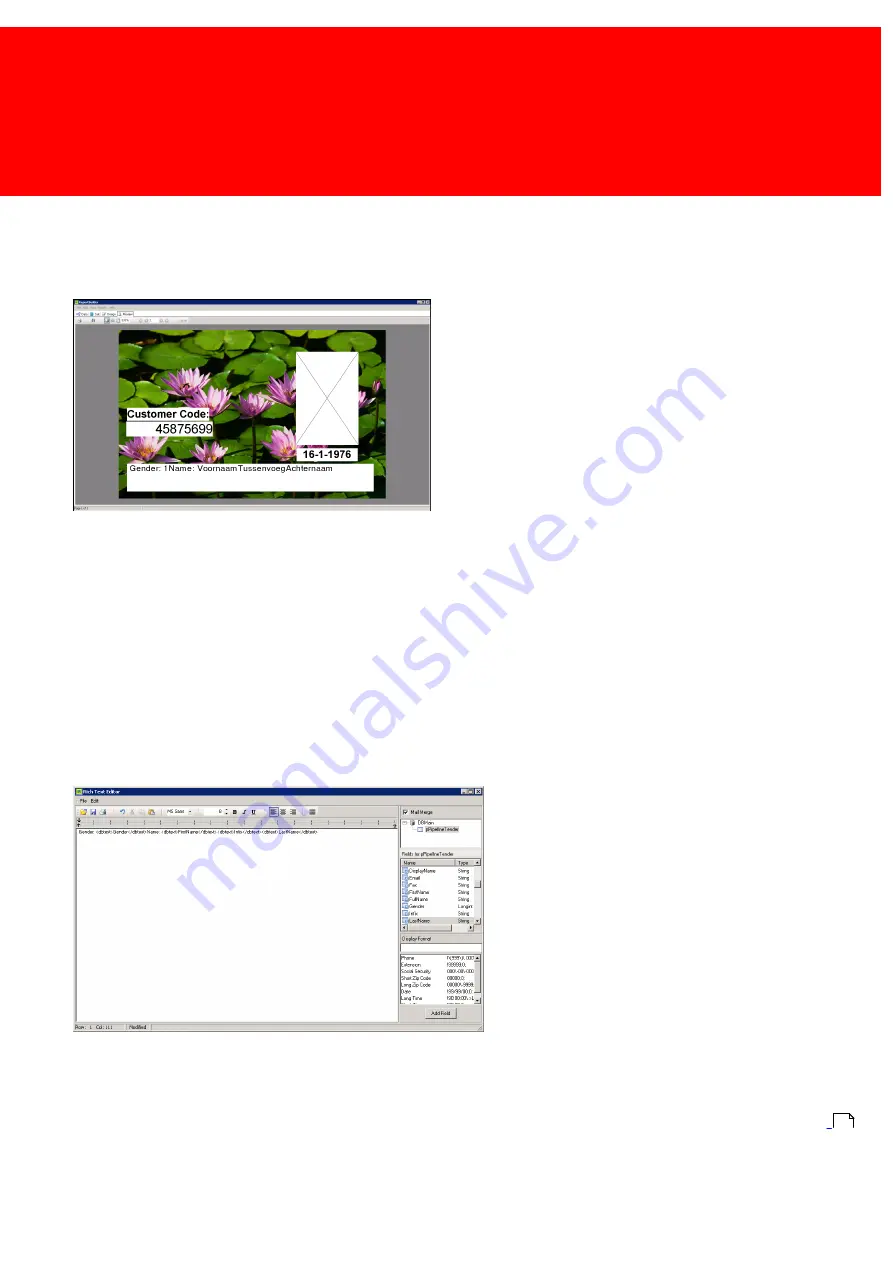
When displaying more then one dynamic DB object neatly next to each other on the same height there will be a problem,
it is unknown what the width of each object will be and if they will overlap. For this issue there is a trick.
§
Select a RichText object (so, not a DBRichText object), right-click it and click 'Edit'.
§
The Rich Text Editor Window will open.
§
In the top left, the Mail Merge checkbox can be found, check it and select the pPipeLineTender data source.
§
Select the fields 'Gender', FirstName', Infix', LastName'.
§
In
the
screen
'<dbtext>Gender</dbtext><dbtext>FirstName</dbtext><dbtext>Infix</dbtext><dbtext>LastName</dbtext>'
appears,
click on the workspace and place spaces between the XML tags and add labels, like this: "Gender:
<dbtext>Gender</dbtext> Name: <dbtext>FirstName</dbtext>.
§
So now these fields will stay apart, but will also form one uniform line of text without having more space between the text
on one card and less one another.
§
Close the window and answer 'Yes' when asked to save the changes.
Gender
§
Now the Gender field in the database is a number, '0' for unknown, '1' for male and '2' for female. To create a more
elegant presentation just look at "Import the correct information with either CSV or Active Directory", see page:
to
import a written gender code to an unused column in the user table.
152
Summary of Contents for Back Office Suite
Page 2: ......
Page 9: ...Introduction PartI ...
Page 11: ...3 Overview IBOS Overview IBOS ...
Page 12: ......
Page 13: ...Hardware Installation PartII ...
Page 20: ......
Page 21: ...Software installation PartIII ...
Page 38: ......
Page 39: ...Steps PartIV ...
Page 120: ...112 Inepro Back Office Suite Steps Image 1 Image 2 Image 3 ...
Page 149: ...Advanced Tasks PartV ...
Page 153: ...145 Replacing a server PayCon Server ...
Page 157: ...Terms Concepts PartVI ...
Page 159: ...Configuration PartVII ...
Page 177: ...169 Import Data If the installation was successful the final screen of the installer is shown ...
Page 179: ...171 Import Data The following screen will appear ...
Page 206: ......
Page 207: ...Change Interface Settings PartVIII ...
Page 209: ...USB Stick Procedure PartIX ...
Page 211: ...Balance Scheduler PartX ...
Page 214: ......
Page 215: ...Scheduled Tasks PartXI ...
Page 218: ......
Page 219: ...Troubleshooting PartXII ...
Page 234: ......
Page 235: ...Glossery PartXIII ...
Page 238: ......
Page 239: ...Appendices PartXIV ...
Page 244: ...236 Inepro Back Office Suite Appendices ...
Page 246: ......
Page 248: ......


