172 - Inepro Back Office Suite
Configuration
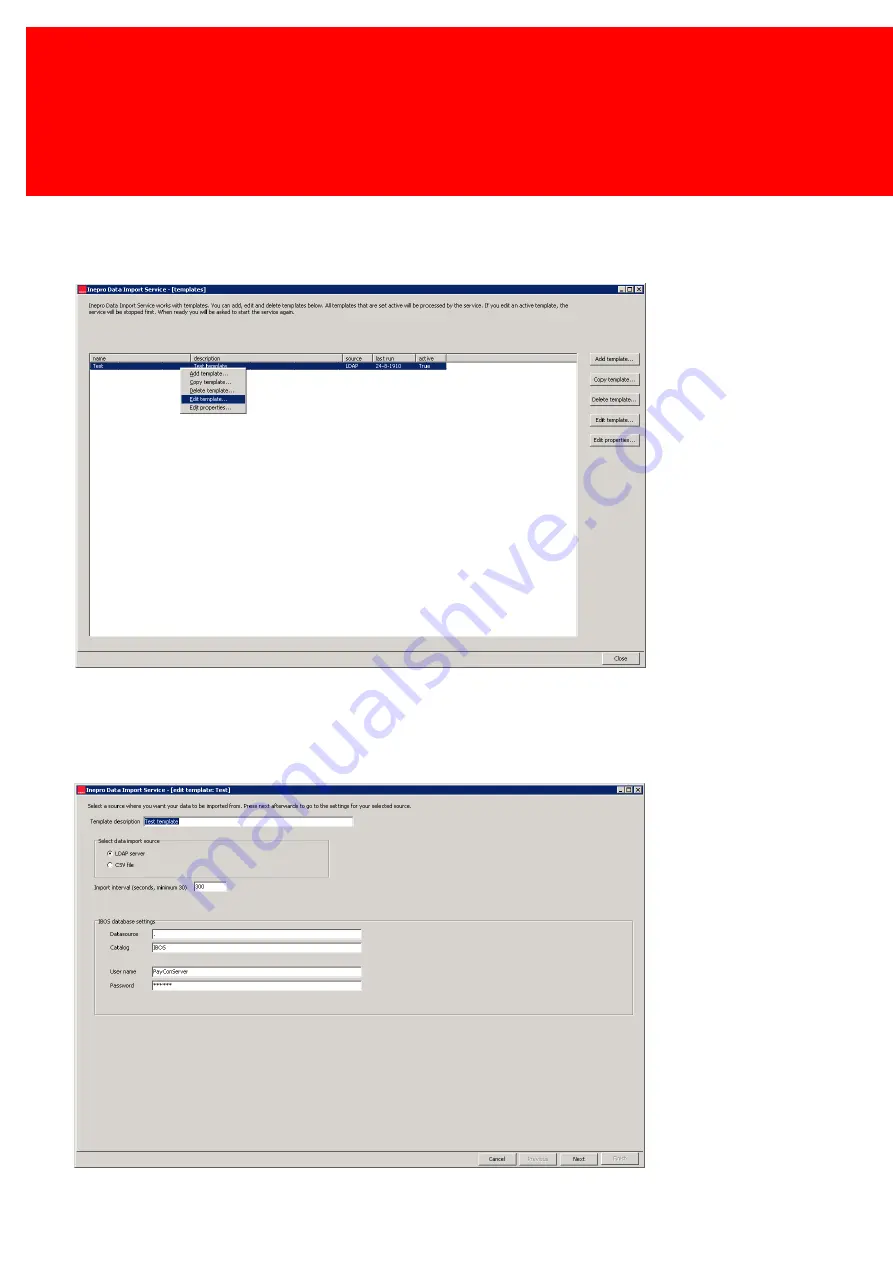
Fill in a name and an optional description for the template, set the template as active if it should be used straight away. The
actual import of data will start when the application closed. When the OK button is clicked, the template will be shown in the
details panel.
Select the created template and use the “Edit template” button or right-click on the template and select “Edit template” from
the menu.
We can now start editing the selected template.
Summary of Contents for Back Office Suite
Page 2: ......
Page 9: ...Introduction PartI ...
Page 11: ...3 Overview IBOS Overview IBOS ...
Page 12: ......
Page 13: ...Hardware Installation PartII ...
Page 20: ......
Page 21: ...Software installation PartIII ...
Page 38: ......
Page 39: ...Steps PartIV ...
Page 120: ...112 Inepro Back Office Suite Steps Image 1 Image 2 Image 3 ...
Page 149: ...Advanced Tasks PartV ...
Page 153: ...145 Replacing a server PayCon Server ...
Page 157: ...Terms Concepts PartVI ...
Page 159: ...Configuration PartVII ...
Page 177: ...169 Import Data If the installation was successful the final screen of the installer is shown ...
Page 179: ...171 Import Data The following screen will appear ...
Page 206: ......
Page 207: ...Change Interface Settings PartVIII ...
Page 209: ...USB Stick Procedure PartIX ...
Page 211: ...Balance Scheduler PartX ...
Page 214: ......
Page 215: ...Scheduled Tasks PartXI ...
Page 218: ......
Page 219: ...Troubleshooting PartXII ...
Page 234: ......
Page 235: ...Glossery PartXIII ...
Page 238: ......
Page 239: ...Appendices PartXIV ...
Page 244: ...236 Inepro Back Office Suite Appendices ...
Page 246: ......
Page 248: ......


