106 - Inepro Back Office Suite
Steps
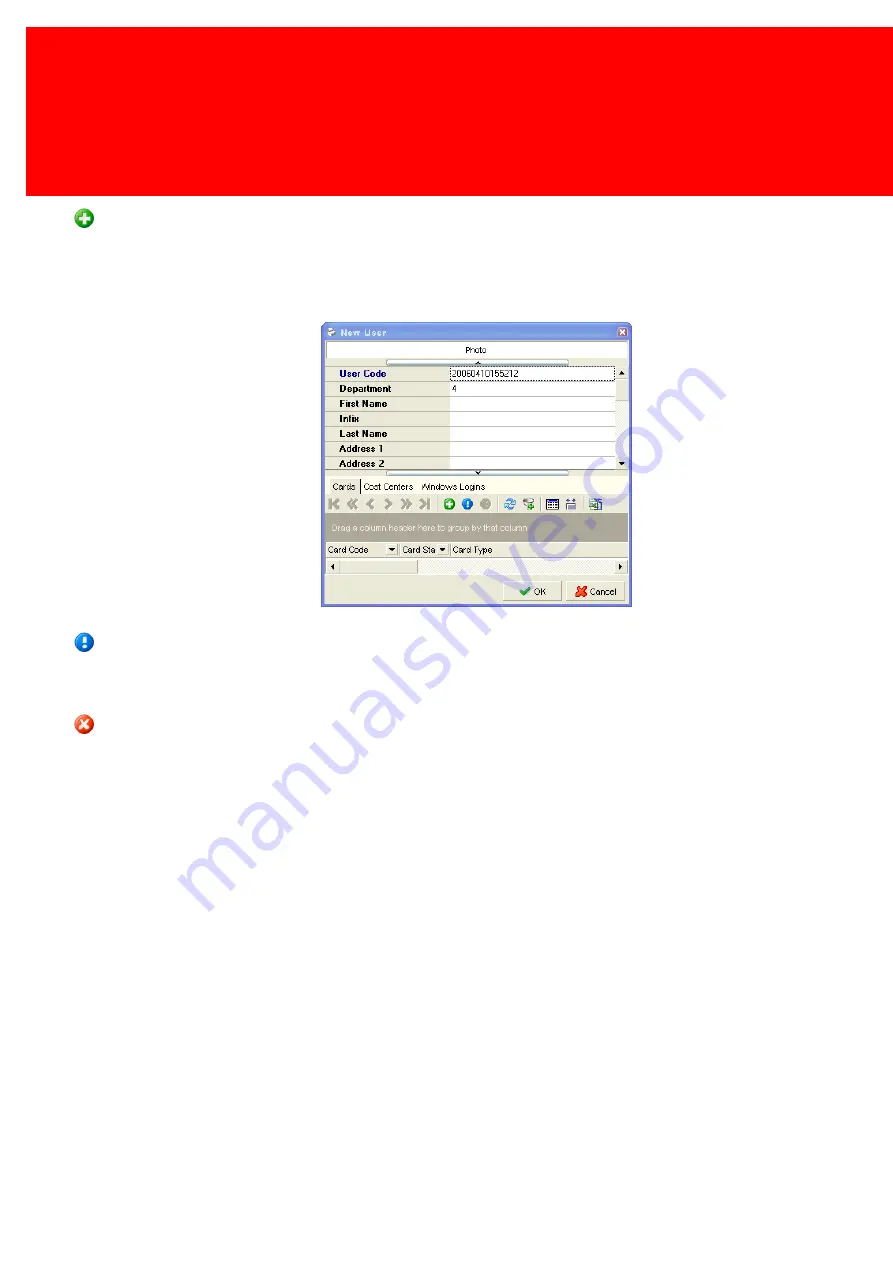
Add new data
Add / insert / new.
Add a new object, this can be a new user, a new card, a new device or any other data object in Inepro Back Office
Manager. After adding the new object, fill out the data required, for example, the name and department number of a new
user.
Edit existing data
Edit data that already exists. Use this to for instance to edit the address of a user (in users), the name of a device (in
devices) or the status of a card (in cards).
Delete data
Delete a data object. Use this to delete a data object from the database. Confirmation will be asked in a dialog, make sure
the data can really be deleted!
Summary of Contents for Back Office Suite
Page 2: ......
Page 9: ...Introduction PartI ...
Page 11: ...3 Overview IBOS Overview IBOS ...
Page 12: ......
Page 13: ...Hardware Installation PartII ...
Page 20: ......
Page 21: ...Software installation PartIII ...
Page 38: ......
Page 39: ...Steps PartIV ...
Page 120: ...112 Inepro Back Office Suite Steps Image 1 Image 2 Image 3 ...
Page 149: ...Advanced Tasks PartV ...
Page 153: ...145 Replacing a server PayCon Server ...
Page 157: ...Terms Concepts PartVI ...
Page 159: ...Configuration PartVII ...
Page 177: ...169 Import Data If the installation was successful the final screen of the installer is shown ...
Page 179: ...171 Import Data The following screen will appear ...
Page 206: ......
Page 207: ...Change Interface Settings PartVIII ...
Page 209: ...USB Stick Procedure PartIX ...
Page 211: ...Balance Scheduler PartX ...
Page 214: ......
Page 215: ...Scheduled Tasks PartXI ...
Page 218: ......
Page 219: ...Troubleshooting PartXII ...
Page 234: ......
Page 235: ...Glossery PartXIII ...
Page 238: ......
Page 239: ...Appendices PartXIV ...
Page 244: ...236 Inepro Back Office Suite Appendices ...
Page 246: ......
Page 248: ......


