128
Getting Started
6
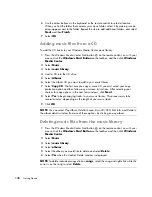
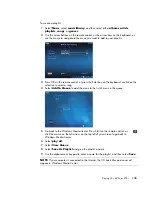
Use the arrow buttons on the keyboard or the remote control to select a location.
When you find the folder that contains your music folder, select it by making sure an
arrow appears next to the folder. Repeat this step to add additional folders, and select
Next
and then
Finish
.
7
Select
OK
.
Adding music files from a CD
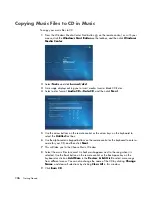
To add the CD tracks to your Windows Media Center music library:
1
Press the Windows Media Center Start button
on the remote control, or, with your
mouse, click the
Windows Start Button
on the taskbar, and then click
Windows
Media Center
.
2
Select
Music
.
3
Select
music library
.
4
Insert a CD into the CD drive.
5
Select
Albums
.
6
Select the Album CD you want to add to your music library.
7
Select
Copy CD
. The first time you copy a music CD you must select your copy-
protection option and then follow any onscreen instructions. After selecting your
choices for copy options in the next few windows, click
Next
.
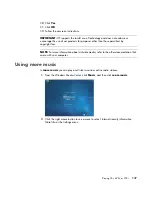
8
Select
Yes
to begin copying tracks to your music library. This process may take
several minutes, depending on the length of your music tracks.
9
Click
OK
.
Deleting music files from the music library
1
Press the Windows Media Center Start button
on the remote control, or, with your
mouse, click the
Windows Start Button
on the taskbar, and then click
Windows
Media Center
.
2
Select
Music
.
3
Select
music library
.
4
Select
albums
.
5
Select the album you would like to delete and select
Delete
.
6
Select
Yes
when the Confirm Delete window is displayed.
NOTE:
You can select
Play Album,
Add to Queue, Burn CD/DVD, Edit Info,
and
Delete
in
the
album details
window from any of these options by clicking on any album.
NOTE:
To delete individual songs click on
songs
, select the song and right-click while the
cursor is on the song to select
Delete
.
Summary of Contents for A1710n - Pavilion - 1 GB RAM
Page 1: ...Getting Started ...
Page 10: ...x Getting Started ...
Page 26: ...16 Getting Started ...
Page 66: ...56 Getting Started ...
Page 74: ...64 Getting Started ...
Page 84: ...74 Getting Started ...
Page 102: ...92 Getting Started ...
Page 108: ...98 Getting Started ...
Page 134: ...124 Getting Started ...
Page 156: ...146 Getting Started ...
Page 188: ...178 Getting Started ...
Page 194: ...Part Number 5991 6837 ...

