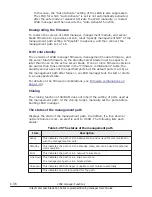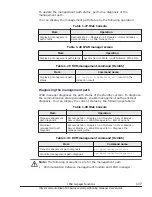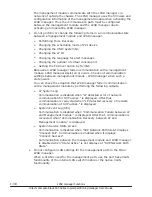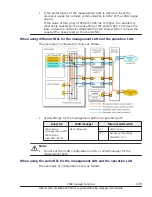
Update the NIC driver
If your NIC driver does not support SR-IOV, update it to one that
supports SR-IOV. For details about updating the NIC driver, see the
Hitachi Compute Blade Emulex Adapter User's Guide for Driver.
Notes
Note the following when using the SR-IOV functionality:
•
In a Windows environment, you cannot use LPARs to which both a
dedicated NIC and a VF-NIC are allocated.
•
Note the following when configuring a teaming interface with VF NIC
ports.
¢
When you configure a teaming interface, you need to specify the MAC
address originally set for one of the VF NIC ports to be set in the
same team, for all of the VF NIC ports.
Also, when you remove a teaming interface, reset the original MAC
address for each VF NIC port.
¢
If HCSM detects duplication of a MAC address, HCSM does not allow
you to migrate the LPARs on an LPAR manager.
¢
HVM Navigator does not allow you to set a MAC address for multiple
VF NIC ports.
For the method for configuring a teaming interface and that for removing
a teaming interface, see the following.
Configuring a teaming interface
a
.
Boot a guest OS to which VF NIC ports assigned, with the original
MAC address set for each of the VF NIC ports to be set in a team.
Note that, when you remove a teaming interface, you need to reset
the original MAC address for each of the VF NIC ports. We recommend
that you take a note of the original MAC addresses.
b
.
Confirm that each VF NIC port can communicate by issuing the
ping
command.
c
.
Shut down the guest OS.
d
.
Push F6 on the Virtual NIC Assignment screen. Then, specify the
MAC address originally set for one of the VF NIC ports, for all of the
VF NIC ports.
For example, to configure a team with VNIC#0 and VNIC#1, specify
the MAC address of VNIC#0 for VNIC#1.
e
.
Boot the guest OS.
f
.
Confirm that the same MAC address is set for all of the VF NIC ports
to be set in a team.
For confirming a MAC address, select [Start]-[Control Panel]-[Network
and Internet]-[Network and Sharing Center]-[Change adapter
settings], and then double-click a network device. In the opened
dialog, push [Details], and then see the value of "Physical Address".
1-42
LPAR manager Functions
Hitachi Compute Blade 500 Series Logical partitioning manager User's Guide

