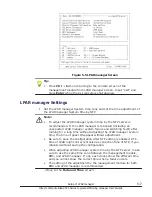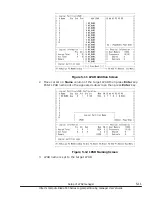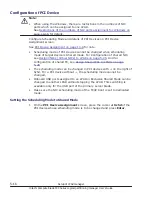
– Press F7: Change System Time Zone on the Date and Time screen to
display a sub-screen. Set a time zone and press Enter.
Figure 5-6 Data and Time screen
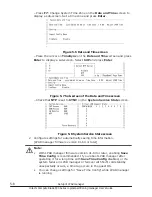
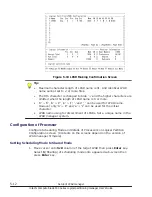
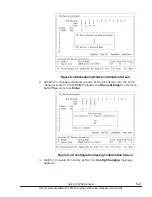
– Place the cursor on TimeSync on the Date and Time screen and press
Enter to display a sub-screen. Select SVP and press Enter.
Figure 5-7 Sub-screen of the Data and Time screen
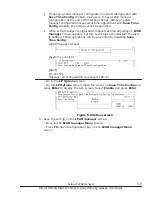
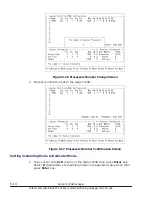
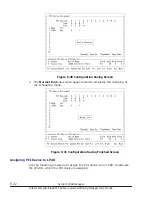
– Check that NTP is set to SYNC on the System Service State screen.
Figure 5-8 System Service State screen
2
.
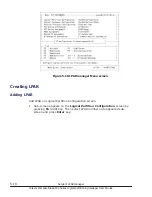
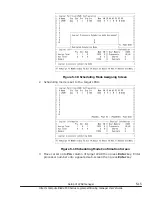
Configure settings for automatically saving time information.
[LPAR manager firmware version 01-6X or later]
Note:
•
With LPAR manager firmware version 01-6X or later, enabling Save
Time Config is recommended. If you reboot LPAR manager after
operating it for a long time with Save Time Config disabled, or if a
system failure in LPAR manager or failover with N+M cold standby
unexpectedly occurs, a time lag occurs in the guest OS.
•
You can change settings for "Save Time Config" while LPAR manager
is running.
5-8
Setup of LPAR manager
Hitachi Compute Blade 500 Series Logical partitioning manager User's Guide

