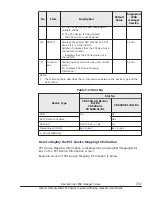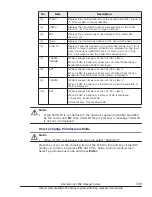
No.
Item
Description
Default
Value
Supported
LPAR
manager
Version
(9)
Function
Key
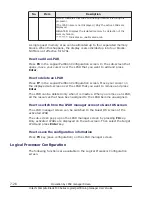
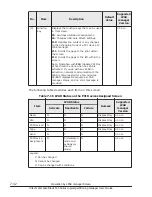
Displays the function keys that can be used
in this screen.
F5: Switches USB device assignment.
F6: Changes USB Auto Attach settings.
F10: Updates the content of any changes
to the Scheduling Mode of a PCI device to
LPAR manager.
F11: Scrolls the page to the right within
the screen.
F12: Scrolls the page to the left within the
screen.
Note: Operation with F10 (Update PCI Dev
Schd) should be done when no LPAR is
activated. If you do with any LPAR in
activation, network communication of the
LPAR is disconnected for a few minutes.
SC/BSM displays Deactivate as LPAR
manager status, and no error message is
provided.
-
01-0X~
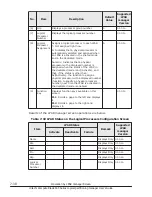
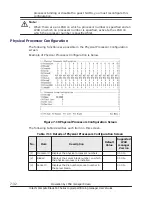
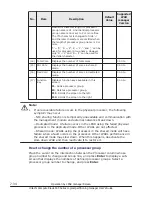
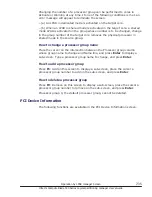
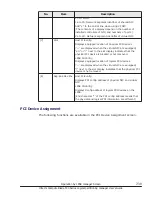
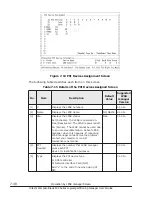
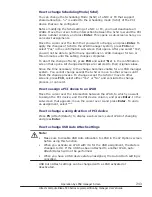
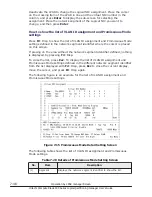
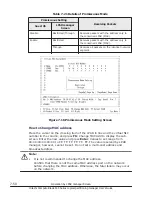
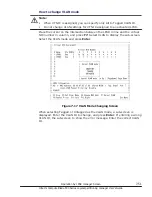
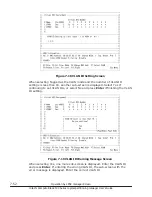
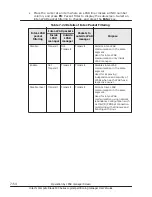
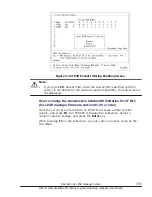
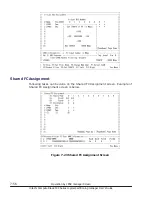
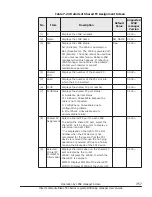
The following table describes each item on this screen.
Table 7-16 LPAR Status on the PCI Devices Assigned Screen
Item
LPAR Status
Remark
Supported
LPAR
manager
Version
Activate
Deactivate
Failure
Name
N
N
N
Display Only
01-0X~
Sta
N
N
N
Display Only
01-0X~
PCI Device#
N
N
N
Display Only
01-0X~
Type
N
N
N
Display Only
01-0X~
Schd
N
Y
N
-
01-0X~
PCI Device
Assignment
N
C (dedicated
mode and
exclusively
shared
mode)
N
-
01-0X~
Legend:
Y: Can be changed
N: Cannot be changed
C: Can be changed with conditions
7-42
Operation by LPAR manager Screen
Hitachi Compute Blade 500 Series Logical partitioning manager User's Guide

