


120 ENGLISH
3.
Check the checkbox of <Enable Video Loss Alarm>, and click to set up a <Handling Action> for
<Video Loss>.
4.
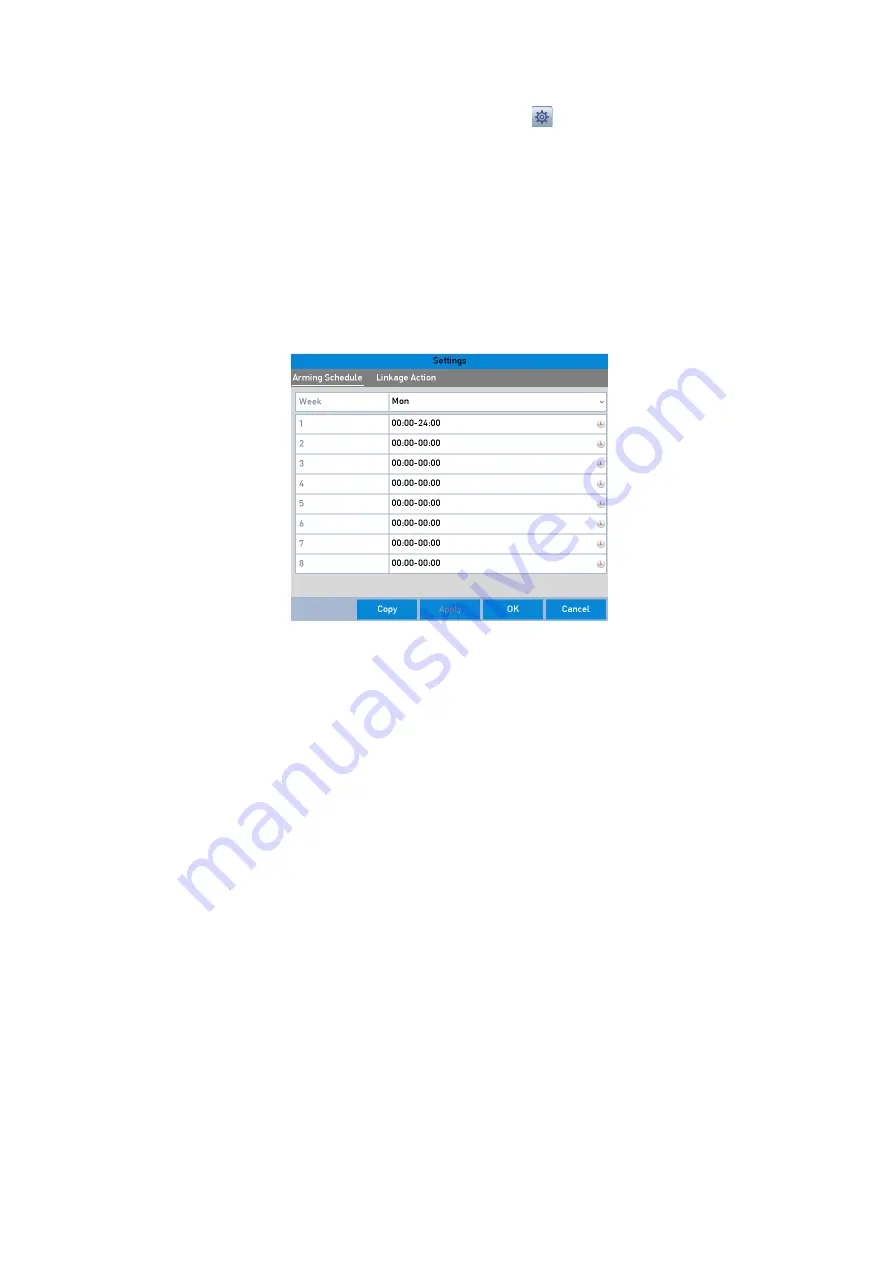
Set up the <Arming Schedule> of the <Handling Actions>.
1)
Select the <Arming Schedule> tab to set the channel’s <Arming Schedule>.
2)
Choose one day of a week and up to eight time periods can be set within each day.
3)
Click the <Apply> button to save the settings.
Note:
Time periods shall not be repeated or overlapped.
Set Arming Schedule of Video Loss
5.
Select the <Linkage Action
>
tab to set up an <Alarm Response Action> of <Video Loss> (please refer
to
Chapter 8.6 Setting Alarm Response Actions
).
6.
Click the <OK> button to complete the <Video Loss Settings> of the channel.
8.4 Detecting a Video Tampering Alarm
Trigger an <Alarm> when the lens is covered and take <Alarm Response Action(s)>.
Steps:
1.
Enter the <Video Tampering> interface of <Camera Management> and select a channel where you
want to detect <Video Tampering>: Menu> Camera> Video Tampering