118 ENGLISH
4.
Select the <Trigger Channel> tab and select one or more channels which will start to
<Record>/<Capture> or become <Full-screen Monitoring> when an <External Alarm> is coming in,
and click <Apply> to save the settings.
5.
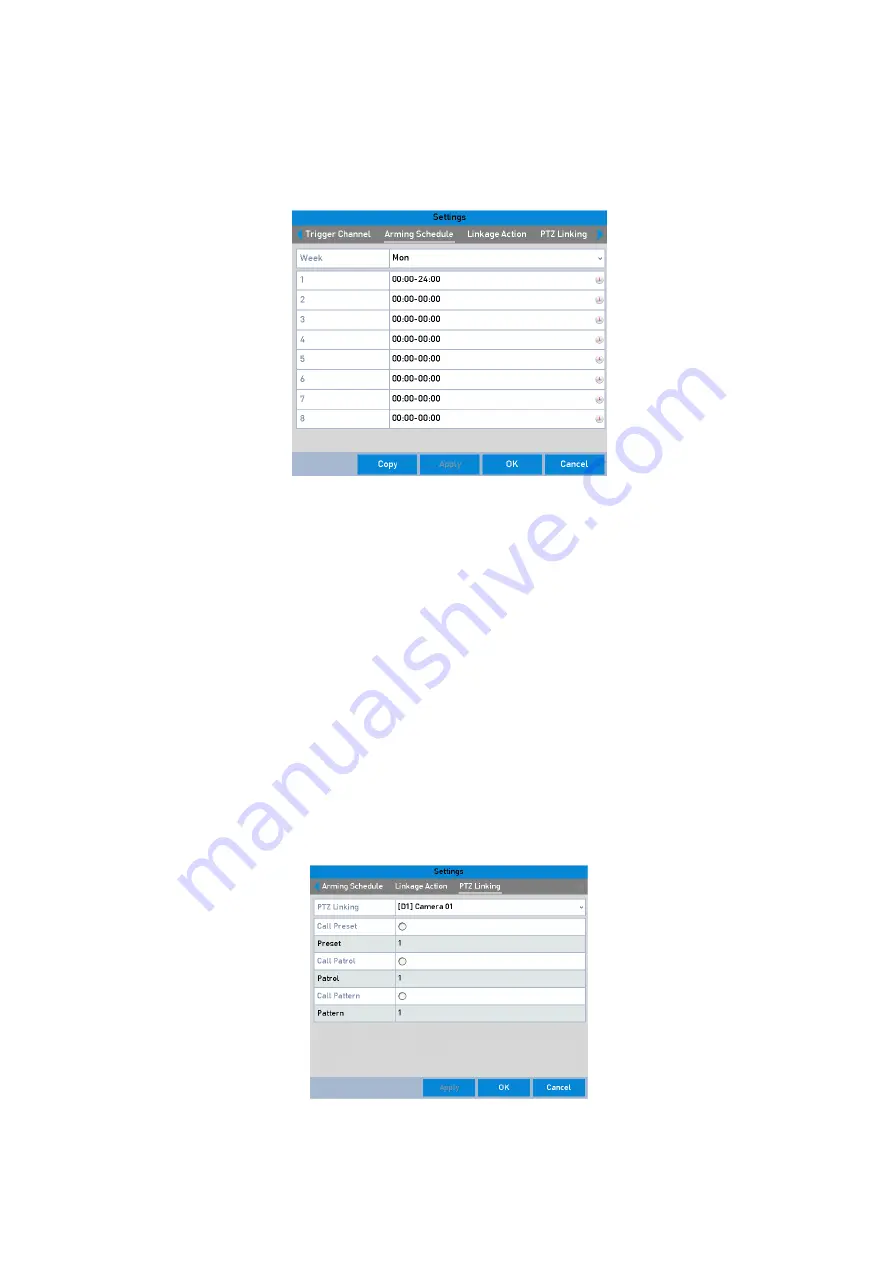
Select the <Arming Schedule> tab to set the <Arming Schedule> of <Handling Actions>.
Set Arming Schedule of Alarm Input
Choose one day of a week (a maximum of eight time periods can be set within each day) and click
<Apply> to save the settings.
Note:
Time periods shall not be repeated or overlapped.
Repeat the above steps to set up an <Arming Schedule> of other days of a week. You can also use
the <Copy> button to copy an <Arming Schedule> to other days.
6.
Select the <Linkage Action> tab to set up <Alarm Response Actions> of the <Alarm Input> (please
refer to
Chapter 8.6 Setting Alarm Response Actions
).
7.
If necessary, select the <PTZ Linking> tab and set <PTZ Linkage> of the <Alarm Input>.
8.
Set <PTZ Linking> parameters and Click <OK> to complete the settings of the <Alarm Input>.
Note:
Make sure that the <PTZ> or the Speed Dome connected supports <PTZ Linkage>.
Set PTZ Linking of Alarm Input


