


Pro Tools Reference Guide
566
The Shift key ensures that the transposed note
retains its start point. While dragging, each new
note sounds and the Cursor Location Value in-
dicator (in the Edit window) indicates the num-
ber of semitones and direction (+/–) for the
transposition.
Moving Notes
Like regions, MIDI notes can be dragged left or
right with the Pencil tool or any Grabber tool to
change their start point. If several notes are se-
lected before dragging, they are all moved to-
gether.
To move a MIDI note:
1
Set the MIDI or Instrument track to Notes
View.
2
With the Pencil tool or any Grabber tool, drag
the note left or right (press Shift while dragging
to preserve the note’s pitch).
As the note is dragged, the Cursor Location
Value indicator (in the Edit window) displays
the new start point.
If the Edit mode is set to Grid, the dragged note
snaps to the nearest Grid boundary. If the Edit
mode is set to Spot, the Spot dialog opens.
Trimming Note Start and End Times
Like regions, start and end points for MIDI notes
can be adjusted with the Trim tool. If several
notes are selected when performing the trim,
each note is changed.
To change the start or end points for a group of
MIDI notes:
1
Set the MIDI or Instrument track to Notes
View.
2
Using the Pencil tool or any Grabber tool,
Shift-click each note you want to trim.
3
Do one of the following:
• Select the Trim tool.
– or –
• Use the Pencil tool.
To transpose a copy of the note, leaving the
original unchanged, press Alt (Windows) or
Option (Mac) while dragging.
MIDI notes can also be transposed using
the Transpose MIDI Operation (see “Trans-
pose” on page 600) or MIDI Real-Time
Properties (see “MIDI Real-Time Proper-
ties” on page 607).
To copy the selected notes, leaving the orig-
inals intact, press Alt (Windows) or Option
(Mac) while dragging.
The placement of MIDI notes can also be
adjusted with Shift (see “Shift Command”
on page 437) or Nudge (see “Nudging” on
page 435).
The Trim tool can also be used on MIDI re-
gions. For more informations, see “Time
Compression/Expansion Trim Tool Func-
tionality on MIDI Regions” on page 570.
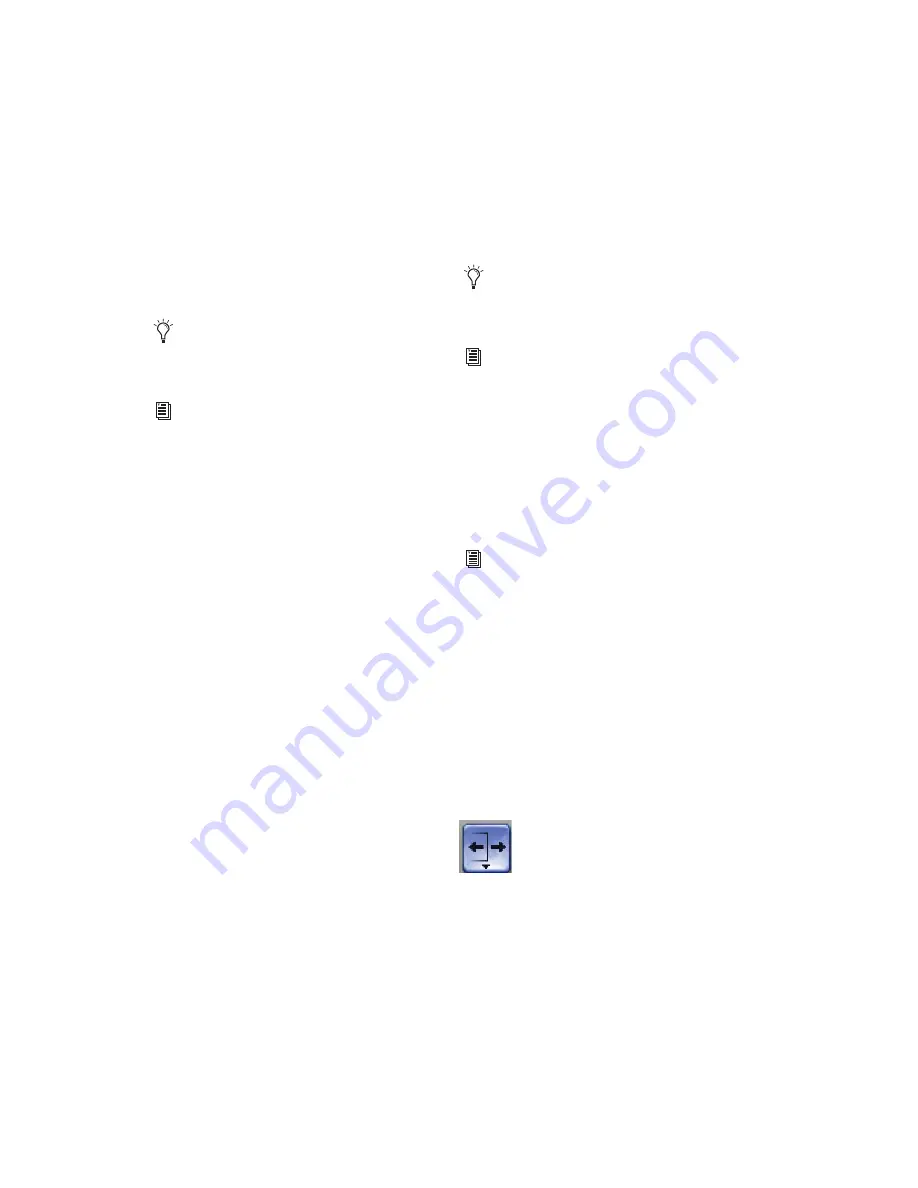
Trim tool
Summary of Contents for Pro Tools
Page 1: ...Pro Tools Reference Guide Version 7 3 ...
Page 15: ...1 Part I Introduction ...
Page 16: ...2 ...
Page 33: ...19 Part II System Configuration ...
Page 34: ...20 ...
Page 44: ...Pro Tools Reference Guide 30 ...
Page 94: ...Pro Tools Reference Guide 80 ...
Page 95: ...81 Part III Sessions Tracks ...
Page 96: ...82 ...
Page 108: ...Pro Tools Reference Guide 94 ...
Page 130: ...Pro Tools Reference Guide 116 ...
Page 269: ...255 Part IV Recording ...
Page 270: ...256 ...
Page 310: ...Pro Tools Reference Guide 296 ...
Page 345: ...331 Part V Editing ...
Page 346: ...332 ...
Page 402: ...Pro Tools Reference Guide 388 ...
Page 496: ...Pro Tools Reference Guide 482 ...
Page 548: ...Pro Tools Reference Guide 534 ...
Page 571: ...557 Part VI MIDI Editing ...
Page 572: ...558 ...
Page 596: ...Pro Tools Reference Guide 582 ...
Page 637: ...623 Part VII Mixing ...
Page 638: ...624 ...
Page 702: ...Pro Tools Reference Guide 688 ...
Page 771: ...757 Part VIII Video Sync Surround ...
Page 772: ...758 ...
Page 792: ...Pro Tools Reference Guide 778 ...
Page 806: ...Pro Tools Reference Guide 792 ...
Page 856: ...Pro Tools Reference Guide 842 ...