


Chapter 20: Working with Regions and Selections
435
Dragging Sync Points
You can click and drag a sync point to another
position in the audio region.
To set the sync point by dragging:
1
If you want the sync point to snap to the cur-
rent Grid value, enable Grid mode (see “Edit
Modes” on page 363).
2
Select the Time Grabber tool.
3
Click and drag the sync point to a new loca-
tion.
Scrubbing Sync Points
While viewing an audio waveform can be a good
way to set a sync point, a waveform display may
not always reveal the desired spot in the audio
material. By scrubbing while moving the sync
point over an audio waveform, you can listen
for the exact location to place the sync point.
To scrub while dragging the sync point:
1
If you want the sync point to snap to the cur-
rent Grid value when you finish scrubbing, set
the Edit mode to Grid (see “Edit Modes” on
page 363).
2
Select the Scrubber tool.
3
Click and drag the sync point to a new loca-
tion. The sync point scrubs the audio as you
move it.
Nudging
Pro Tools can nudge regions (or MIDI notes) by
precise increments with the Plus (+) and Minus
(–) keys on the numeric keypad. The amount of
the nudge is determined by the value specified
in the Nudge Value pop-up menu. The Nudge
function can be used in any of the Edit modes.
Nudging can be invaluable for adjusting the
“groove” of a musical phrase or a sound effect
relative to other elements in the session. Since
Pro Tools can nudge material during playback,
you can nudge continuously in real time to ad-
just the timing relationship between tracks.
Nudge can also be used to adjust the placement
of automation breakpoints. For more informa-
tion, see “Editing Automation” on page 713.
Defining the Nudge Value
The Nudge value determines how far regions
and selections are moved when nudging.
Start and end points for selections can also be
moved by the Nudge value (see “Nudging Selec-
tion Start/End Points” on page 402). In addi-
tion, regions can be trimmed by the Nudge
value (see “Trimming with Nudge” on
page 422).
To set the Nudge value:
1
Do one of the following:
• From the View > Main Counter menu, se-
lect the Time Scale for the Nudge value.
– or –
• To keep the Main Time Scale and use a dif-
ferent time format for the Nudge value, de-
select Follow Main Timebase in the Nudge
Value pop-up menu.
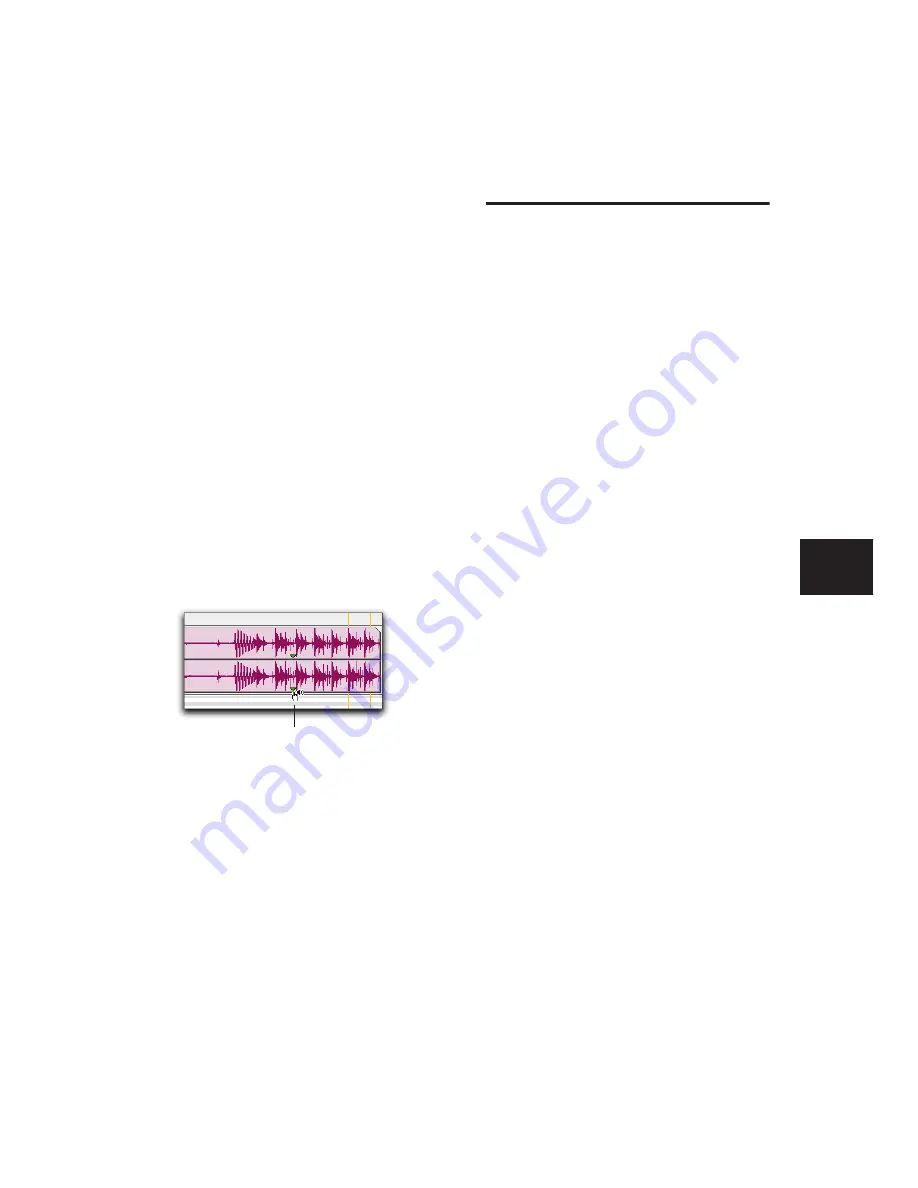
Scrubbing a Sync Point
Sync Point Scrub cursor
Summary of Contents for Pro Tools
Page 1: ...Pro Tools Reference Guide Version 7 3 ...
Page 15: ...1 Part I Introduction ...
Page 16: ...2 ...
Page 33: ...19 Part II System Configuration ...
Page 34: ...20 ...
Page 44: ...Pro Tools Reference Guide 30 ...
Page 94: ...Pro Tools Reference Guide 80 ...
Page 95: ...81 Part III Sessions Tracks ...
Page 96: ...82 ...
Page 108: ...Pro Tools Reference Guide 94 ...
Page 130: ...Pro Tools Reference Guide 116 ...
Page 269: ...255 Part IV Recording ...
Page 270: ...256 ...
Page 310: ...Pro Tools Reference Guide 296 ...
Page 345: ...331 Part V Editing ...
Page 346: ...332 ...
Page 402: ...Pro Tools Reference Guide 388 ...
Page 496: ...Pro Tools Reference Guide 482 ...
Page 548: ...Pro Tools Reference Guide 534 ...
Page 571: ...557 Part VI MIDI Editing ...
Page 572: ...558 ...
Page 596: ...Pro Tools Reference Guide 582 ...
Page 637: ...623 Part VII Mixing ...
Page 638: ...624 ...
Page 702: ...Pro Tools Reference Guide 688 ...
Page 771: ...757 Part VIII Video Sync Surround ...
Page 772: ...758 ...
Page 792: ...Pro Tools Reference Guide 778 ...
Page 806: ...Pro Tools Reference Guide 792 ...
Page 856: ...Pro Tools Reference Guide 842 ...