Chapter 18: Editing Basics
375
Use of the Trim tool is affected by the current
Edit mode: Shuffle, Slip, Spot, or Grid (see “Edit
Modes” on page 363).
To trim a region with the Trim tool:
1
Select the Trim tool.
2
With Pro Tools HD, click the Trim tool pop-up
menu and select “Standard.”
3
Move the cursor near the start or end of the re-
gion, so the Trim tool appears.
To reverse the direction of the Trim tool, press
Alt (Windows) or Option (Mac).
4
Do one of the following:
• If trimming the end, drag left to shorten
the region, right to lengthen.
– or –
• If trimming the start, drag right to shorten
the region, left to lengthen.
When trimming regions in a stereo or multi-
channel track, all channels are trimmed.
When using Shuffle mode, subsequent regions
are slid as necessary to make room for the edited
region. If using Grid mode, the dragged
start/end times snap to the nearest Grid bound-
ary. If using Spot mode, the Spot dialog opens,
where you can enter the new location for the re-
gion’s start or end point.
Time Compression/Expansion
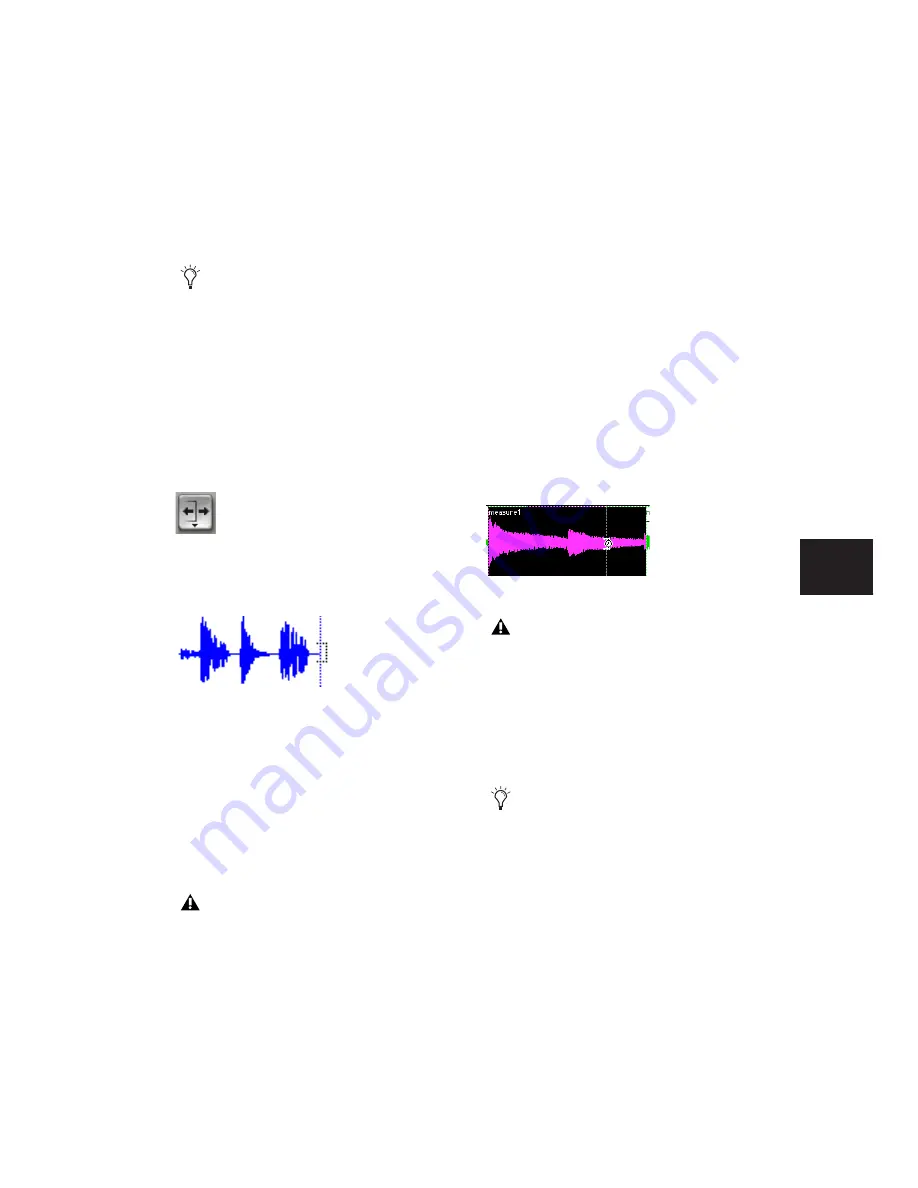
Trim Tool
The Time Compression/Expansion Trim tool is a
convenient tool for matching an audio region to
the length of another region, a tempo grid, a
video scene, or to practically any other reference
point you want.
The Time Compression/Expansion Trim tool
works by using the Time Compression/Expan-
sion (TC/E) AudioSuite plug-in (or a third party
plug-in) to create a new audio file. You use this
tool by dragging the region’s start or end point
to expand or compress the region.
The Trim tool can also be used to lengthen
and shorten MIDI notes (see “Trimming
Note Start and End Times” on page 566),
and also to scale automation and controller
data up or down “Drawing Automation” on
page 712.
Trim tool
Trim tool
When working with audio, you cannot trim
past the boundaries of adjacent regions.
Time Compression/Expansion Trim tool over a region
The TC/E Trim tool unloops and consoli-
dates the looped region.
With Pro Tools HD or LE with DV Toolkit
2, you can match an Edit selection to the
length of a Timeline selection by selecting
Edit > TCE Edit to Timeline Selection com-
mand (see “TCE (Time Compression and
Expansion) Edit To Timeline Selection” on
page 411.
Summary of Contents for Pro Tools
Page 1: ...Pro Tools Reference Guide Version 7 3 ...
Page 15: ...1 Part I Introduction ...
Page 16: ...2 ...
Page 33: ...19 Part II System Configuration ...
Page 34: ...20 ...
Page 44: ...Pro Tools Reference Guide 30 ...
Page 94: ...Pro Tools Reference Guide 80 ...
Page 95: ...81 Part III Sessions Tracks ...
Page 96: ...82 ...
Page 108: ...Pro Tools Reference Guide 94 ...
Page 130: ...Pro Tools Reference Guide 116 ...
Page 269: ...255 Part IV Recording ...
Page 270: ...256 ...
Page 310: ...Pro Tools Reference Guide 296 ...
Page 345: ...331 Part V Editing ...
Page 346: ...332 ...
Page 402: ...Pro Tools Reference Guide 388 ...
Page 496: ...Pro Tools Reference Guide 482 ...
Page 548: ...Pro Tools Reference Guide 534 ...
Page 571: ...557 Part VI MIDI Editing ...
Page 572: ...558 ...
Page 596: ...Pro Tools Reference Guide 582 ...
Page 637: ...623 Part VII Mixing ...
Page 638: ...624 ...
Page 702: ...Pro Tools Reference Guide 688 ...
Page 771: ...757 Part VIII Video Sync Surround ...
Page 772: ...758 ...
Page 792: ...Pro Tools Reference Guide 778 ...
Page 806: ...Pro Tools Reference Guide 792 ...
Page 856: ...Pro Tools Reference Guide 842 ...


