Pro Tools Reference Guide
308
Make sure that MIDI Merge is enabled in the
Transport window, otherwise (in Replace mode)
each subsequent take destructively replaces the
previous take.
To loop record in MIDI Merge mode:
1
Configure a MIDI or Instrument track for re-
cording (see “Configuring MIDI or Instrument
Tracks for Recording” on page 301).
2
Ensure that Pro Tools is in Normal (Nonde-
structive) Record mode. If necessary, deselect
the following in the Options menu: Destructive
Record, Loop Record, QuickPunch, TrackPunch
(Pro Tools HD only), and DestructivePunch
(Pro Tools HD only).
3
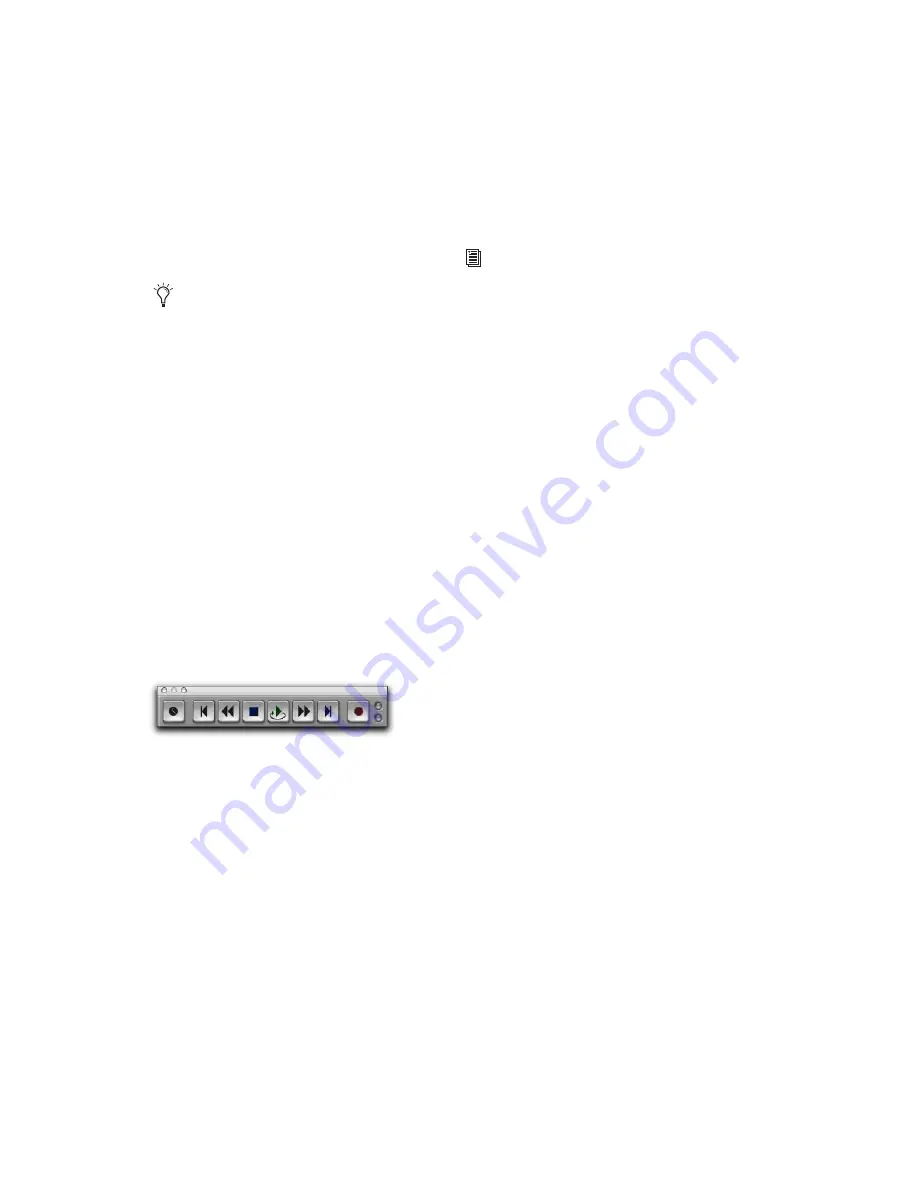
Select Options > Loop Playback. When Loop
Playback is enabled, a loop symbol appears in
the Play button.
4
Record enable the MIDI or Instrument track.
Ensure that no audio tracks are record-enabled.
5
In the Transport window, click the MIDI
Merge button so it is highlighted.
6
Disable Wait for Note and Countoff in the
Transport window.
7
Select Options > Link Timeline and Edit Selec-
tion.
8
With the Selector tool, select the loop range in
the track’s playlist.
9
To hear track material up to the start point of
the loop, enable and set the pre-roll time (see
“Setting Pre- and Post-Roll” on page 291).
10
Click Record in the Transport to arm
Pro Tools for recording. The Record button
flashes.
11
Click Play to start recording.
The Record button flashes during pre-roll.
When the start point is reached, Pro Tools be-
gins recording. When the end point is reached,
Pro Tools loops back to the start point and con-
tinues playing and recording.
12
Play your MIDI controller. Newly recorded
MIDI data appears as a region in the record
track. On each successive take, recorded mate-
rial shows up in the region, without replacing
material from previous takes.
13
To switch to a new record track, press Con-
trol (Windows) or Command (Mac), and press
the Up/Down Arrow keys to record enable the
previous or next MIDI or Instrument track.
14
When you are finished recording, click Stop
in the Transport.
The newly recorded MIDI data appears as a MIDI
region in the track’s playlist, and in the Region
List.
You can record enable a different MIDI or
Instrument track on-the-fly while loop re-
cording. While pressing Control (Windows)
or Command (Mac), use the Up/Down Ar-
rows to record enable the previous or next
MIDI or Instrument track.
Loop Playback enabled
For other methods of setting the record
range, see “Setting Punch/Loop Points” on
page 288.
Summary of Contents for Pro Tools
Page 1: ...Pro Tools Reference Guide Version 7 3 ...
Page 15: ...1 Part I Introduction ...
Page 16: ...2 ...
Page 33: ...19 Part II System Configuration ...
Page 34: ...20 ...
Page 44: ...Pro Tools Reference Guide 30 ...
Page 94: ...Pro Tools Reference Guide 80 ...
Page 95: ...81 Part III Sessions Tracks ...
Page 96: ...82 ...
Page 108: ...Pro Tools Reference Guide 94 ...
Page 130: ...Pro Tools Reference Guide 116 ...
Page 269: ...255 Part IV Recording ...
Page 270: ...256 ...
Page 310: ...Pro Tools Reference Guide 296 ...
Page 345: ...331 Part V Editing ...
Page 346: ...332 ...
Page 402: ...Pro Tools Reference Guide 388 ...
Page 496: ...Pro Tools Reference Guide 482 ...
Page 548: ...Pro Tools Reference Guide 534 ...
Page 571: ...557 Part VI MIDI Editing ...
Page 572: ...558 ...
Page 596: ...Pro Tools Reference Guide 582 ...
Page 637: ...623 Part VII Mixing ...
Page 638: ...624 ...
Page 702: ...Pro Tools Reference Guide 688 ...
Page 771: ...757 Part VIII Video Sync Surround ...
Page 772: ...758 ...
Page 792: ...Pro Tools Reference Guide 778 ...
Page 806: ...Pro Tools Reference Guide 792 ...
Page 856: ...Pro Tools Reference Guide 842 ...


