Faxing
|
251
4
Tap
, and then check and change the fax settings.
See "Fax Settings."
5
In the
Fax Settings
screen, tap
Delayed Send
.
6
Select the
On
check box.
7
Specify the start time by tapping – or +, and then tap
OK
.
8
Tap
Back
.
9
Enter the fax number of the recipient using the number pad.
You can also select the recipient using speed dial number or address book. See
"Automatic Redialing."
10
Tap
Send
.
When the document is loaded on the document glass, the screen prompts you for
another page.
•
If you want to place a new document, replace the document with a new
document, and then tap
Continue
.
•
When you have finished loading documents, tap
Done
.
Scanning starts and the data is stored in the memory to be sent at the specified time.
NOTE:
•
If you restart the printer, the stored documents are sent as soon as the printer is activated.
•
If the specified start time overlaps with the time periods for the available time or the fax
function, the printer cannot send the delayed fax at the specified time. For details about the
available time and the fax function, see "Set Available Time" and "Functions Control."
Sending a Fax Directly From a Computer
You can send a fax directly from your computer using the driver.
NOTE:
•
Only black and white faxes can be sent using Direct Fax.
•
If the specified start time overlaps with the time periods for the available time or the fax function,
the printer cannot send the delayed fax at the specified time. For details about the available time
and the fax function, see "Set Available Time" and "Functions Control."
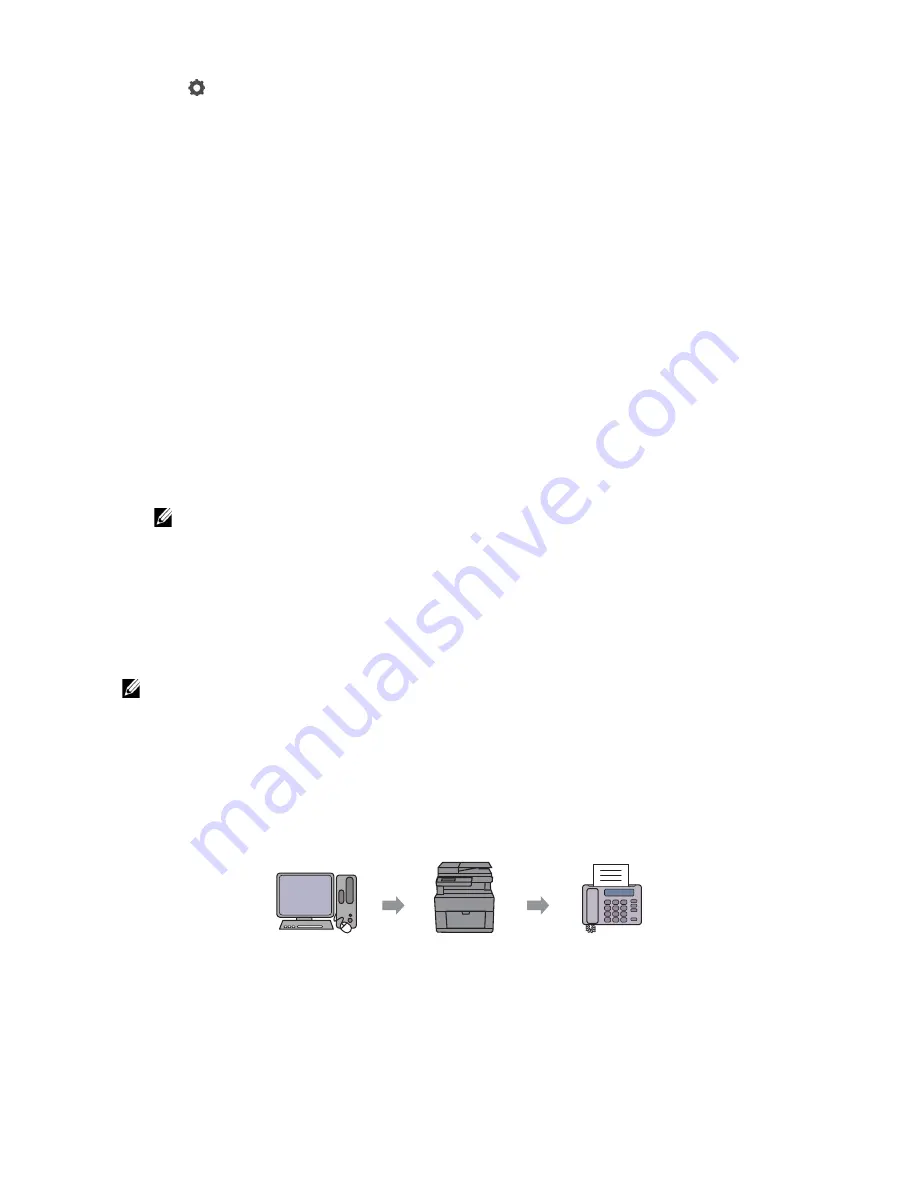
Overview
The following images use Dell H825cdw as examples.
Send fax
Receiving machine
(fax machine/
multifunction printer)
Send data
Dell Color MFP
H825cdw Fax
driver
Sending machine
(this printer)
Summary of Contents for H625cdw
Page 329: ... 329 6 Maintaining Your Printer ...
Page 353: ... 353 7 Troubleshooting ...
Page 394: ...394 Appendix ...


