Accessing the Console Boot Menu
The boot menu is only accessible through a console device attached directly to the serial console
located on the D-Link Firewall. It can be accessed through the console after the D-Link Firewall is
powered up and before NetDefendOS is fully started.
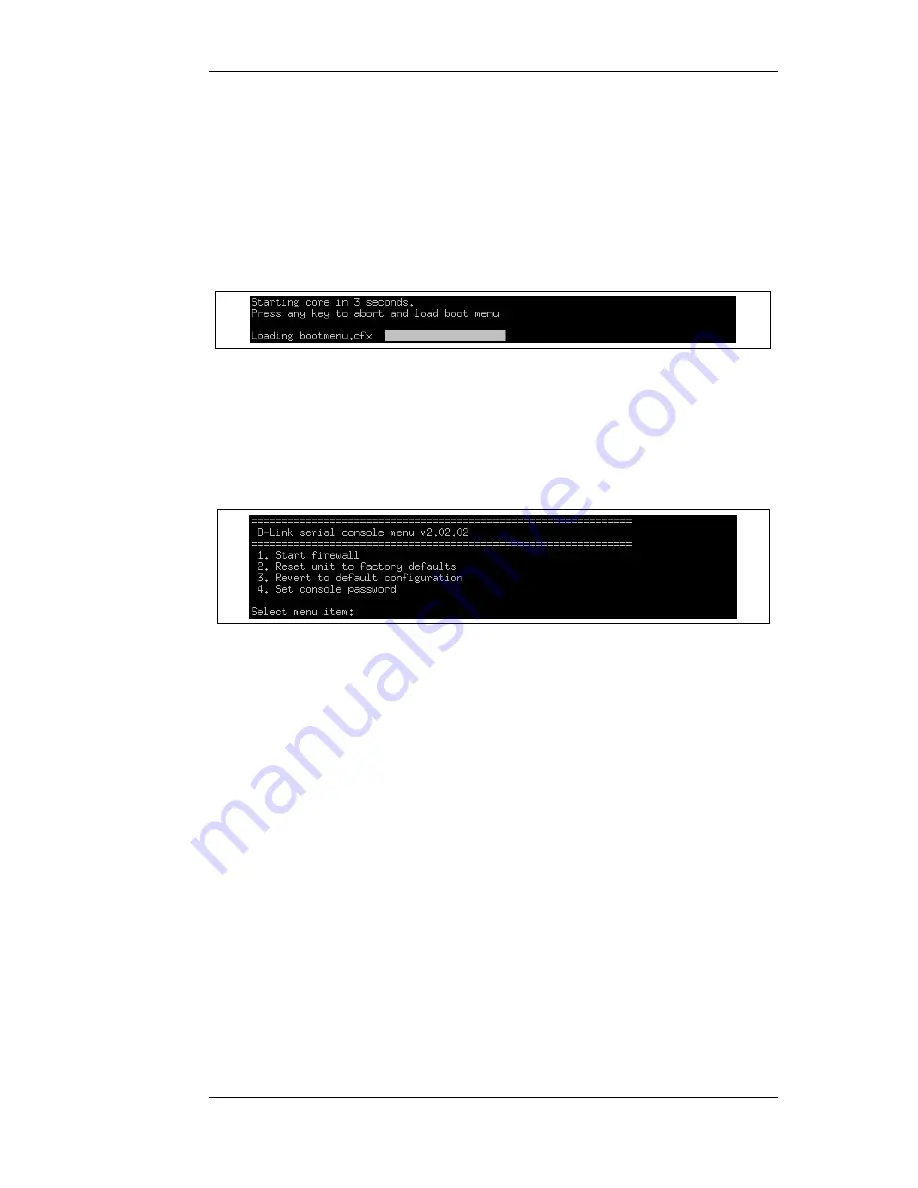
After powering up the D-Link Firewall, there is a 3 second interval before NetDefendOS starts up
and in that time the message Press any key to abort and load boot menu is displayed as shown
below:
If any console key is pressed during these 3 seconds then NetDefendOS startup pauses and the
console boot menu is displayed.
Initial Boot Menu Options without a Password Set
When NetDefendOS is started for the first time with no console password set for console access
then the full set of boot menu options are displayed as shown below:
The options available in the boot menu are:
1.
Start firewall
This initiates the complete startup of the NetDefendOS software on the D-Link Firewall.
2.
Reset unit to factory defaults
This option will restore the hardware to its initial factory state. The operations performed if this
option is selected are the following:
•
Remove console security so there is no console password.
•
Restore default NetDefendOS executables along with the default configuration.
3.
Revert to default configuration
This will only reset the configuration to be the original, default NetDefendOS configuration
file. Other options, such as console security, will not be affected.
4.
Set console password
Set a password for console access. Until a password is set, anyone can utilize the console so
selecting setting the password as soon as possible is recommended. After it is set, the console
will prompt for the password before access is allowed to either the boot menu or the command
line interface (CLI).
2.1.7. The Console Boot Menu
Chapter 2. Management and Maintenance
42
Summary of Contents for 800 - DFL 800 - Security Appliance
Page 24: ...1 3 NetDefendOS State Engine Packet Flow Chapter 1 NetDefendOS Overview 24 ...
Page 69: ...2 6 4 Restore to Factory Defaults Chapter 2 Management and Maintenance 69 ...
Page 121: ...3 9 DNS Chapter 3 Fundamentals 121 ...
Page 181: ...4 7 5 Advanced Settings for Transparent Mode Chapter 4 Routing 181 ...
Page 192: ...5 5 IP Pools Chapter 5 DHCP Services 192 ...
Page 282: ...6 7 Blacklisting Hosts and Networks Chapter 6 Security Mechanisms 282 ...
Page 300: ...mechanism 7 3 7 SAT and FwdFast Rules Chapter 7 Address Translation 300 ...
Page 301: ...7 3 7 SAT and FwdFast Rules Chapter 7 Address Translation 301 ...
Page 318: ...8 3 Customizing HTML Pages Chapter 8 User Authentication 318 ...
Page 322: ...ALG 9 1 5 The TLS Alternative for VPN Chapter 9 VPN 322 ...
Page 377: ...Management Interface Failure with VPN Chapter 9 VPN 377 ...
Page 408: ...10 4 6 SLB_SAT Rules Chapter 10 Traffic Management 408 ...
Page 419: ...11 5 HA Advanced Settings Chapter 11 High Availability 419 ...
Page 426: ...12 3 5 Limitations Chapter 12 ZoneDefense 426 ...
Page 449: ...13 9 Miscellaneous Settings Chapter 13 Advanced Settings 449 ...


