120
Chapter 5—Hardware and Maintenance Repairs
5.8.1 Removing a Hard Disk
1. Turn off the Color Controller C-80 and all peripheral devices. Disconnect all
external cables and AC power cords.
2. Remove the side cover. See
3. Disconnect the SATA2, data, fan, and power cables from all the hard disks.
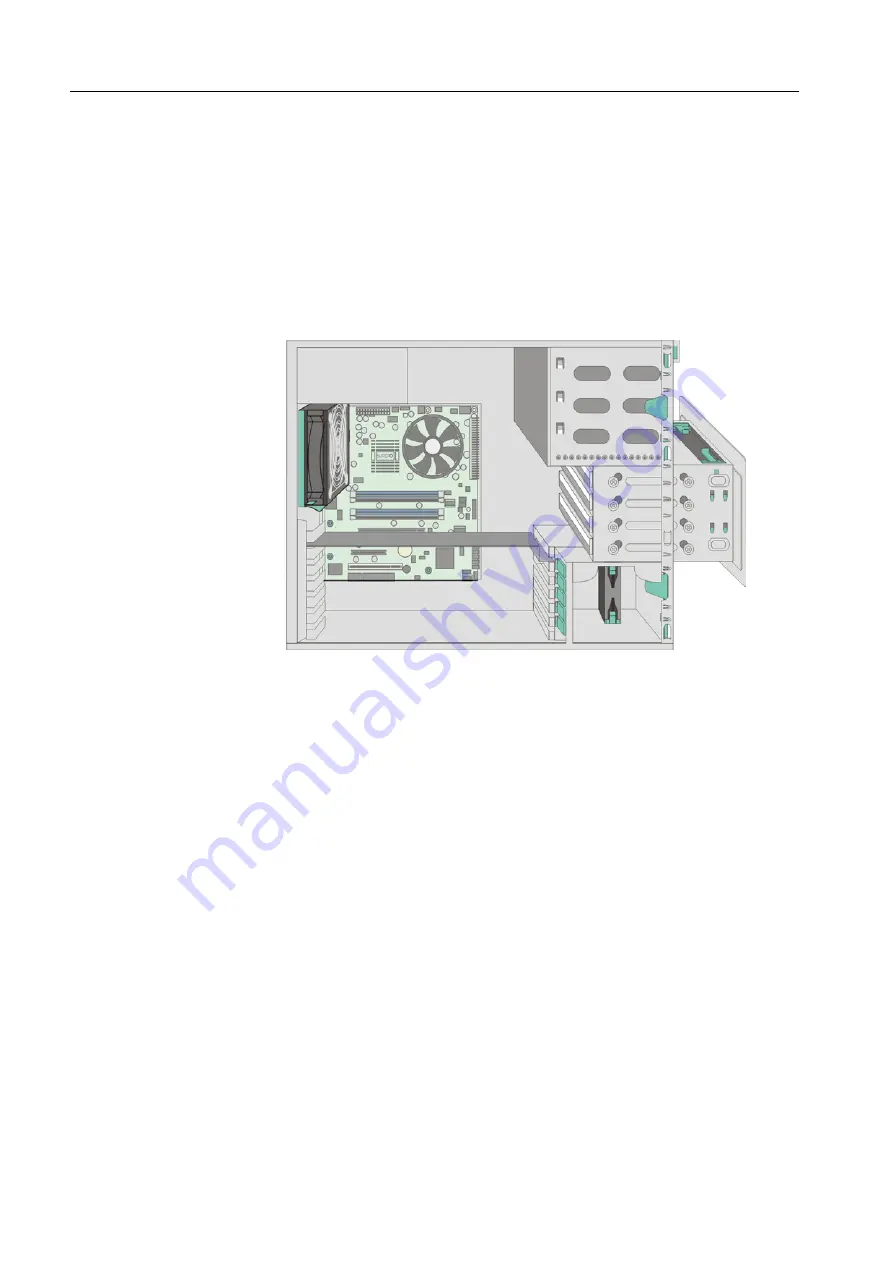
4. Loosen the four screws that secure the drive cage to the server chassis.
5. Slide the drive cage out of the server.
Figure 41: Removing a hard disk drive
6. Identify which hard disk you want to remove.
7. Loosen the two screws on either side of the disk drive and pull the disk drive out
of the chassis.
5.8.2 Installing a Hard Disk
1. Slide the hard disk into the drive cage.
2. Insert the four screws that secure the hard disk to the drive cage, and tighten.
3. Insert the drive cage inside the chassis, and over the locating tabs in the front
wall of the chassis.
4. Align the holes in the drive cage with the matching holes in the chassis.
5. Tighten the four drive-cage screws and tighten.
Tip:
You may find it easier to work if you lay the server on its side.
Summary of Contents for Color Controller C-80
Page 2: ......
Page 8: ...vi Color Controller C 80 1 0 Technical Manual...
Page 17: ...1 Product Overview Introduction 2 Product Configuration 4...
Page 22: ...6 Chapter 1 Product Overview...
Page 52: ...36 Chapter 2 First Time Setup and Configuration...
Page 103: ...87 5 Click Yes 6 Click OK 7 To enable the changes to take effect restart your computer...
Page 104: ...88 Chapter 4 Diagnostics and Troubleshooting...
Page 142: ...126 Chapter 5 Hardware and Maintenance Repairs...
Page 149: ......
Page 150: ......


