ELECTRICAL COMPONENTS: FE400, KEY-START ENGINE
Fuel Gauge/Hour Meter
2006-2010 Turf/Carryall 272/472 and XRT 1200/1200 SE Maintenance and Service Manual
Page 12-31
12
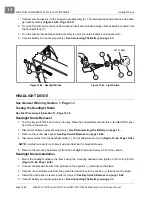
3. Remove the dash panel.
See Key Switch Removal on page 12-24.
4. Disconnect the wires from the oil warning light (1)
. Do not allow wires to
touch.
5. Press the retaining tabs and remove the light from the center dash.
Oil Warning Light Installation
1. Push a new unit into hole in dash until plastic tabs engage dash
.
2. Connect the two yellow wires from the wire harness to the oil warning light.
3. Install the dash in reverse order of removal.
See Key Switch Removal on page 12-24.
4. Connect battery and spark plug wire(s).
See Connecting The Battery on page 1-3.
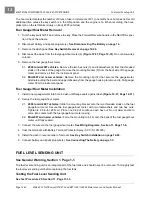
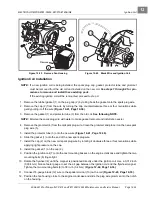
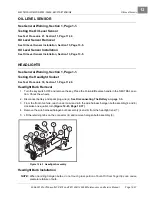
FUEL GAUGE/HOUR METER
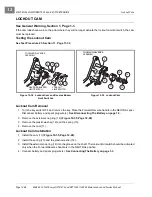
See General Warning, Section 1, Page 1-1.
Testing the Fuel Gauge/Hour Meter
See Test Procedure 26, Section 11, Page 11-34. Also see Test Procedure 27 – Hour Meter on
page 11-37.
2006 to mid-2007 vehicles:
With the key switch in the OFF position, the fuel gauge/hour meter fields are
blank. When the key switch is turned to ON, both fields activate.
Mid-2007 and newer vehicles:
With the key
switch in the OFF position, the fuel gauge field is blank; however, the hour meter field is always ON. When the
key switch is turned to ON, the fuel gauge field activates.
All model years:
The fuel gauge initially registers
full before indicating the actual fuel level.
Figure 12-37 Fuel Gauge/Hour Meter and Oil Warning Light Assembly
A. Used 2006 through mid-2007 Model Year B. Started mid-2007 Model Year
UNDER
16
WARNING
OFF
ON
1
5
2
3
4
6
B
A
Summary of Contents for CARRYALL 272
Page 2: ......
Page 14: ......
Page 18: ...1...
Page 52: ...5...
Page 90: ...6...
Page 110: ...7...
Page 112: ...8...
Page 128: ...10...
Page 170: ...11...
Page 224: ...13...
Page 284: ...16...
Page 302: ...17...
Page 308: ......
Page 309: ...Club Car R NOTES...
Page 310: ...Club Car R NOTES...
Page 311: ......


