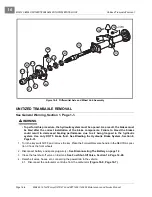
MC012C-BS00 UNITIZED TRANSAXLE WITH DIFFERENTIAL LOCK
Unitized Transaxle Removal
Page 16-10
2006-2010 Turf/Carryall 272/472 and XRT 1200/1200 SE Maintenance and Service Manual
16
Unitized Transaxle Removal, Continued:
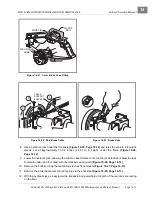
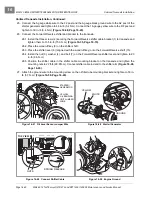
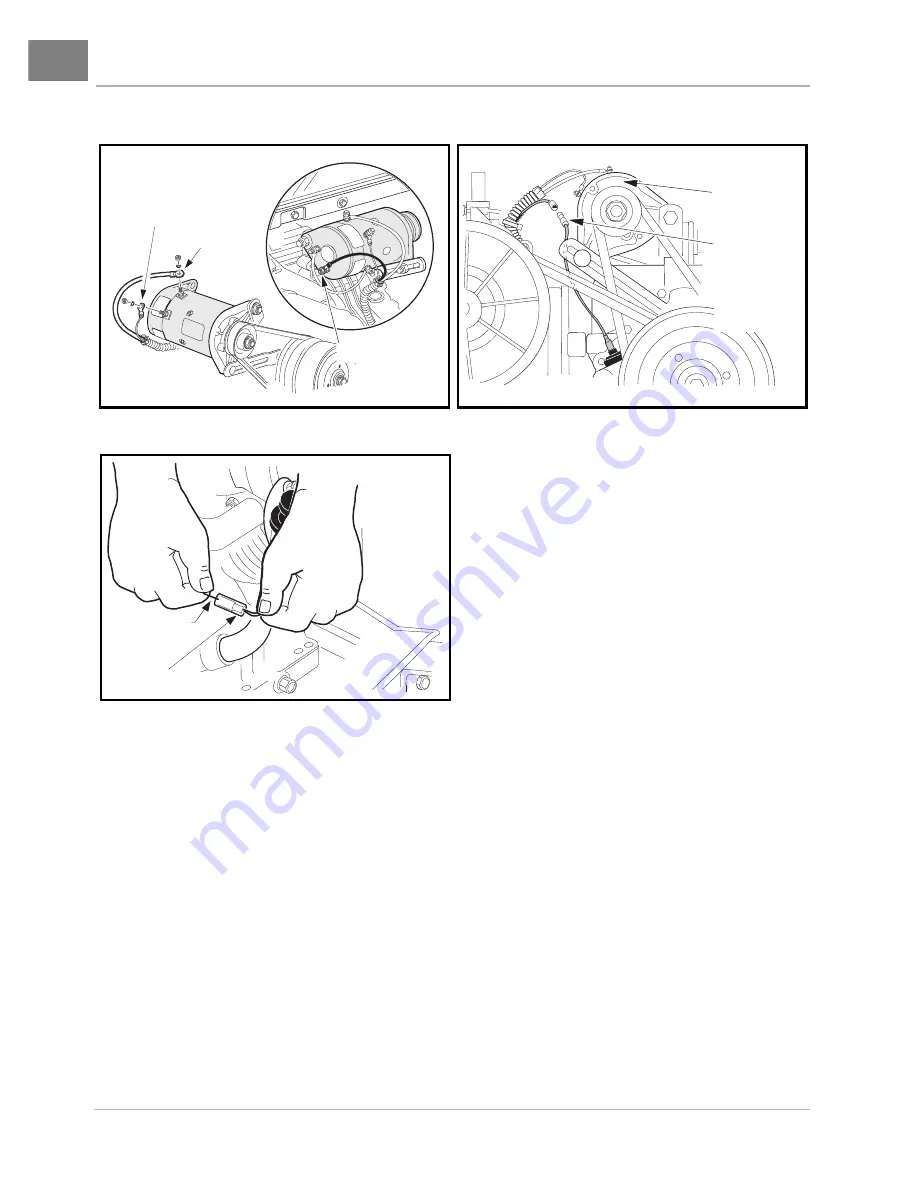
5.15. Disconnect the engine kill switch wire (18-gauge white/black) from the bullet connector at the lower
right front of the engine
.
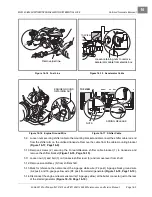
5.16. Cut away the wire ties securing the kill switch wire at the lower right front of the engine (below the
exhaust header), the wire harness at the governor cable bracket, and the wire harness to the plate
beneath the muffler.
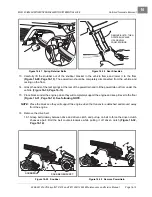
6. Remove the lower shock mounting hardware from both rear shocks
.
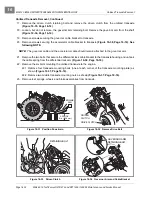
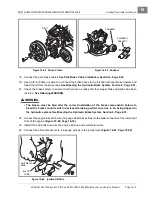
7. Disconnect the brake hoses and park brake cables.
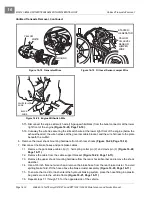
7.1. Remove the park brake cable clip (1), hair spring cotter pin (2) and clevis pin (3)
.
7.2. Remove the cable from the cable support bracket
7.3. Remove the upper shock mounting hardware from the rear shock absorber and remove the shock
absorber.
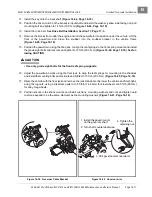
7.4. Use a 3/8 inch flare nut wrench and remove the brake hose from the rear brake cluster. To avoid
spilling brake fluid, lift the hose above the brake cluster assembly
7.5. To ensure that no dirt or trash enters the hydraulic braking system, place the hose fitting in a plastic
bag and secure to the vehicle frame
7.6. Repeat steps 7.1 through 7.5 for the opposite side of the vehicle.
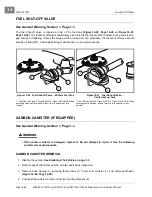
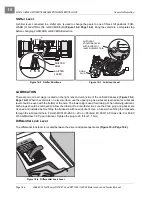
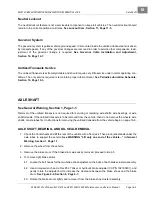
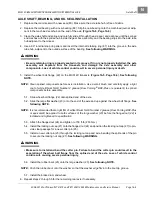
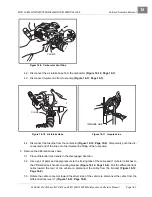
Figure 16-18 Generator Wires
Figure 16-19 Oil Level Sensor Jumper Wire
Figure 16-20 Engine Kill Switch Wire
DF
F2
WHITE
YELLOW
GROUND
STARTER/
GENERATOR
YELLOW
OIL LEVEL
SENSOR
JUMPER
WIRE
WHITE/BLACK
WIRE
BLACK
WIRE
Summary of Contents for CARRYALL 272
Page 2: ......
Page 14: ......
Page 18: ...1...
Page 52: ...5...
Page 90: ...6...
Page 110: ...7...
Page 112: ...8...
Page 128: ...10...
Page 170: ...11...
Page 224: ...13...
Page 284: ...16...
Page 302: ...17...
Page 308: ......
Page 309: ...Club Car R NOTES...
Page 310: ...Club Car R NOTES...
Page 311: ......

