74
Chapter 4 Storage Management
Notes:
• If you click
Disable Connection
for the selected volume in
Storage
>
iSCSI
in Settings, the selected iSCSI volume can
no longer be accessed. If you click
Enable Connection
, the volume will become accessible from the iSCSI initiator
software.
• If you selected “Block I/O” for the “Backstore” option, write cache (WCE) cannot be configured from the “Advanced
Settings” page.
Connecting or Disconnecting Volumes
Connecting Volumes
To connect a volume, follow the procedure below.
Note:
Do not shut down the TeraStation while connecting to an iSCSI volume. It may cause unexpected data erasure.
Make sure all connections are disconnected before shutdown.
1
From Windows, navigate to
Control Panel
>
System and Security
>
Administrative Tools
>
iSCSI Initiator
.
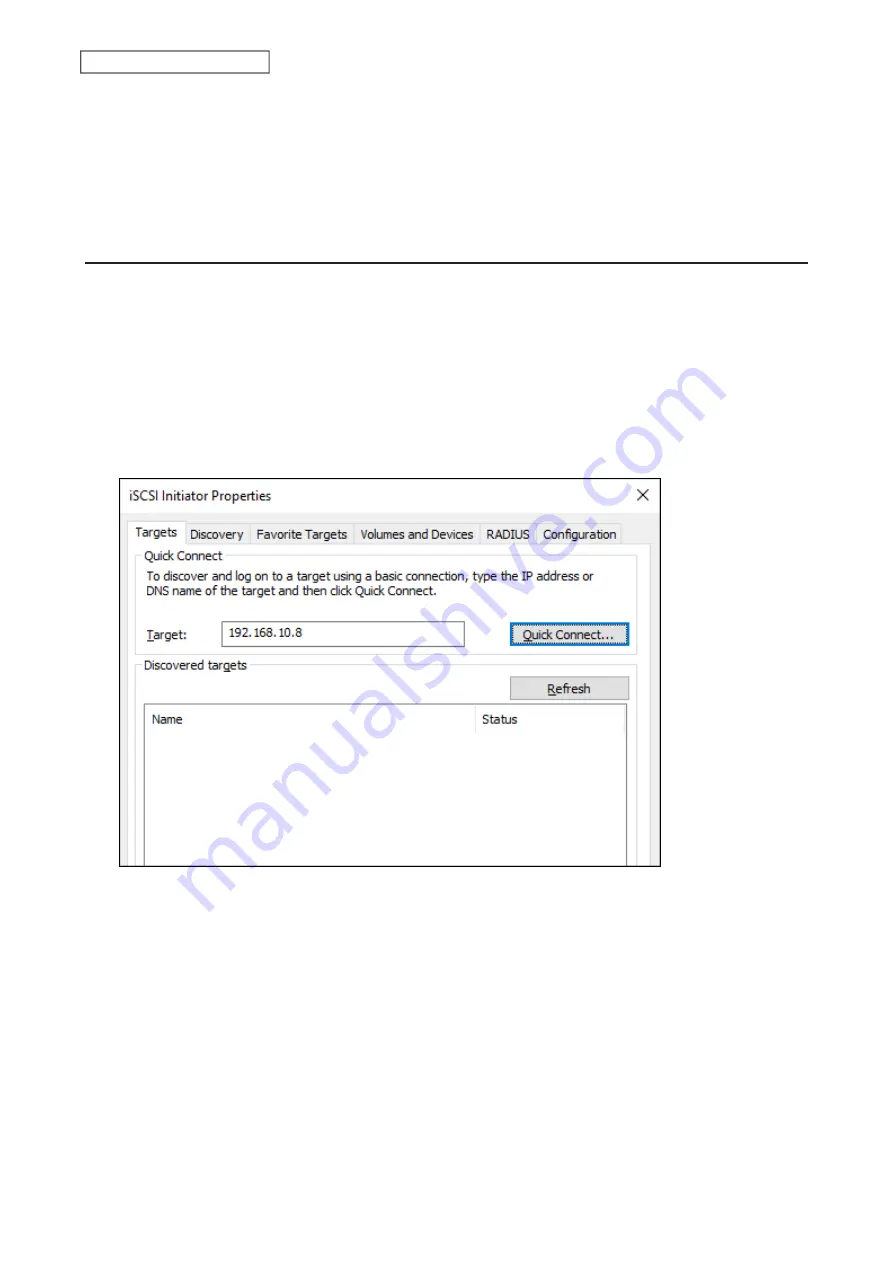
2
Enter the IP address of the TeraStation into the “Target” field and click
Quick Connect
.
3
Confirm if the connection is established and click
Done
.
Formatting Volumes
If using the connected volume for the first time, the volume should be formatted to be used as a local drive. Follow
the procedure below for formatting.
1
From Windows, navigate to
Control Panel
>
System and Security
>
Administrative Tools
>
Computer Management
.
2
Click
Disk Management
.
When the “Initialize Disk” screen appears, click
OK
without changing any settings.
3
Right-click the drive volume that shows the status “Unallocated” and click
New Simple Volume
from the
displayed menu. Follow the screen to finish formatting.
Summary of Contents for TeraStation 3010
Page 29: ...28 Chapter 3 File Sharing 3 Click Create User...
Page 32: ...31 Chapter 3 File Sharing 3 Click Add Group...
Page 71: ...70 Chapter 4 Storage Management 6 Click Edit under NAS Volume 7 Click Create Volume...
Page 88: ...87 Chapter 5 Backup 4 Enter the backup device access key and click OK 5 Click Add...
Page 111: ...110 Chapter 5 Backup 3 Click Select Backup Disk 4 Select the shared folder then click Use Disk...
Page 113: ...112 Chapter 5 Backup 7 Time Machine will count down from 120 seconds then backup will begin...
Page 125: ...124 Chapter 6 Cloud Services and Remote Access 5 Click Edit...
Page 137: ...136 Chapter 6 Cloud Services and Remote Access 4 Click the Options tab 5 Click Edit...
Page 147: ...146 Chapter 6 Cloud Services and Remote Access 4 Click the Options tab...
Page 148: ...147 Chapter 6 Cloud Services and Remote Access 5 Click Edit...
Page 176: ...175 Chapter 7 Advanced Features 11Click the NFS Rules tab 12Click Add...
Page 205: ...204 Chapter 7 Advanced Features 3 Click FQDN Mapping 4 Click Add...


