104
Chapter 5 Backup
Note:
If the main TeraStation fails but all LAN port connections on the backup TeraStation remain up, you cannot
replace the main TeraStation with the backup TeraStation from Settings. In such a case, use the function button
instead.
Reconfiguring After Failover Occurs
When the backup TeraStation replaces the main TeraStation, the
I49
message may appear on NAS Navigator2. To
configure failover again, follow the procedure below using a new TeraStation unit. The following procedure is an
example using the replaced backup TeraStation (“main TeraStation”) and the new TeraStation (“backup TeraStation”).
If you don’t want to configure failover with the new TeraStation, cancel the failover settings by following steps 1–5
below and restart both TeraStations. The
I49
message will disappear.
Note:
The following procedure will also work if failover occurs unexpectedly.
1
After failover occurs, log in to Settings for the new main TeraStation.
If you have configured to synchronize with the UPS device connected to the failed TeraStation, the
E10
error
will be displayed on the main TeraStation. In such a case, follow the procedure below to change the UPS
settings on the new main TeraStation. If you hadn’t, skip to the next step.
a. Disconnect the UPS cable from the failed TeraStation and connect it to the main TeraStation.
b. Click
Management
.
c. Click the settings icon (
) to the right of “Power Management”.
d. Click
Edit
.
e. Select “Sync with UPS connected to this TeraStation” and reconfigure the desired UPS settings.
f. Click
OK
when completed.
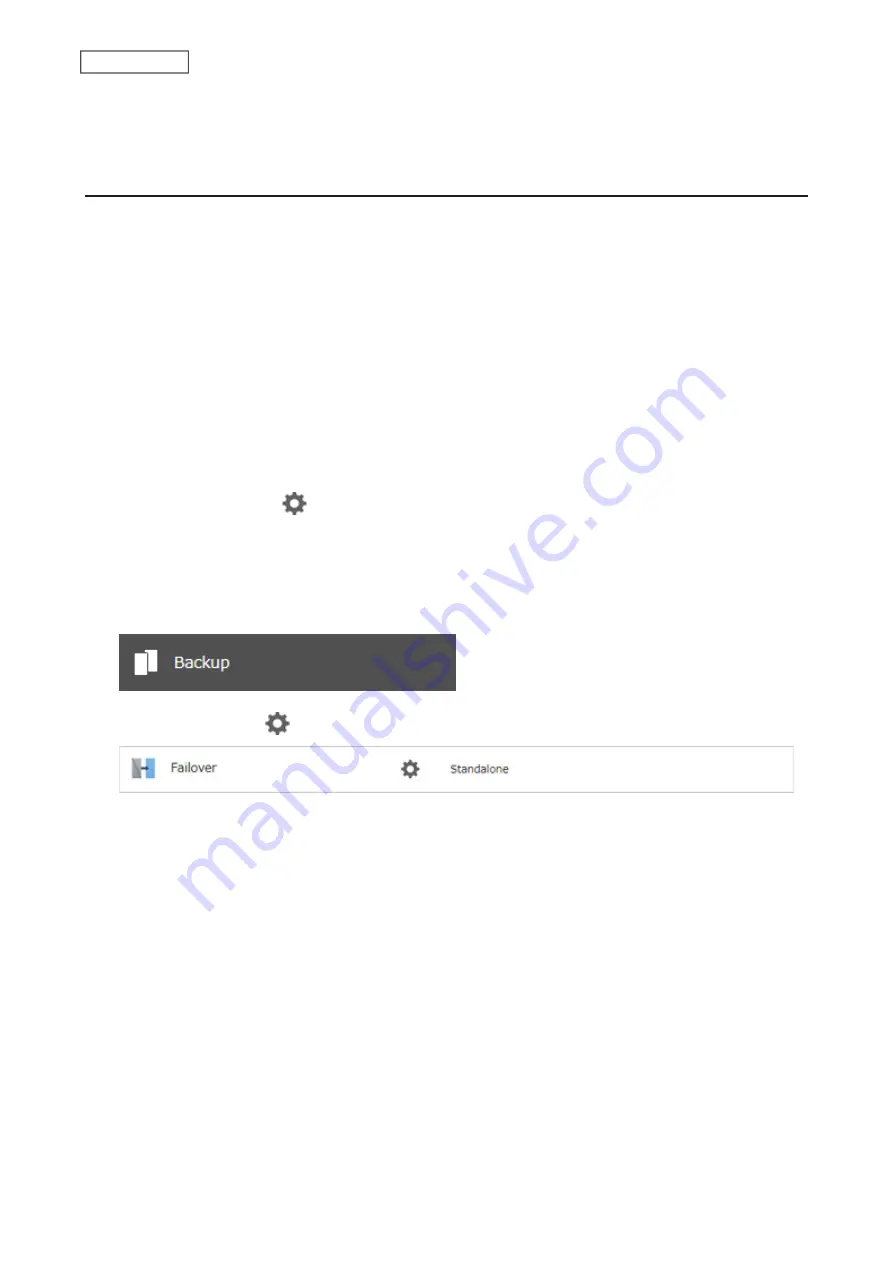
2
Click
Backup
.
3
Click the settings icon (
) to the right of “Failover”.
Summary of Contents for TeraStation 3010
Page 29: ...28 Chapter 3 File Sharing 3 Click Create User...
Page 32: ...31 Chapter 3 File Sharing 3 Click Add Group...
Page 71: ...70 Chapter 4 Storage Management 6 Click Edit under NAS Volume 7 Click Create Volume...
Page 88: ...87 Chapter 5 Backup 4 Enter the backup device access key and click OK 5 Click Add...
Page 111: ...110 Chapter 5 Backup 3 Click Select Backup Disk 4 Select the shared folder then click Use Disk...
Page 113: ...112 Chapter 5 Backup 7 Time Machine will count down from 120 seconds then backup will begin...
Page 125: ...124 Chapter 6 Cloud Services and Remote Access 5 Click Edit...
Page 137: ...136 Chapter 6 Cloud Services and Remote Access 4 Click the Options tab 5 Click Edit...
Page 147: ...146 Chapter 6 Cloud Services and Remote Access 4 Click the Options tab...
Page 148: ...147 Chapter 6 Cloud Services and Remote Access 5 Click Edit...
Page 176: ...175 Chapter 7 Advanced Features 11Click the NFS Rules tab 12Click Add...
Page 205: ...204 Chapter 7 Advanced Features 3 Click FQDN Mapping 4 Click Add...


