170
Chapter 7 Advanced Features
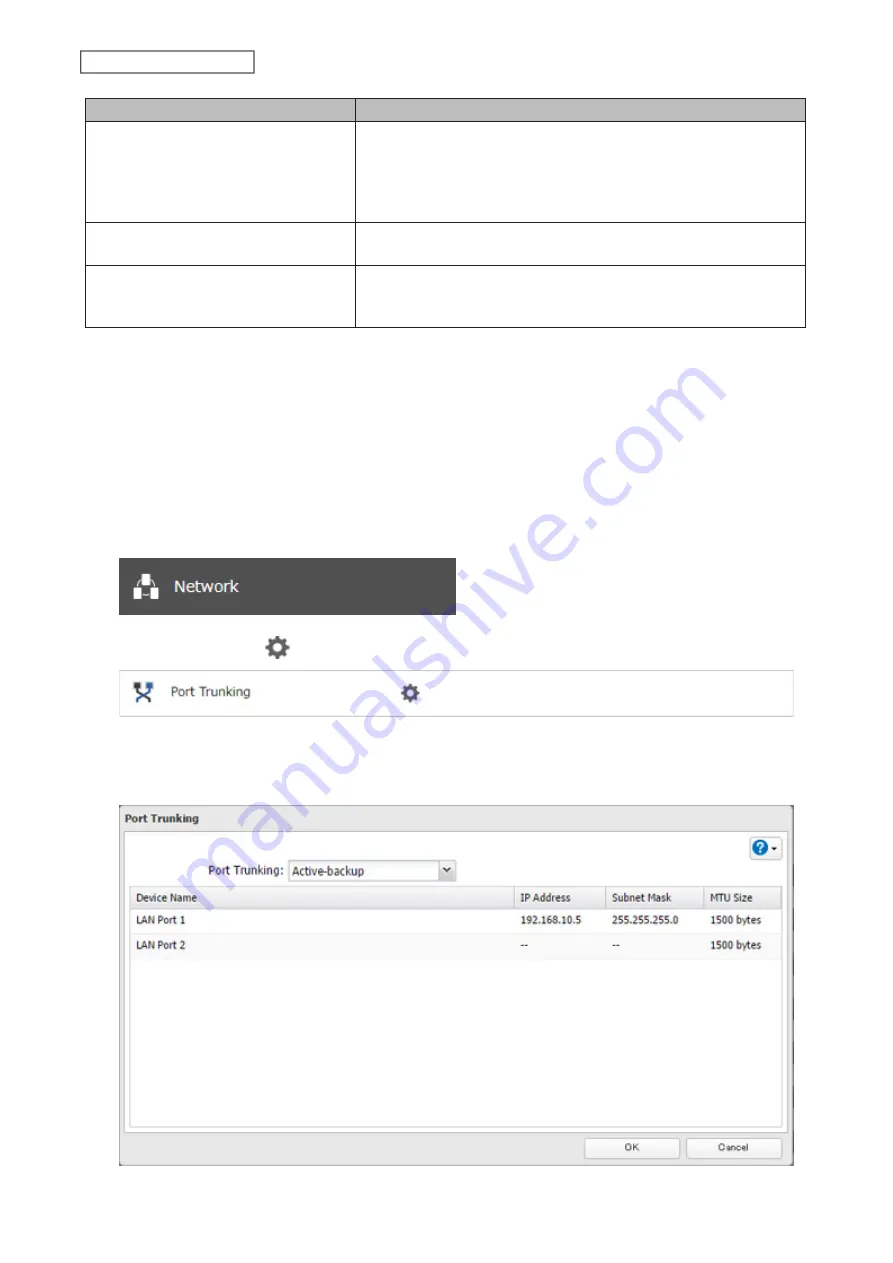
Trunking Mode
Characteristics
Dynamic link aggregation
Creates aggregation groups that share the network speed and duplex
settings. Utilizes all slave network interfaces in the active aggregator
group according to the 802.3ad specification.
Note:
To use this mode, a separate intelligent switch that supports
IEEE 802.3ad is required. Configure LACP on the switch first.
TLB
The outgoing network packet traffic is distributed according to the
current load (relative to the speed) on each network interface slave.
ALB
The incoming and outgoing network packet traffic is distributed
according to the current load on each network interface slave. The
receive load balancing is achieved by ARP negotiation.
Note:
If the TeraStation is being used as an iSCSI drive, disable iSCSI before changing network settings such as port
trunking. Navigate to
Storage
>
iSCSI
in Settings and move the iSCSI switch to the
off
position temporarily.
1
Use an Ethernet cable to connect the hub LAN port and TeraStation LAN port.
Notes:
• Do not connect the second Ethernet cable to the TeraStation yet.
• If using an intelligent switch, configure the LAN ports on the switch first, before connecting to the
TeraStation.
2
From Settings, click
Network
.
3
Click the settings icon (
) to the right of “Port Trunking”.
4
Select the LAN port that will be used and choose a port trunking bond, then click the port group.
5
Select the port trunking mode and click
OK
.
Summary of Contents for TeraStation 3010
Page 29: ...28 Chapter 3 File Sharing 3 Click Create User...
Page 32: ...31 Chapter 3 File Sharing 3 Click Add Group...
Page 71: ...70 Chapter 4 Storage Management 6 Click Edit under NAS Volume 7 Click Create Volume...
Page 88: ...87 Chapter 5 Backup 4 Enter the backup device access key and click OK 5 Click Add...
Page 111: ...110 Chapter 5 Backup 3 Click Select Backup Disk 4 Select the shared folder then click Use Disk...
Page 113: ...112 Chapter 5 Backup 7 Time Machine will count down from 120 seconds then backup will begin...
Page 125: ...124 Chapter 6 Cloud Services and Remote Access 5 Click Edit...
Page 137: ...136 Chapter 6 Cloud Services and Remote Access 4 Click the Options tab 5 Click Edit...
Page 147: ...146 Chapter 6 Cloud Services and Remote Access 4 Click the Options tab...
Page 148: ...147 Chapter 6 Cloud Services and Remote Access 5 Click Edit...
Page 176: ...175 Chapter 7 Advanced Features 11Click the NFS Rules tab 12Click Add...
Page 205: ...204 Chapter 7 Advanced Features 3 Click FQDN Mapping 4 Click Add...


