191
Chapter 7 Advanced Features
Available duration and capacity to save logs will vary depending on the unit. The following values are
available:
• Log destination is set to the system area
Unit (Size): 1–100 for file sizes and 1–13 for all versions
• Log destination is set to a designated folder
◦
Unit (Day): 1–367 for all versions
◦
Unit (Week): 1–53 for all versions
◦
Unit (Month): 1–13 for all versions
◦
Unit (Size): 1–100 for file sizes and 1–13 for all versions
5
Click
OK
.
Notes:
• To delete the saved logs, click
Delete
at the window in step 3.
• If there is not enough space to save logs, the
I70
message will appear on the Dashboard in Settings and NAS
Navigator2. If it appears, free up space by deleting the current file access logs. If no free space is made available
elsewhere, older logs will automatically be deleted.
• If the shared folder to which logs are saved was created on a drive or RAID array, and that drive or RAID array is
later changed using RMM, the log folder will be automatically changed to the system area. The
I72
message will
also appear on the Dashboard in Settings and NAS Navigator2.
• You cannot delete a RAID array, format a drive, or change a folder name while file access logs are being saved to
the shared folder.
Updating the Firmware
If a new firmware version is available, a message is displayed when the TeraStation boots. You can update the
firmware either manually or automatically.
Notes:
• If all drives and RAID arrays on the TeraStation have LVM enabled but no LVM volumes have been created, you will
not able to update the firmware from Settings.
• Settings will not be available while the firmware is updating. Don’t try to access Settings from another computer
until the update is completed.
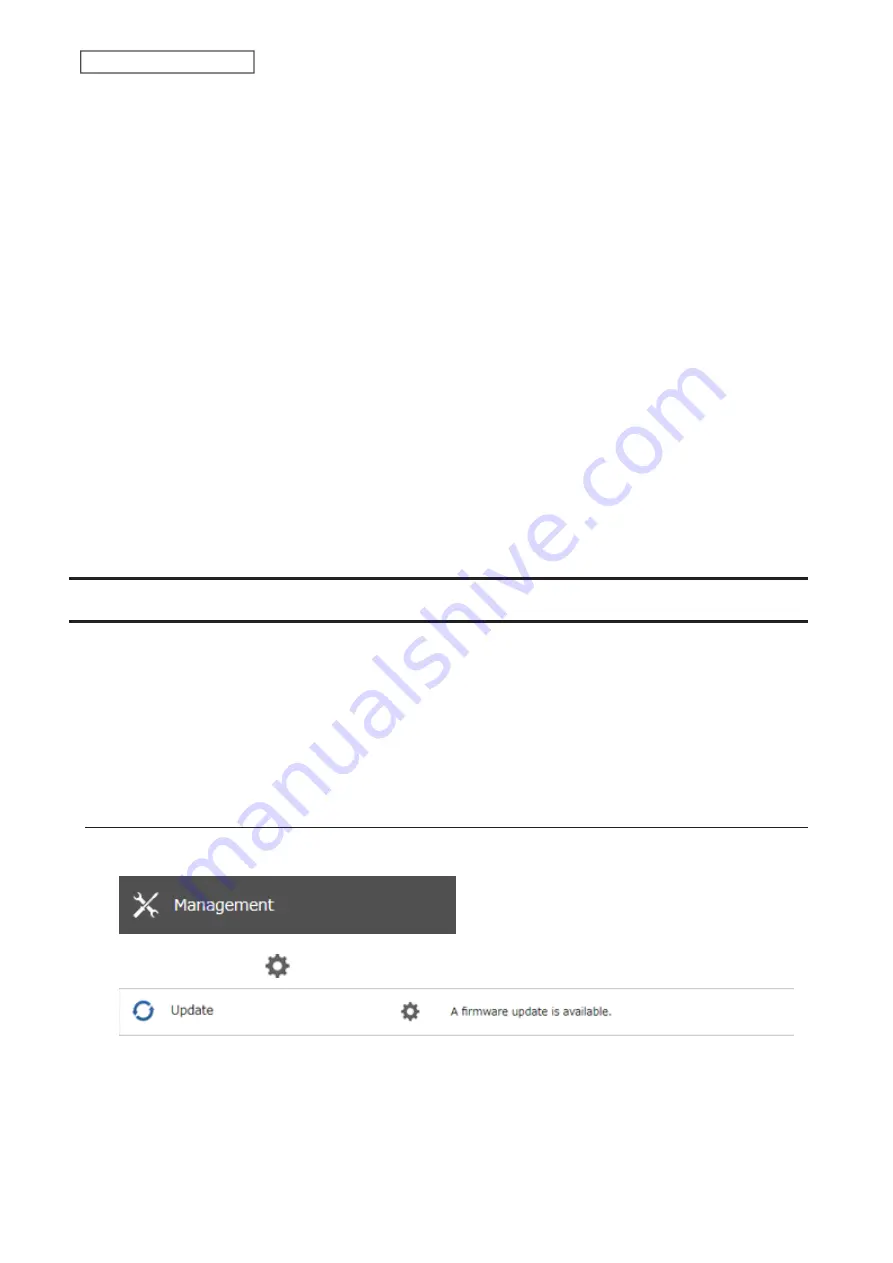
Updating Manually
1
From Settings, click
Management
.
2
Click the settings icon (
) to the right of “Update”.
3
Click
Install Update
.
4
The “Confirm Operation” screen will open. Enter the confirmation number, then click
OK
.
5
When updating the firmware is completed, refresh the browser and log in to Settings again.
Summary of Contents for TeraStation 3010
Page 29: ...28 Chapter 3 File Sharing 3 Click Create User...
Page 32: ...31 Chapter 3 File Sharing 3 Click Add Group...
Page 71: ...70 Chapter 4 Storage Management 6 Click Edit under NAS Volume 7 Click Create Volume...
Page 88: ...87 Chapter 5 Backup 4 Enter the backup device access key and click OK 5 Click Add...
Page 111: ...110 Chapter 5 Backup 3 Click Select Backup Disk 4 Select the shared folder then click Use Disk...
Page 113: ...112 Chapter 5 Backup 7 Time Machine will count down from 120 seconds then backup will begin...
Page 125: ...124 Chapter 6 Cloud Services and Remote Access 5 Click Edit...
Page 137: ...136 Chapter 6 Cloud Services and Remote Access 4 Click the Options tab 5 Click Edit...
Page 147: ...146 Chapter 6 Cloud Services and Remote Access 4 Click the Options tab...
Page 148: ...147 Chapter 6 Cloud Services and Remote Access 5 Click Edit...
Page 176: ...175 Chapter 7 Advanced Features 11Click the NFS Rules tab 12Click Add...
Page 205: ...204 Chapter 7 Advanced Features 3 Click FQDN Mapping 4 Click Add...


