99
Chapter 5 Backup
4
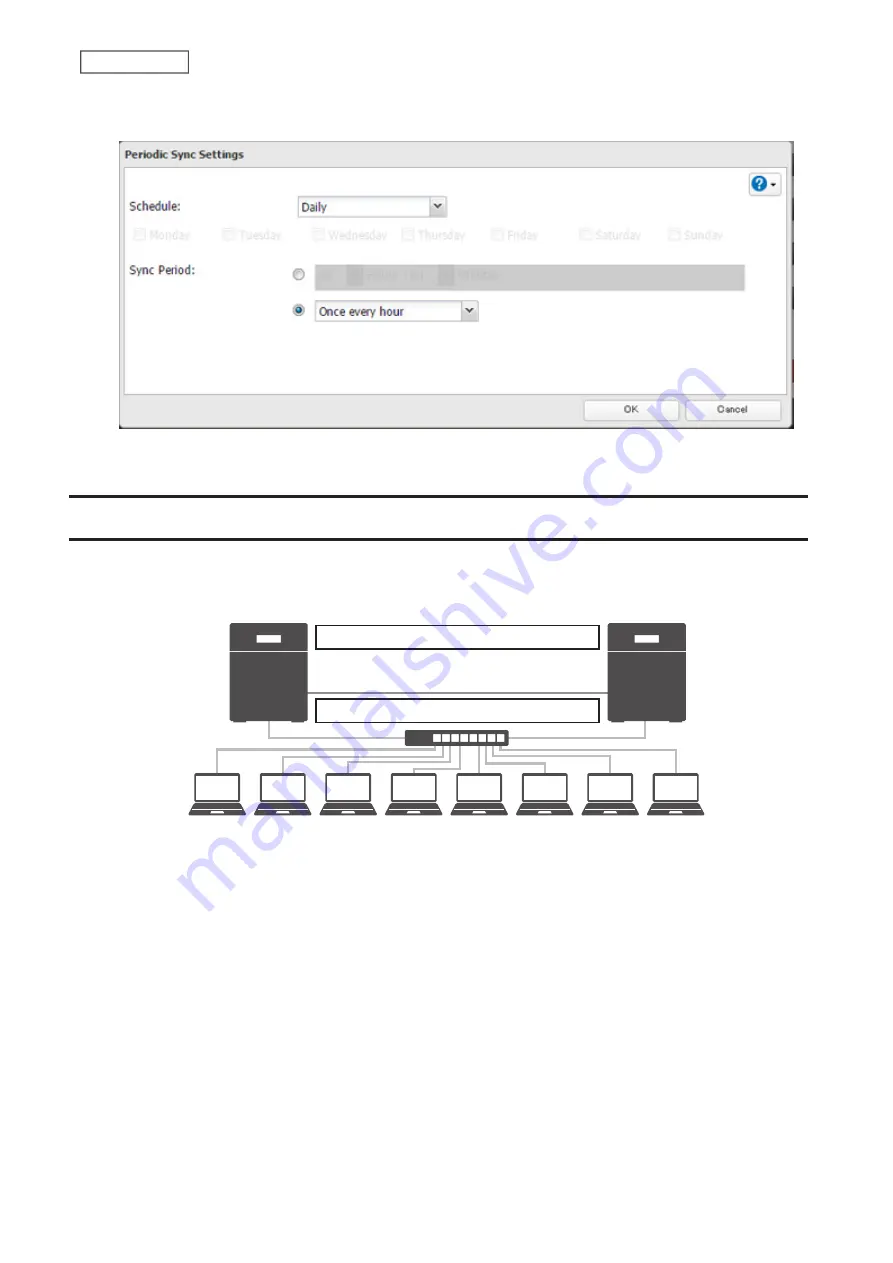
Select “Daily” or “Weekly” from the “Schedule” drop-down list. If “Daily” is selected, configure the sync period. If
“Weekly” is selected, specify the weekdays and the sync period.
5
When the configuration is completed, click
OK
.
Failover
With failover, two TeraStations are connected to the network for redundancy, with one being the main TeraStation
and the other being the backup TeraStation. If an issue renders the main TeraStation inaccessible, operation
automatically switches to the backup TeraStation.
Switches automatically if failure occurs.
Data on both TeraStations stays up-to-date.
Backup
Main
Failover will activate if any of the following occurs:
•
The backup TeraStation cannot detect the main TeraStation within a specified time
If the backup TeraStation has not received a packet from the main TeraStation within a specified time, the backup
TeraStation considers the main TeraStation to have failed. By default, it will try five times and wait 60 seconds. If
this is triggered by accident, reconfigure failover from the main TeraStation.
•
Errors
Failover will occur if any of the following errors occur:
E12
(cooling failure),
E14
(cannot mount RAID array),
E16
*
(drive not found),
E22
*
(cannot mount drive),
E30
*
(drive failure)
*This triggers when the drive is configured in JBOD.
Notes:
• Only use identical model and capacity TeraStations for failover. If the capacity of the main TeraStation is larger
than that of the backup TeraStation, an
I33
replication error will occur.
• All drive bays of a TeraStation should be occupied if it will be used for failover. Failover will not work if a drive is
missing from any bay.
Summary of Contents for TeraStation 3010
Page 29: ...28 Chapter 3 File Sharing 3 Click Create User...
Page 32: ...31 Chapter 3 File Sharing 3 Click Add Group...
Page 71: ...70 Chapter 4 Storage Management 6 Click Edit under NAS Volume 7 Click Create Volume...
Page 88: ...87 Chapter 5 Backup 4 Enter the backup device access key and click OK 5 Click Add...
Page 111: ...110 Chapter 5 Backup 3 Click Select Backup Disk 4 Select the shared folder then click Use Disk...
Page 113: ...112 Chapter 5 Backup 7 Time Machine will count down from 120 seconds then backup will begin...
Page 125: ...124 Chapter 6 Cloud Services and Remote Access 5 Click Edit...
Page 137: ...136 Chapter 6 Cloud Services and Remote Access 4 Click the Options tab 5 Click Edit...
Page 147: ...146 Chapter 6 Cloud Services and Remote Access 4 Click the Options tab...
Page 148: ...147 Chapter 6 Cloud Services and Remote Access 5 Click Edit...
Page 176: ...175 Chapter 7 Advanced Features 11Click the NFS Rules tab 12Click Add...
Page 205: ...204 Chapter 7 Advanced Features 3 Click FQDN Mapping 4 Click Add...


