152
Chapter 6 Cloud Services and Remote Access
FTP
By default, the TeraStation’s shares are only accessible by users connected to the same network or router as the
TeraStation. The optional FTP server allows users outside the local network to access the TeraStation.
Note:
FTP is intended for users who already have FTP client software and have experience with it.
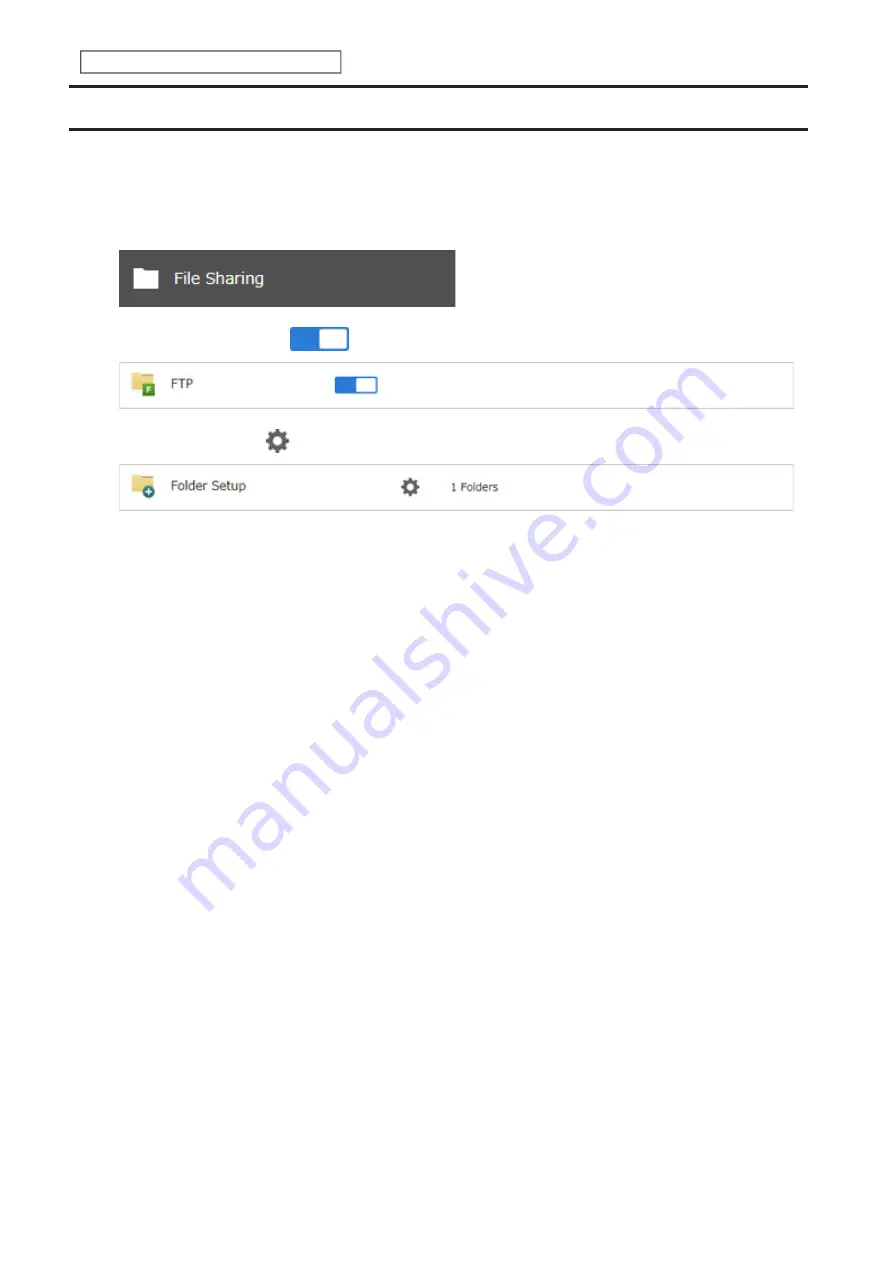
1
From Settings, click
File Sharing
.
2
Move the FTP switch to the
position to enable FTP.
3
Click the settings icon (
) to the right of “Folder Setup”.
4
Choose a folder to enable remote FTP access on.
5
Under “LAN Protocol Support”, select the “FTP” checkbox on the
Basic
tab; select read-only or read and write for
the shared folder’s attribute on the
Option 2
tab and click
OK
.
Accessing the TeraStation with an FTP Client
To access the TeraStation via FTP, configure your FTP client software with the following settings:
• Hostname: IP address of the TeraStation
• Username: the TeraStation’s username
• Password: the TeraStation’s password
• Port: 21
Accessing the TeraStation with an Anonymous User
To allow anonymous access to your FTP share, disable access restrictions. Configure your FTP client software with
the following settings for anonymous FTP access:
• Hostname: IP address of the TeraStation
• Username: “Anonymous”
• Password: any character string
• Port: 21
Notes:
• If the TeraStation joins a domain, domain and anonymous users cannot remote access via FTP. Domain users will
be able to access remotely using SFTP.
• Shared folders connected by FTP are available from the “/mnt” folder. The examples of default locations are:
/mnt/array1/share
/mnt/disk1/share
/mnt/usbdisk1
Summary of Contents for TeraStation 3010
Page 29: ...28 Chapter 3 File Sharing 3 Click Create User...
Page 32: ...31 Chapter 3 File Sharing 3 Click Add Group...
Page 71: ...70 Chapter 4 Storage Management 6 Click Edit under NAS Volume 7 Click Create Volume...
Page 88: ...87 Chapter 5 Backup 4 Enter the backup device access key and click OK 5 Click Add...
Page 111: ...110 Chapter 5 Backup 3 Click Select Backup Disk 4 Select the shared folder then click Use Disk...
Page 113: ...112 Chapter 5 Backup 7 Time Machine will count down from 120 seconds then backup will begin...
Page 125: ...124 Chapter 6 Cloud Services and Remote Access 5 Click Edit...
Page 137: ...136 Chapter 6 Cloud Services and Remote Access 4 Click the Options tab 5 Click Edit...
Page 147: ...146 Chapter 6 Cloud Services and Remote Access 4 Click the Options tab...
Page 148: ...147 Chapter 6 Cloud Services and Remote Access 5 Click Edit...
Page 176: ...175 Chapter 7 Advanced Features 11Click the NFS Rules tab 12Click Add...
Page 205: ...204 Chapter 7 Advanced Features 3 Click FQDN Mapping 4 Click Add...


