184
Chapter 7 Advanced Features
3
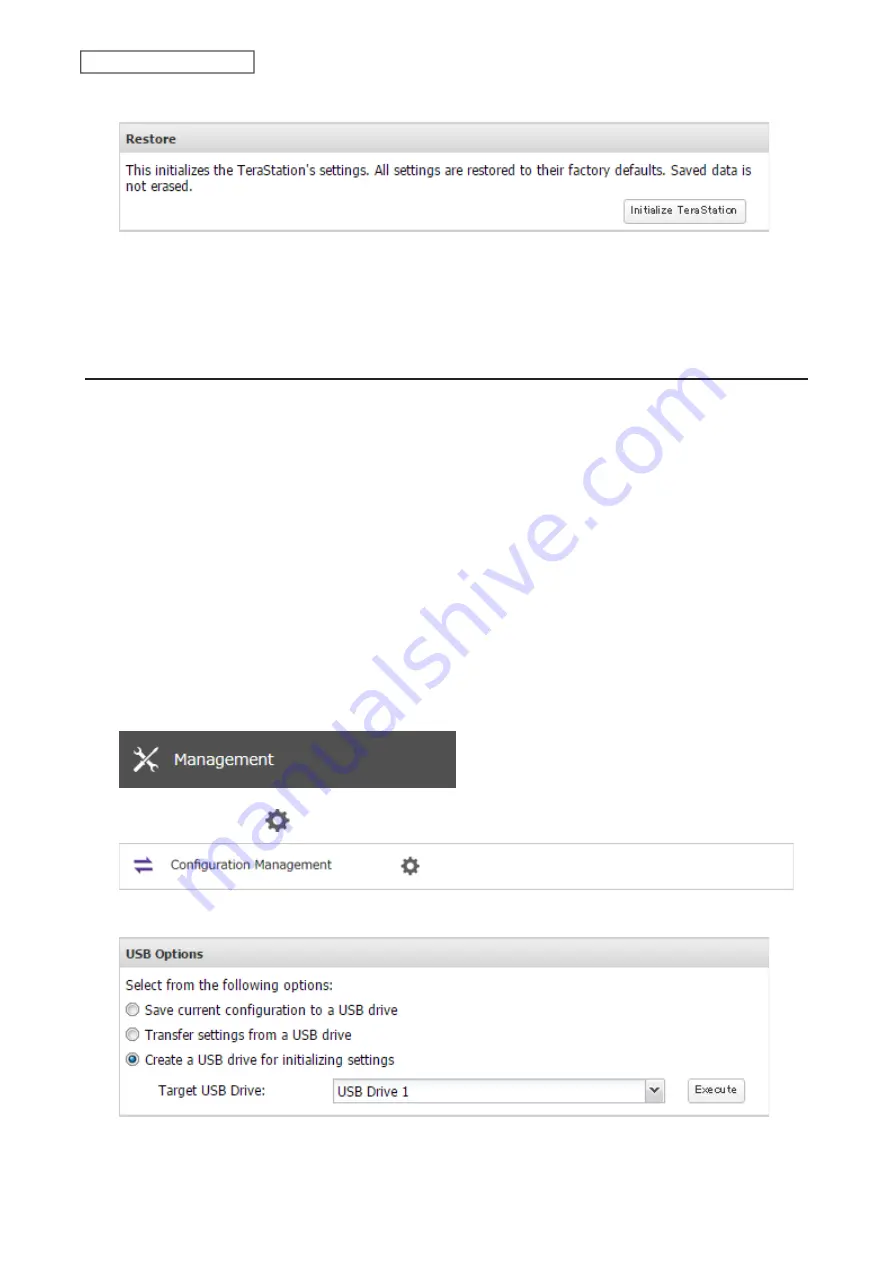
Click
Initialize TeraStation
.
4
The “Confirm Operation” screen will open. Enter the confirmation number, then click
OK
.
5
The TeraStation will restore its factory default settings. Close the browser and wait until the initialization is
finished.
Initializing Using the USB Initialization Drive
A USB initialization drive will restore the settings on your TeraStation to their factory defaults. You can initialize them
without logging in to Settings. Follow the procedure below to create a USB initialization drive.
Notes:
• You can use the USB initialization drive to initialize settings on the same TeraStation unit that created it.
• Normally, making and using a USB initialization drive will not affect data on the TeraStation. However, always back
up your data regularly!
• This USB drive can be used to recover the system if your TeraStation doesn’t boot at all. In this case, if the data
partition is damaged, then all your data will be deleted by the recovery process.
Creating a USB Initialization Drive
1
Insert a 1 GB or larger USB drive (not included) into a USB port on the TeraStation.
Note:
All data on the USB drive will be erased!
2
From Settings, click
Management
.
3
Click the settings icon (
) to the right of “Configuration Management”.
4
Select “Create a USB drive for initializing settings”.
5
From “Target USB Drive”, select the USB drive that is connected to the USB port on the TeraStation, then click
Execute
.
Summary of Contents for TeraStation 3010
Page 29: ...28 Chapter 3 File Sharing 3 Click Create User...
Page 32: ...31 Chapter 3 File Sharing 3 Click Add Group...
Page 71: ...70 Chapter 4 Storage Management 6 Click Edit under NAS Volume 7 Click Create Volume...
Page 88: ...87 Chapter 5 Backup 4 Enter the backup device access key and click OK 5 Click Add...
Page 111: ...110 Chapter 5 Backup 3 Click Select Backup Disk 4 Select the shared folder then click Use Disk...
Page 113: ...112 Chapter 5 Backup 7 Time Machine will count down from 120 seconds then backup will begin...
Page 125: ...124 Chapter 6 Cloud Services and Remote Access 5 Click Edit...
Page 137: ...136 Chapter 6 Cloud Services and Remote Access 4 Click the Options tab 5 Click Edit...
Page 147: ...146 Chapter 6 Cloud Services and Remote Access 4 Click the Options tab...
Page 148: ...147 Chapter 6 Cloud Services and Remote Access 5 Click Edit...
Page 176: ...175 Chapter 7 Advanced Features 11Click the NFS Rules tab 12Click Add...
Page 205: ...204 Chapter 7 Advanced Features 3 Click FQDN Mapping 4 Click Add...


