8
About Wiring For Your Central Offi ce (CO) Lines
Contact your local phone company to arrange for the CO lines to be activated at your home/of
fi
ce.
We recommend that if you have two or more CO lines, the lines be set up for Central Of
fi
ce “rotary
group”. With a rotary group, callers won’t receive a busy signal unless all lines are in use.
For example, if you order four CO lines, you might publish Line 1 as your main number and Line
4 as your fax number. If a call comes into Line 1 and it is busy, the second line will ring. If Line 2
is busy, the third line will ring, then the fourth (fax line). If all lines are busy, the caller receives a
busy signal. With a rotary group, it’s not necessary to dedicate a phone line for fax calls. The fax
line can serve as an over-
fl
ow voice line (unless your fax is being used).
Connection Instructions: Central Offi ce (CO) Lines
The following instructions and associated diagrams illustrate how to connect your Central Of
fi
ce
(CO) lines to an IPS 416 model. The IPS 308 model is identical except that it has only three jacks
for connecting Central Of
fi
ce lines.
1. Remove the screw that holds the phone jack access panel in place (at the bottom of the unit).
Gently grasp the sides of the panel and remove it.
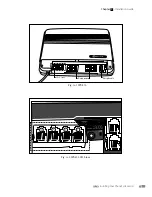
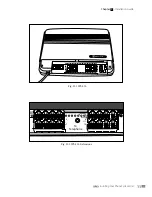
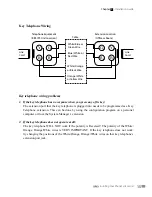
2. The block of four jacks from Central Of
fi
ce lines is located at the far left of the IPS 416 model
unit (See Fig. A-1). On an IPS 308 model, it is a block of three jacks (located to the right of
the block of eight jacks for extensions).
Note: Notice that the order of the CO jacks for the 416 are numbered 4 to 1. (See Fig.A-2.)
The order of the 308 is 1 to 3.
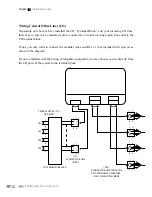
3. Locate your
fi
rst published telephone number. It should have the telephone number written
on one of the RJ-11 connectors installed by the telephone company. Plug one end of the line
cord into the RJ-11 connector. Plug the other end into the “CO Line 1” jack on the IPS unit.
4. Repeat this process for the other CO lines. Record the line assignments for future reference.
Installing Your Phone System Unit
Chapter
2
- Installation Guide


