Configuration
68
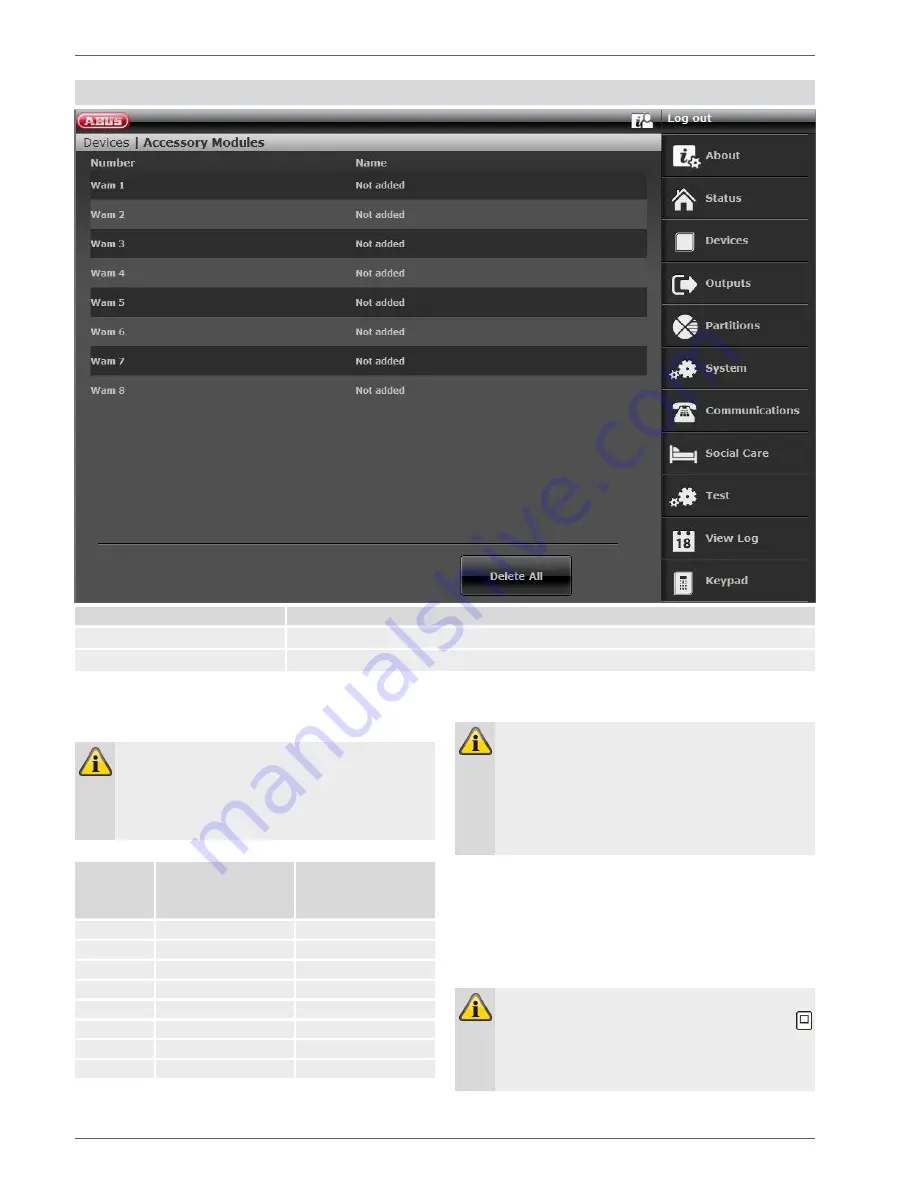
WUM (Wireless Universal Module)
Name/function
Explanation
Number
The number comprises the component type (WAM) and a consecutive number.
Name
Unique name of the wireless universal module
Adding a wireless universal module.
Note
Ensure that reserved outputs and zones are as-
signed to each WAM.
See the table of reserved WAM outputs/zones be-
low.
Wireless
universal
module
Reserved
outputs
Reserved
zones
WAM 1
229
–232
248
WAM 2
225
–228
247
WAM 3
221
– 224
246
WAM 4
217
–220
245
WAM 5
213
–216
244
WAM 6
209
–212
243
WAM 7
205
–208
242
WAM 8
201
–204
241
Note
Configure the universal module as describe in the
WUM installation instructions, e.g. as a wireless
sender/receiver (function 3).
Once the wireless universal module has been
configured as per the instructions, it can be added
to the system.
1. Select
Add/Del WAM
.
2.
Select
the corresponding wireless universal module
(WAM). Up to
eight
wireless universal modules can
be taught in.
3. Select, for example,
WAM 1
.
4. Trigger the tamper contact on the WAM.
Note
When WAM modules are taught in, the
symbol
appears next to the WAM number.
Check
the information of the wireless universal
module.
Summary of Contents for SECVEST FUAA50 Series
Page 12: ...Device overview 12 International key assignment...
Page 39: ...Configuration 39 Communication...
Page 46: ...Configuration 46 Components Teach in via web interface...
Page 74: ...Configuration 74 Outputs...
Page 85: ...Configuration 85 1 Select menu item Type...
Page 94: ...Configuration 94...
Page 111: ...Configuration 111 System...
Page 148: ...Configuration 148 Communication Network...
Page 157: ...Configuration 157 ARC reporting...
Page 159: ...Configuration 159...
Page 177: ...Configuration 177 Voice dialler S W 3 00 05...
Page 185: ...Configuration 185...
Page 216: ...Configuration 216...
Page 229: ...Configuration 229 Log S W v2 01 08...
Page 278: ...Appendix 278...
Page 326: ......


