VIGIL Software v8.8 User Manual |
VISIX V-Series All-in-One Cameras
10225 Westmoor Drive, Suite 300, Westminster, CO 80021 | www.3xlogic.com | (877) 3XLOGIC
29
CONFIGURING A 3XLOGIC ALL-IN-ONE CAMERA IN THE VIGIL ANALYTICS BRIDGE
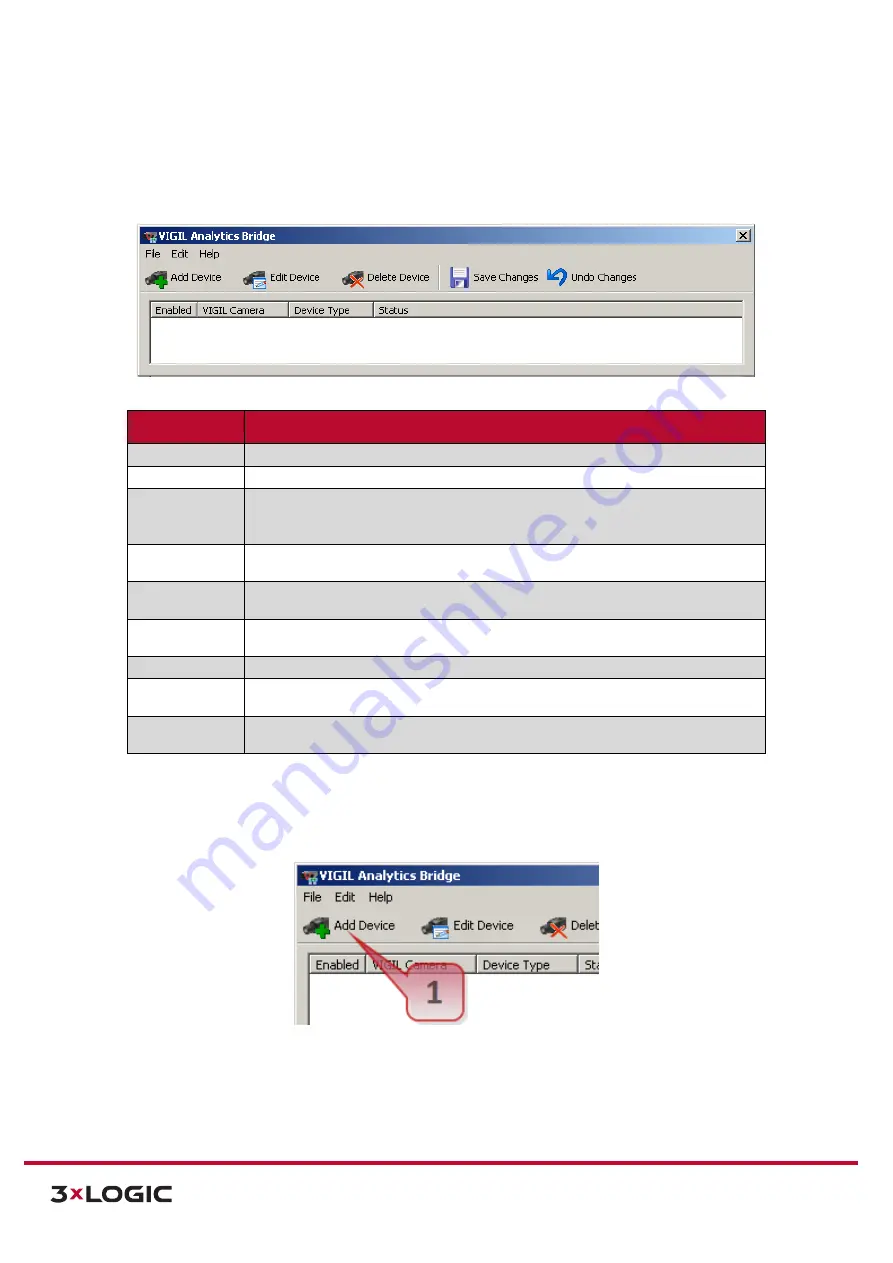
The Analytics Bridge main screen is pictured below. All configuration of the Analytics Bridge takes place
from this screen.
Figure 4-20:
VIGIL Analytics Bridge Main UI
Field
Description
Add Camera
Add/Edit camera opens the Add/Edit window, pictured below.
Delete Camera
Deletes the currently selected camera.
Enable All
Enable/Disable All. Enables and disables all cameras configured in VIGIL Analytics
Bridge. Disabling the cameras will stop VIGIL from perceiving the camera’s
analytics data.
Save Changes
Saves any changes done after a new camera is configured. Will only appear after a
new camera has been configured or an existing one has been edited.
Undo Changes
Undoes any configuration changes. Will only appear after a new camera has been
configured or an existing one has been edited.
Enabled
Enabled cameras will send analytics data to VIGIL Server. Disabled cameras will
continue to record as normal, but will not retain any analytics data.
VIGIL Camera
The name of the camera as defined in VIGIL Server.
Type
The type of the camera:
3xLOGIC, SenTech Crosspoint, UDP or VideoIQ
.
Select
3xLOGIC for 3xLOGIc All-in-One cameras.
Status
Will display either
Receiving events
or
Stopped.
Related to whether or not the
camera is enabled or disabled.
Steps:
1).
To begin configuration of the 3xLOGIC All-in-One camera within VIGIL Analytics Bridge, click
Add
Device.
Figure 4-21:
Adding a Device to VIGIL Analytics Bridge


