Emprise 7000 Installation and Service Guide 95
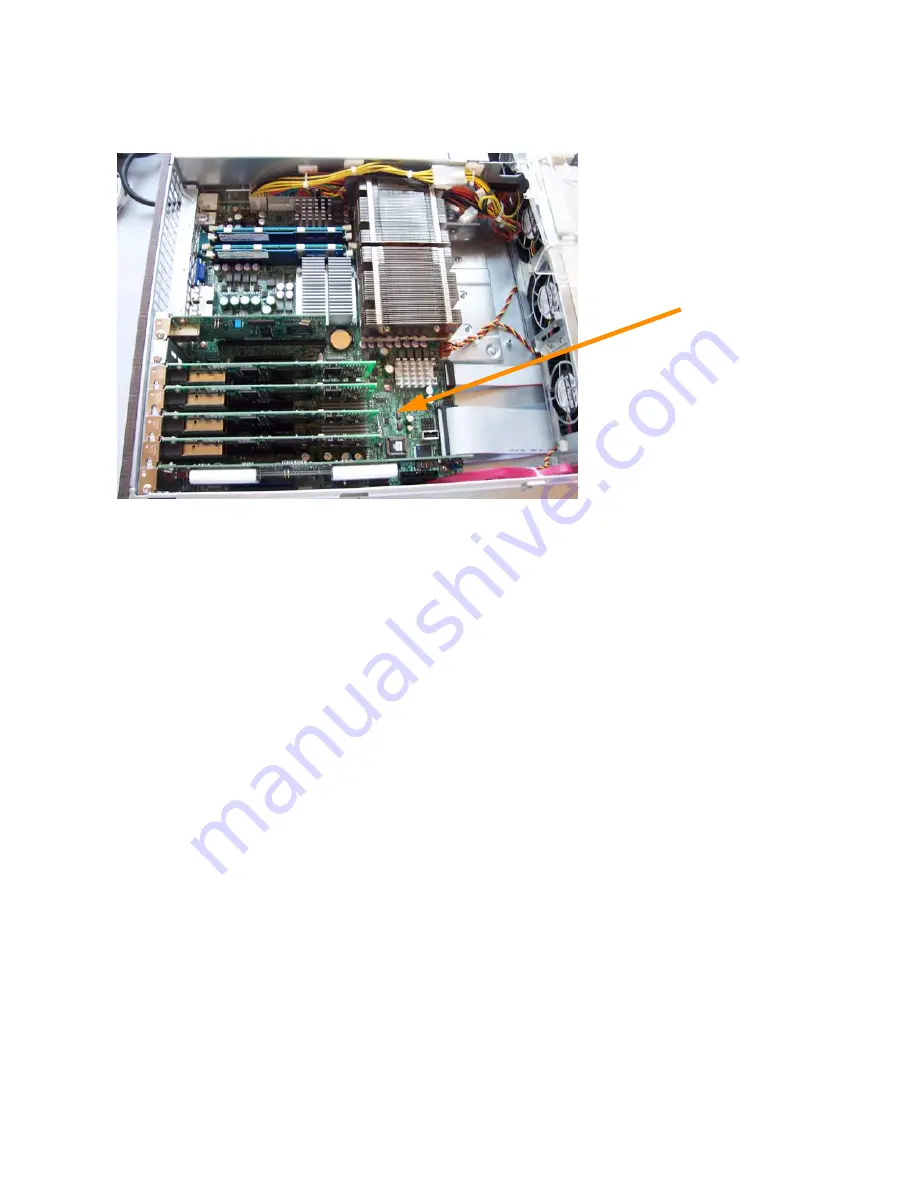
17. Carefully remove the FC and/or iSCSI interface cards from the failed controller, insert them in
the same slots in the replacement controller, and replace the screws.
18. Replace the controller covers.
19. Remove the rails from the old controller chassis and install them on the new controller
chassis, as follows:
a. Remove the two screws securing the rail to the old controller.
b. Slide the rail toward the rear of the controller and pull it off.
c. Re-install and secure the rail to the new controller with the two screws.
20. Slide the replacement controller into the rack, and use the screwdriver to replace the screws
and secure the controller in the rack.
21. Remove the front grill from the old controller and place it on the new controller.
22. Reconnect the cables to the appropriate ports by noting the cable labels. Reconnect the
power cords.
23. Upgrade the controller firmware by using the CD installation procedure. See “Upgrading the
Controller Firmware with a CD” on page 102 to upgrade the controller. When you are done
with that procedure, keep HyperTerminal running and return here to complete the controller
replacement procedure.
24. In the Serial console opened for step 23, press Enter and select
C
for controller setup. If the
controller has a configuration on it, a warning message will appear.
25. Select
C
again to enter the IP address. At the prompts, type the IP address, netmask, and
gateway. The IP address was recorded in step 2 of this procedure. The customer should be
able to provide the netmask and gateway.
26. At the prompts, type the Dimensional Storage Cluster ID and the controller node ID (0 or 1)
recorded from the failed controller.
27. Type
y
to answer Yes to the controller replacement question. Another message appears.
Type
y
again to apply the changes. The controller completes booting.
Interface Cards (2 to 4)


