5 Printing from Windows
234 Setting Up Print Options
— Add/Edit Watermark
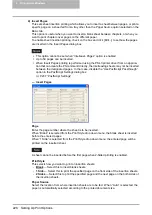
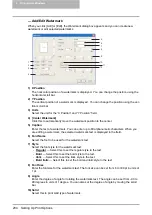
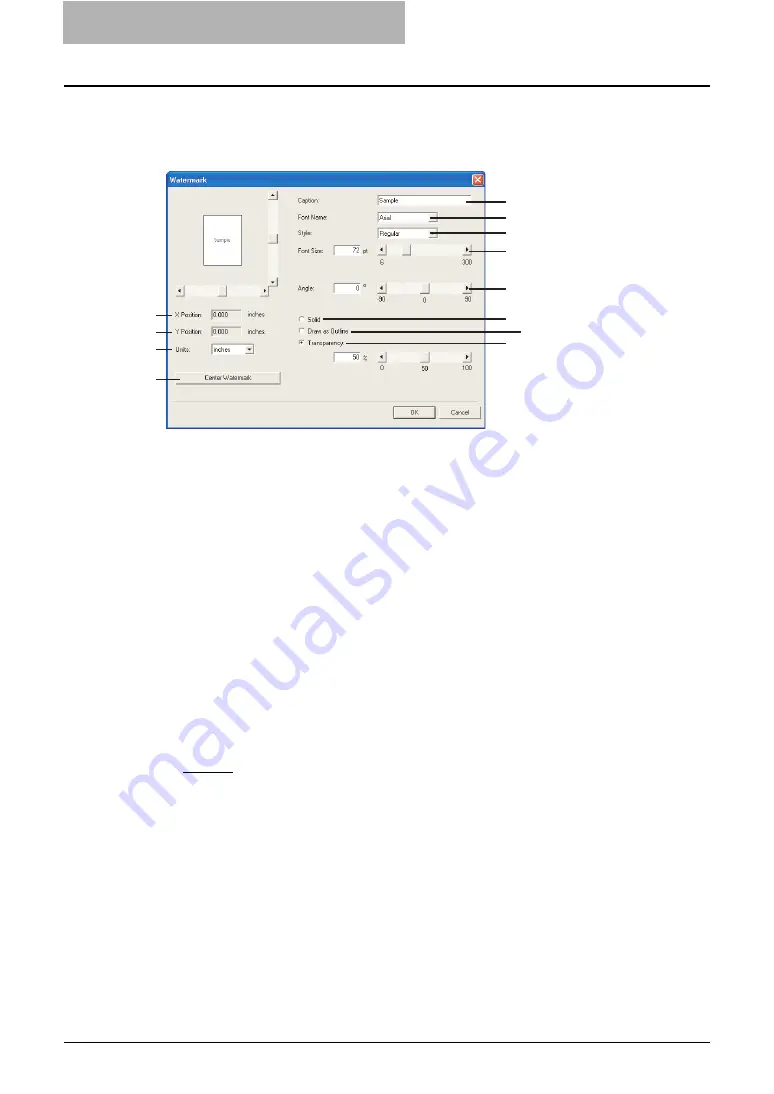
When you click [Add] or [Edit], the Watermark dialog box appears and you can create new
watermark or edit selected watermarks.
1) X Position
The horizontal position of a watermark is displayed. You can change the position using the
horizontal scroll bar.
2) Y Position
The vertical position of a watermark is displayed. You can change the position using the ver-
tical scroll bar.
3) Units
Select the unit for the “X Position” and “Y Position” field.
4) [Center Watermark]
Click this to automatically move the watermark position to the center.
5) Caption
Enter the text of a watermark. You can enter up to 63 alphanumeric characters. When you
are editing a watermark, the selected watermark text is displayed in the field.
6) Font Name
Select the font to be used for the watermark text.
7) Style
Select the font style for the watermark text.
-
Regular
— Select this to set the regular style to the text.
-
Bold
— Select this to set the bold style to the text.
-
Italic
— Select this to set the italic style to the text.
-
Bold Italic
— Select this to set the bold and italic style to the text.
8) Font Size
Enter the font size for the watermark text. The font size can be set from 6 to 300 pt in units of
1 pt.
9) Angle
Enter the degree of angle for rotating the watermark text. The angle can be set from -90 to
90 degrees in units of 1 degree. You can also set the degree of angle by moving the scroll
bar.
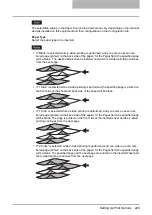
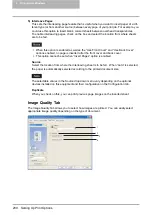
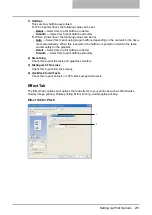
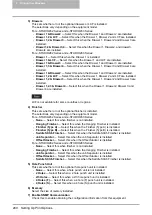
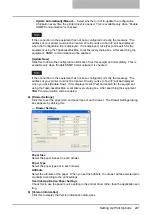
10) Solid
Select this to print solid type of watermark.
11
10
12
5
6
7
8
9
1
2
3
4
Содержание e-studio202L
Страница 1: ...MULTIFUNCTIONAL DIGITAL SYSTEMS Printing Guide ...
Страница 2: ......
Страница 10: ......
Страница 14: ...12 INDEX 349 ...
Страница 20: ......
Страница 200: ......
Страница 332: ......
Страница 333: ...8 Other Printing Methods This equipment also supports following printing methods FTP Printing 332 Email Printing 334 ...
Страница 354: ......
Страница 355: ...DP 3540 4540 DP 2050 2340 2840 OME050105D0 ...

