Spectrum Analyzer Mode
R&S
®
Spectrum Rider FPH
149
User Manual 1321.1011.02 ─ 06.00
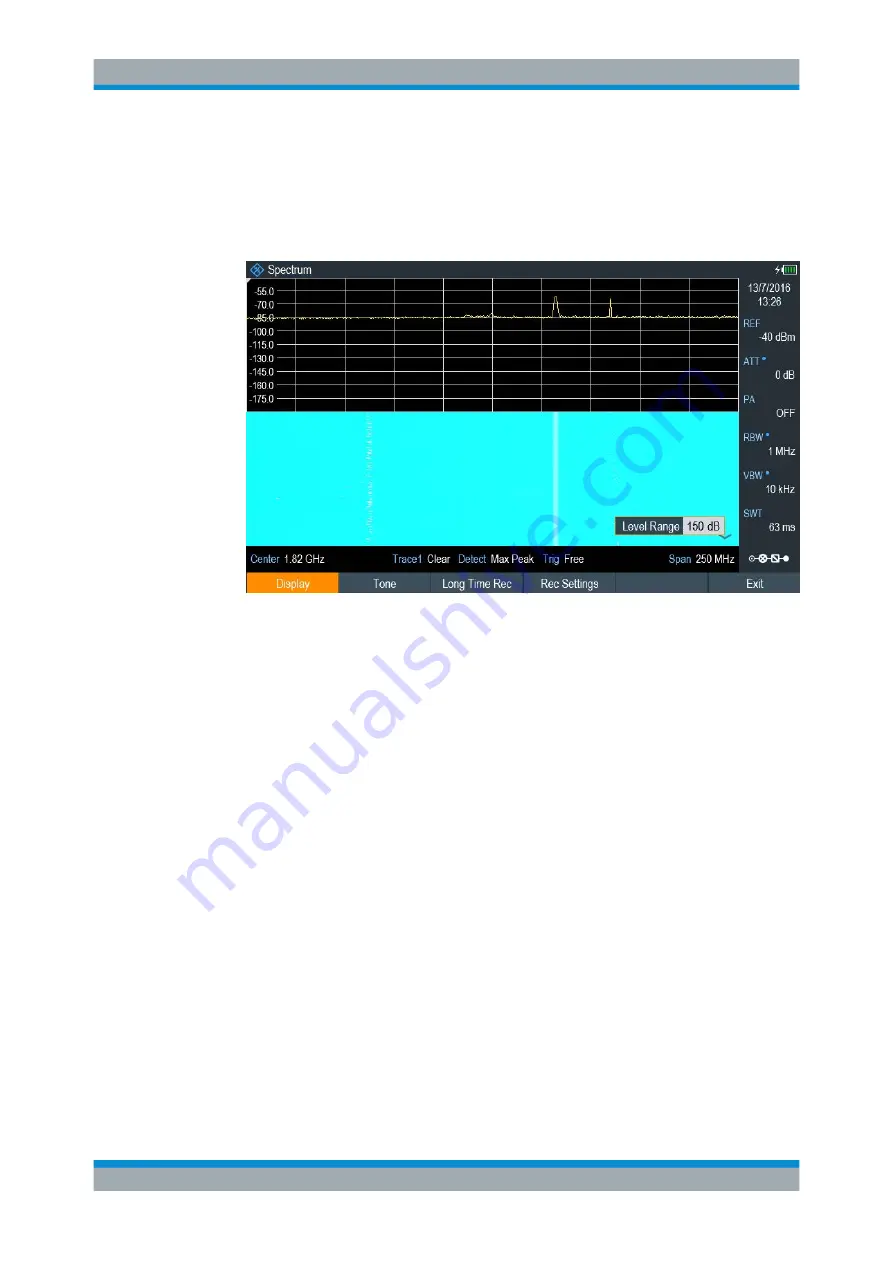
The result however, still does not show signal differences in detail. The only thing
that happened is that the colors have shifted, in the example to yellow, because the
color that corresponds to the reference level has shifted from green to blue. All
other colors that are part of the color scheme are still unused, because the spectro-
gram level range is still the same (150 dB).
5. Select the "Display" softkey.
The R&S Spectrum Rider opens a submenu that contains the display settings for
selection.
6. Select the "Level Range" menu item.
The R&S Spectrum Rider opens an input field to define the level range
In this example, the level range of the signal is from about -45 dBm to about
-85dBm which is about 40dB to 45dB.
7. Set the "Level Range" to 45 dB.
The level range is now adjusted, the R&S Spectrum Rider is able to map its com-
plete color range to the level range of the signal.
The USB signal parts with a low amplitude are in a shade of green while signal
parts with a high amplitude are blue.
The best way to display a spectrogram is therefore to reduce the level range until
the lowest signal part is mapped to the lower end of the color map and the highest
signal part to the upper end of the color map.
In a last step, you can configure the spectrogram in a way that it only shows signal
peaks in color and the noise floor in black. To get such a result, you have to reduce
the level range, until the noise floor is outside the displayed range.
8. Instead of entering a level range of 45 dB, enter a level range of 40 dB.
This level provides a high contrast between signal parts that are above the noise
floor that is drawn in black.
To show details of the noise floor and exclude the peak levels, you have to lower
the spectrogram reference level until it is just above the noise floor.
Performing Spectrum Measurements


