Chapter 6: Using the Web Interface
105
Any tripped circuit breakers or blown fuses
For the background color meanings in this section, see
The Yellow- or
Red-Highlighted Sensors
(on page 101).
Alarms List
You can create event rules that request users to acknowledge certain
alerts, and resend alert notifications if the acknowledgment action is not
taken yet. See
Creating Actions
(on page 214).
If any of these alerts has not been acknowledged since its occurrence,
the Alarms section on the dashboard shows this alert until it is
acknowledged. All alerts on the Alarms section are highlighted in red.
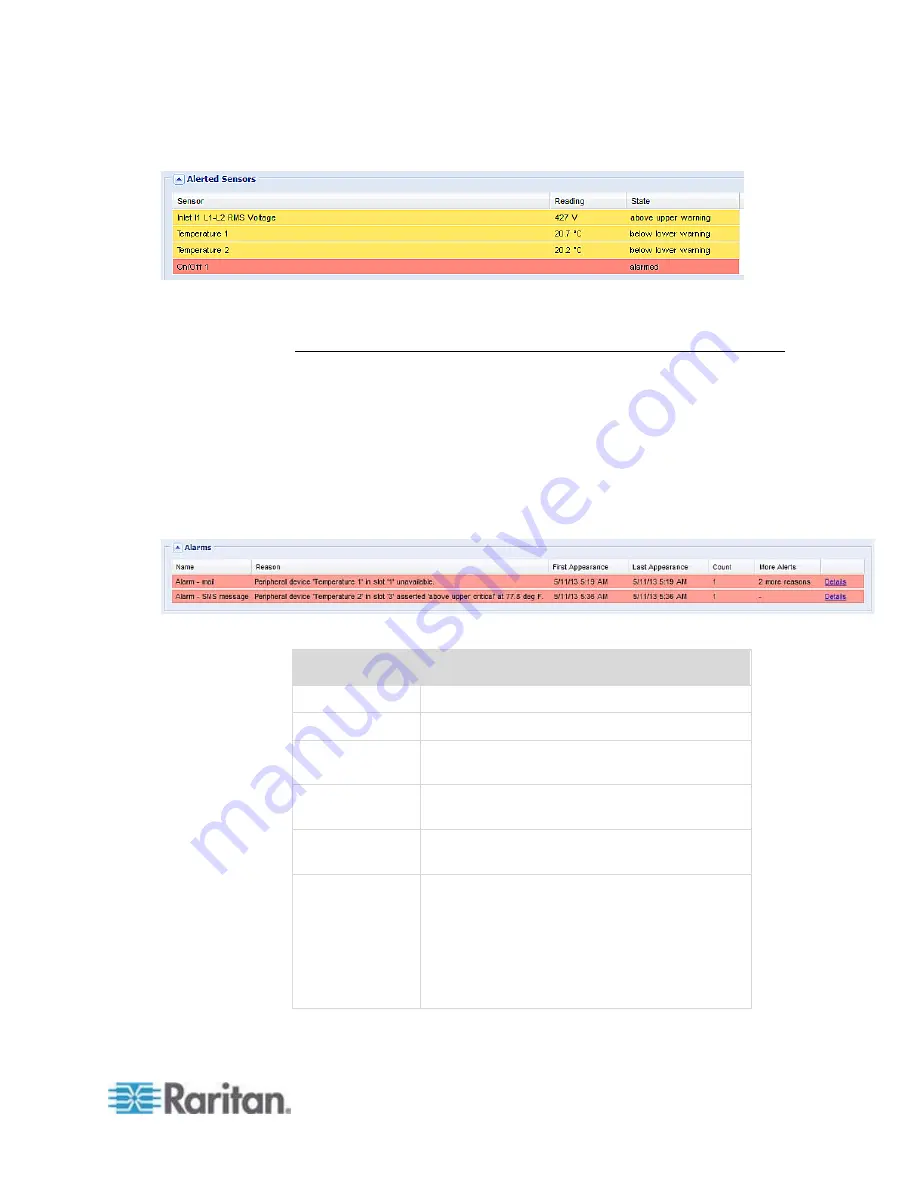
Below is the illustration of the alarms list.
The following table explains each column of the alarms list.
Column
Description
Name
The customized name of the Alarm action.
Reason
The first event that triggers the alert.
First Appearance The date and time when the event indicated in
the Reason column occurred for the first time.
Last Appearance The date and time when the event indicated in
the Reason column occurred for the last time.
Count
The number of times the event indicated in the
Reason column has occurred.
More Alerts
A dash is displayed when there is only one
event triggering this alert.
If there are other types of events triggering
the same alert, the total number of these
additional reasons is displayed. You can
double click that alarm to view a list of all
events that have occurred.
Содержание PX2-1000 SERIES
Страница 5: ......
Страница 71: ...Chapter 4 Connecting External Equipment Optional 52...
Страница 231: ...Chapter 6 Using the Web Interface 212 8 Click OK...
Страница 570: ...Appendix G LDAP Configuration Illustration 551 5 Click OK The PX_Admin role is created 6 Click Close to quit the dialog...
Страница 589: ...Appendix I RADIUS Configuration Illustration 570 Note If your PX uses PAP then select PAP...
Страница 590: ...Appendix I RADIUS Configuration Illustration 571 10 Select Standard to the left of the dialog and then click Add...
Страница 591: ...Appendix I RADIUS Configuration Illustration 572 11 Select Filter Id from the list of attributes and click Add...
Страница 594: ...Appendix I RADIUS Configuration Illustration 575 14 The new attribute is added Click OK...
Страница 595: ...Appendix I RADIUS Configuration Illustration 576 15 Click Next to continue...
Страница 627: ...Appendix K Integration 608 3 Click OK...
Страница 647: ...Index 629 Z Zero U Connection Ports 74 Zero U Products 2...


