Chapter 6: Using the Web Interface
238
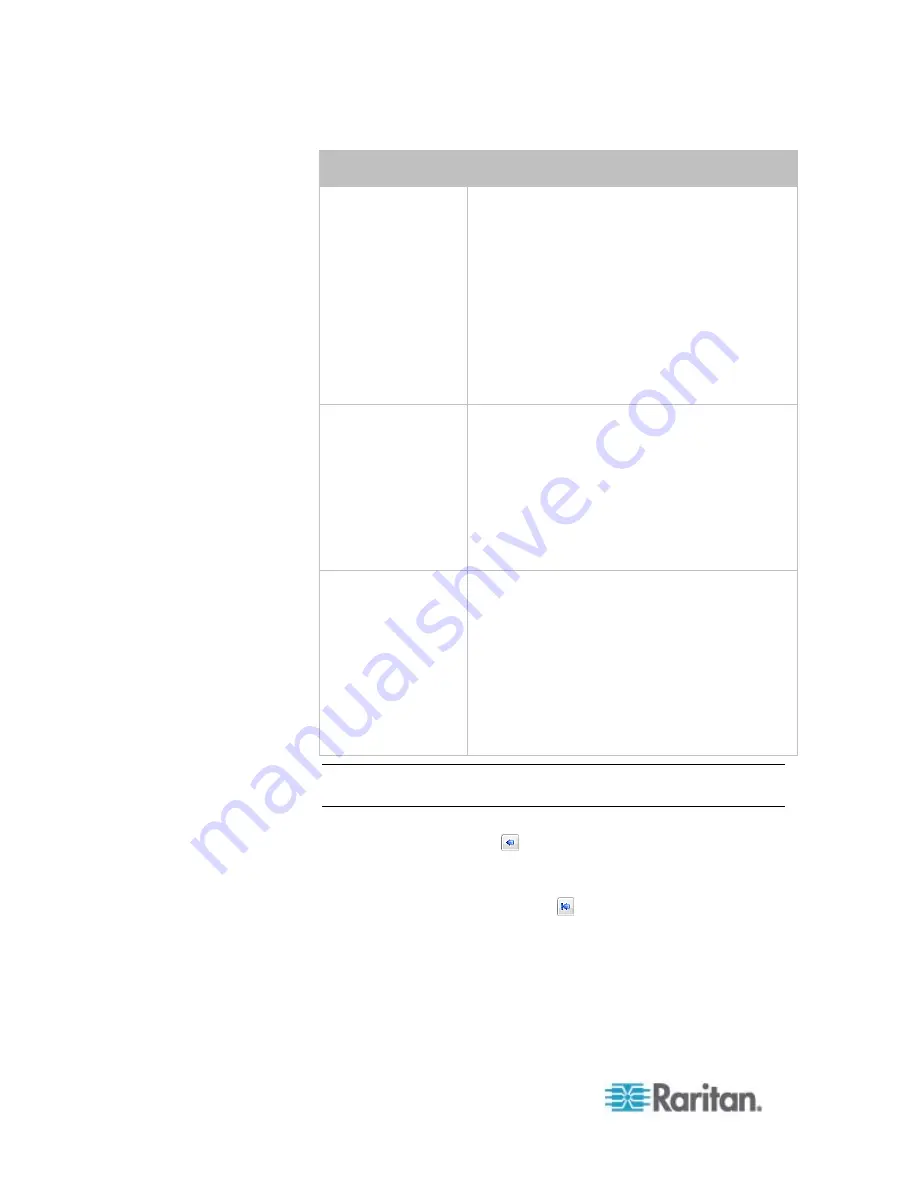
Event types
Radio buttons
Device connection
or disconnection,
such as a
USB-cascaded
slave device
Available radio buttons include "Connected,"
"Disconnected" and "Both."
Connected: The PX takes the action only
when the selected device is physically
connected to it.
Disconnected: The PX takes the action only
when the selected device is physically
disconnected from it.
Both: The PX takes the action both when the
selected device is physically connected to it
and when it is disconnected.
Outlet power state
change
Available radio buttons include "On," "Off" and
"Both."
On: The PX takes the action only when the
chosen outlet is turned ON.
Off: The PX takes the action only when the
chosen outlet is turned OFF.
Both: The PX takes the action when the
chosen outlet is either turned ON or OFF.
PDU load shedding Available radio buttons include "Started,"
"Stopped" and "Both."
Started: The PX takes the action only when
activating the load shedding mode.
Stopped: The PX takes the action only when
deactivating the load shedding mode.
Both: The PX takes the action whenever the
load shedding mode is activated or
deactivated.
Note: The outlet power state change and PDU load shedding events
are available only for outlet-switching capable models.
7. In the Actions field, select the desired action from the "Available
actions" list box, and click
to move it to the "Selected actions" list
box. To make multiple selections, press Ctrl+click or Shift+click to
highlight multiple ones.
To add all actions, simply click
.
If the desired action is not available yet, click Create New Action
to immediately create it. Upon complete, the newly-created
action is moved to the "Selected actions" list box.
Содержание PX2-1000 SERIES
Страница 5: ......
Страница 71: ...Chapter 4 Connecting External Equipment Optional 52...
Страница 231: ...Chapter 6 Using the Web Interface 212 8 Click OK...
Страница 570: ...Appendix G LDAP Configuration Illustration 551 5 Click OK The PX_Admin role is created 6 Click Close to quit the dialog...
Страница 589: ...Appendix I RADIUS Configuration Illustration 570 Note If your PX uses PAP then select PAP...
Страница 590: ...Appendix I RADIUS Configuration Illustration 571 10 Select Standard to the left of the dialog and then click Add...
Страница 591: ...Appendix I RADIUS Configuration Illustration 572 11 Select Filter Id from the list of attributes and click Add...
Страница 594: ...Appendix I RADIUS Configuration Illustration 575 14 The new attribute is added Click OK...
Страница 595: ...Appendix I RADIUS Configuration Illustration 576 15 Click Next to continue...
Страница 627: ...Appendix K Integration 608 3 Click OK...
Страница 647: ...Index 629 Z Zero U Connection Ports 74 Zero U Products 2...


