Chapter 6: Using the Web Interface
207
Disabling an Inlet (for Multi-Inlet PDUs)
The PX, if it has more than one inlet, enables all inlets by default so that
the PX detects and displays all sensors' readings and states, and reports
or shows warnings, events or alarm notifications associated with all inlets,
outlets and overcurrent protectors (if available).
After disabling an inlet, the following information or feature is no longer
available:
All of the sensor readings, states, warnings, event or alarm
notifications associated with the disabled inlet
All of the sensor readings, states, warnings, event or alarm
notifications for the outlets and overcurrent protectors associated
with the disabled inlet
The outlet-switching functionality, if available, for those outlets
associated with the disabled inlet
Exception: All active energy sensors continue to accumulate data
regardless of whether any inlet has been disabled.
Warning: A disabled inlet, if remaining connected to a power source,
continues to receive power from the connected power source and
supplies power continuously to the associated outlets and overcurrent
protectors.
To disable an inlet:
1. Click the Inlets folder in the PX Explorer pane, and the Inlets page
opens in the right pane.
2. Select the inlet that you want to disable.
3. Click
Setup.
4. Select the "Disable this inlet" checkbox.
5. To disable additional inlets, repeat the above steps.
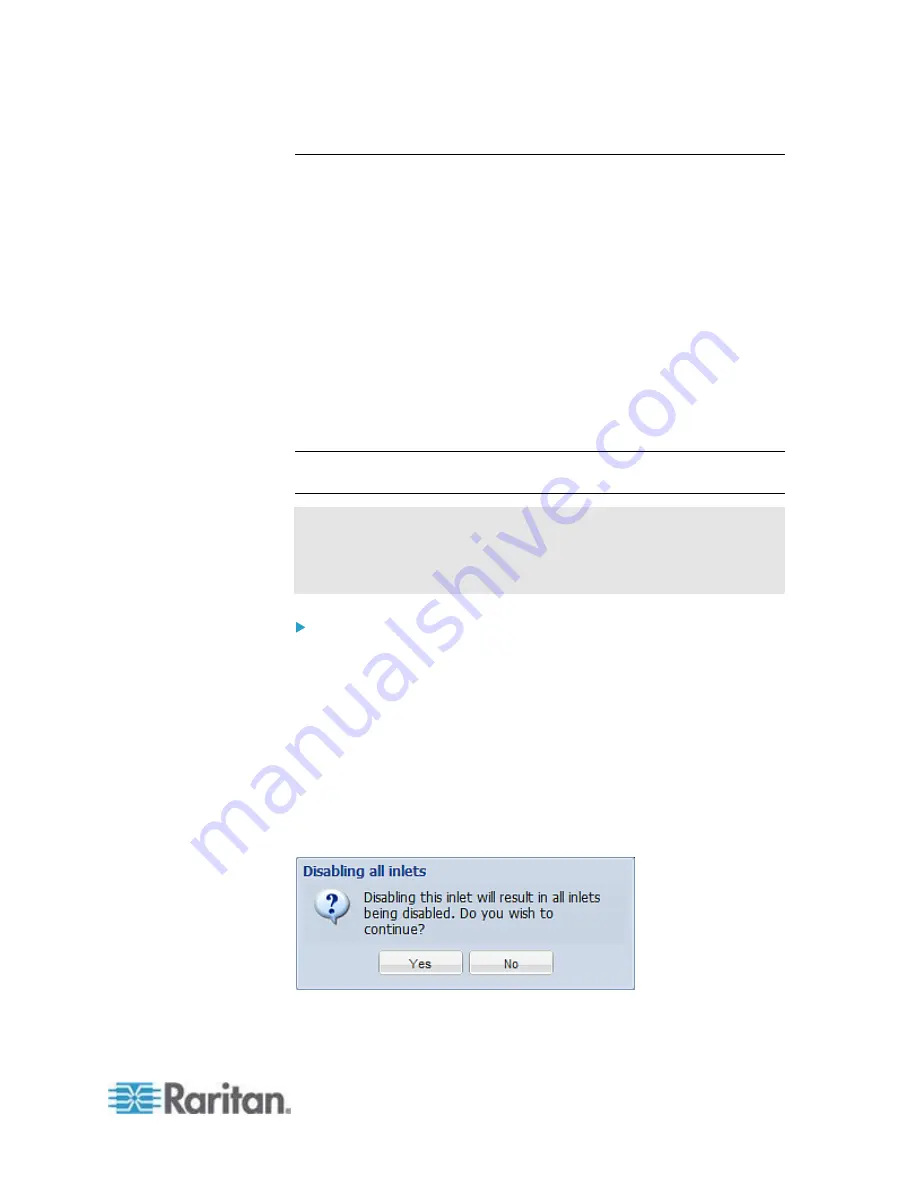
6. If disabling an inlet will result in all inlets being disabled, a
confirmation dialog appears, indicating that all inlets will be disabled.
Then click Yes to confirm this operation or No to abort it.
Содержание PX2-1000 SERIES
Страница 5: ......
Страница 71: ...Chapter 4 Connecting External Equipment Optional 52...
Страница 231: ...Chapter 6 Using the Web Interface 212 8 Click OK...
Страница 570: ...Appendix G LDAP Configuration Illustration 551 5 Click OK The PX_Admin role is created 6 Click Close to quit the dialog...
Страница 589: ...Appendix I RADIUS Configuration Illustration 570 Note If your PX uses PAP then select PAP...
Страница 590: ...Appendix I RADIUS Configuration Illustration 571 10 Select Standard to the left of the dialog and then click Add...
Страница 591: ...Appendix I RADIUS Configuration Illustration 572 11 Select Filter Id from the list of attributes and click Add...
Страница 594: ...Appendix I RADIUS Configuration Illustration 575 14 The new attribute is added Click OK...
Страница 595: ...Appendix I RADIUS Configuration Illustration 576 15 Click Next to continue...
Страница 627: ...Appendix K Integration 608 3 Click OK...
Страница 647: ...Index 629 Z Zero U Connection Ports 74 Zero U Products 2...


