Chapter 4: Connecting External Equipment (Optional)
64
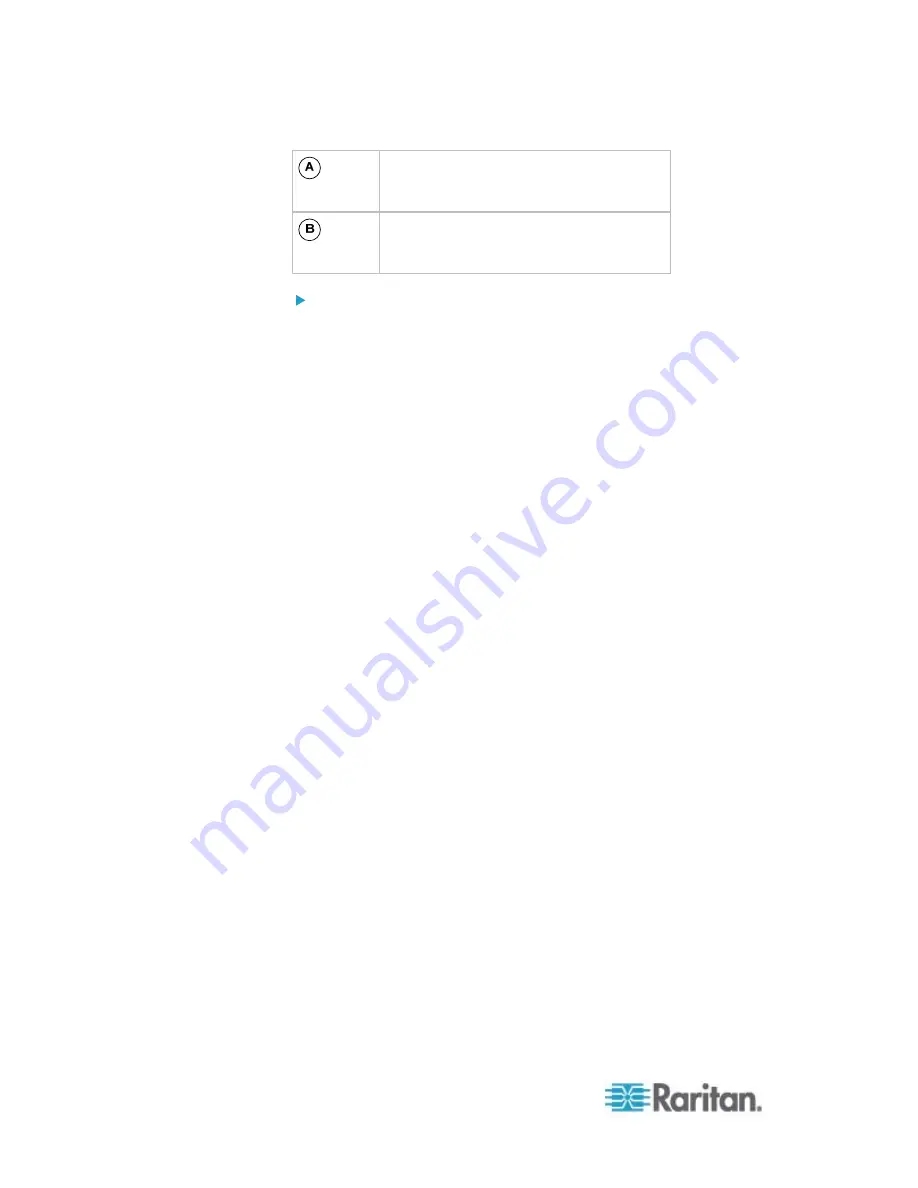
Two RJ-45 connectors
Tag ports
To connect composite asset sensors to the PX device:
1. Connect a composite asset sensor to the PX device via a standard
network patch cable (CAT5e or higher).
a. Connect one end of the cable to the RJ-45 port labeled "Input"
on the composite asset sensor.
b. Connect the other end of the cable to the FEATURE port on the
PX device.
2. Affix an asset tag to the IT device. Then connect this asset tag to the
composite asset sensor by plugging the tag connector into the tag
port on the composite asset sensor. For details, see
Connecting
Regular Asset Sensors to the PX
(on page 58).
3. If necessary, daisy chain
the same
type of composite asset sensors
to track more IT devices.
a. Get a standard network patch cable that is within 2 meters.
b. Connect one end of the network cable to the RJ-45 connector
labeled "Output" on the previous composite asset sensor.
c. Connect the other end of the cable to the RJ-45 connector
labeled "Input" on the subsequent composite asset sensor.
d. Repeat the above steps to connect more composite asset
sensors. See
Daisy-Chain Limitations of Composite Asset
Sensors
(on page 65) for the maximum number of composite
asset sensors supported per chain.
Содержание PX2-1000 SERIES
Страница 5: ......
Страница 71: ...Chapter 4 Connecting External Equipment Optional 52...
Страница 231: ...Chapter 6 Using the Web Interface 212 8 Click OK...
Страница 570: ...Appendix G LDAP Configuration Illustration 551 5 Click OK The PX_Admin role is created 6 Click Close to quit the dialog...
Страница 589: ...Appendix I RADIUS Configuration Illustration 570 Note If your PX uses PAP then select PAP...
Страница 590: ...Appendix I RADIUS Configuration Illustration 571 10 Select Standard to the left of the dialog and then click Add...
Страница 591: ...Appendix I RADIUS Configuration Illustration 572 11 Select Filter Id from the list of attributes and click Add...
Страница 594: ...Appendix I RADIUS Configuration Illustration 575 14 The new attribute is added Click OK...
Страница 595: ...Appendix I RADIUS Configuration Illustration 576 15 Click Next to continue...
Страница 627: ...Appendix K Integration 608 3 Click OK...
Страница 647: ...Index 629 Z Zero U Connection Ports 74 Zero U Products 2...


