


Adding Options 7-49
WARNING: Be sure that system power is
off and
the system and its peripherals are
unplugged before
you begin the installation procedure.
4.
Tag and unplug the power and signal cables attached to
any installed device in the internal device bracket.
5.
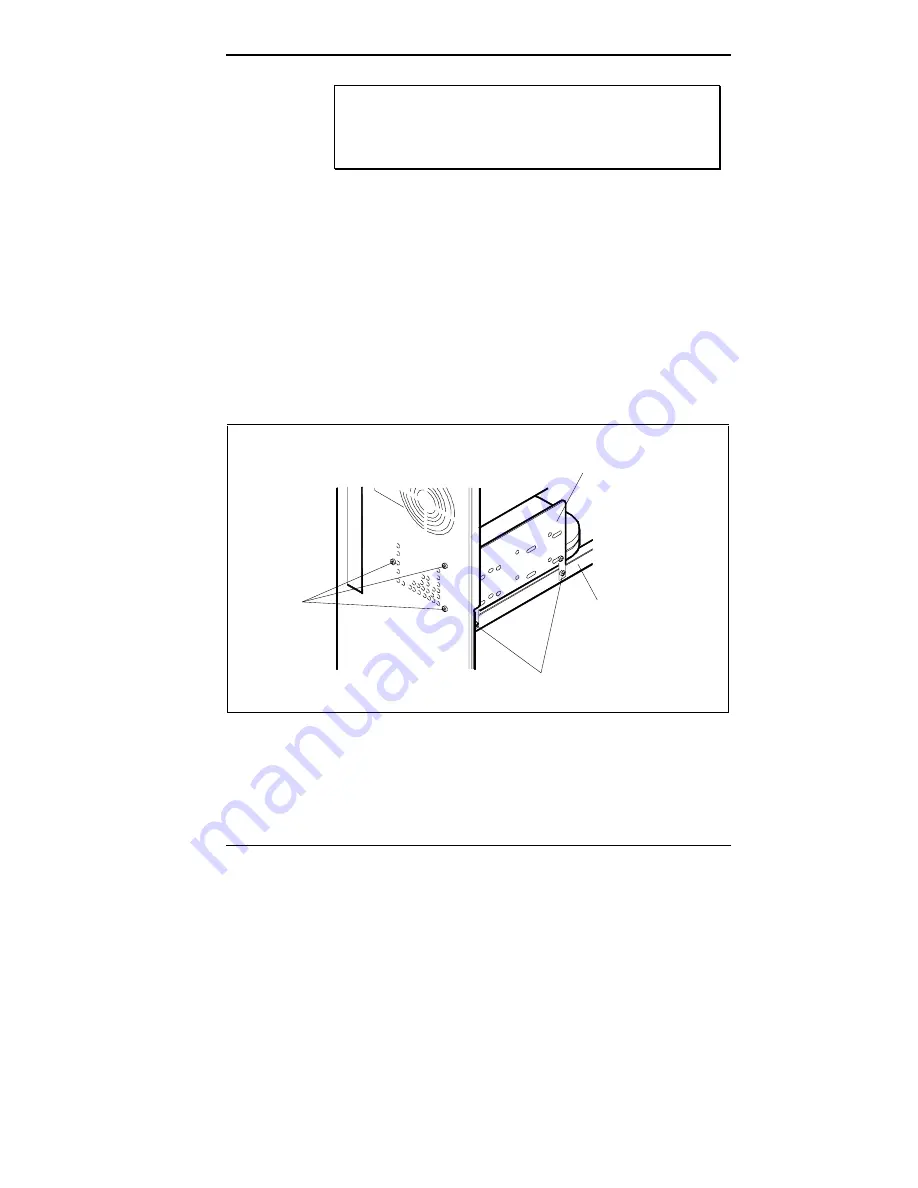
Remove the internal device bracket as follows:
■
Remove the three screws holding the device bracket
to the back of the chassis.
■
Remove the two screws holding the device bracket to
the bracket bar.
■
Remove the device bracket from the chassis.
Removing the device bracket screws
Screws
Screws
Internal Device
Bracket
Bracket Bar
Содержание IMAGE P100E - SERVICE
Страница 162: ...7 36 Adding Options Adding Options 7 ...
Страница 167: ...Adding Options 7 41 Removing the front panel screws Front Panel Screws ...
Страница 229: ...Glossary 11 write protection Allows reading from a diskette but prevents writing to a diskette ...
Страница 234: ...Index 5 Voltage selector switch 2 9 W Warranty B 8 Work environment A 1 A 7 ...


