


2.
The Export Dialog is displayed.
3.
An automatic file name will be generated.
4.
Choose a location to save the file to.
5.
The Report will be saved as a PDF file.
Images in the Worksheet
Configuring a P-Button to save images to the Worksheet:
1.
Select
Connectivity
.
2.
Select the
Button Configuration
tab.
3.
Choose a P-Button and check
Save to Worksheet with P
.
4.
Save and exit.
A symbol is displayed on the monitor next to the corresponding P-Button.
Adding an image from the Clipboard to the Worksheet:
1.
If checked the image will be added to the Worksheet.
2.
Move the mouse over an image in the clipboard and use the small trackball buttons
Add
/
Remove
to add or remove images to/from the Worksheet. Or check or uncheck the icon
next to the image displayed on the monitor by pressing the trackball button
Set
.
Adding an image from the Archive to the Worksheet:
1.
Select individual images by checking the icon next to an image or press
Select all
images
and then press
Add to Worksheet
.
10.4.1 Fetal Anatomy
The content of the
Fetal Anatomy
Worksheet depends on the selected measure presets.
Select and adjust the settings as you prefer (i.e.
Head/ Neck
,
Face
,...). If a worksheet of a
previous exam is opened, the content of this Fetal Anatomy exam is displayed.
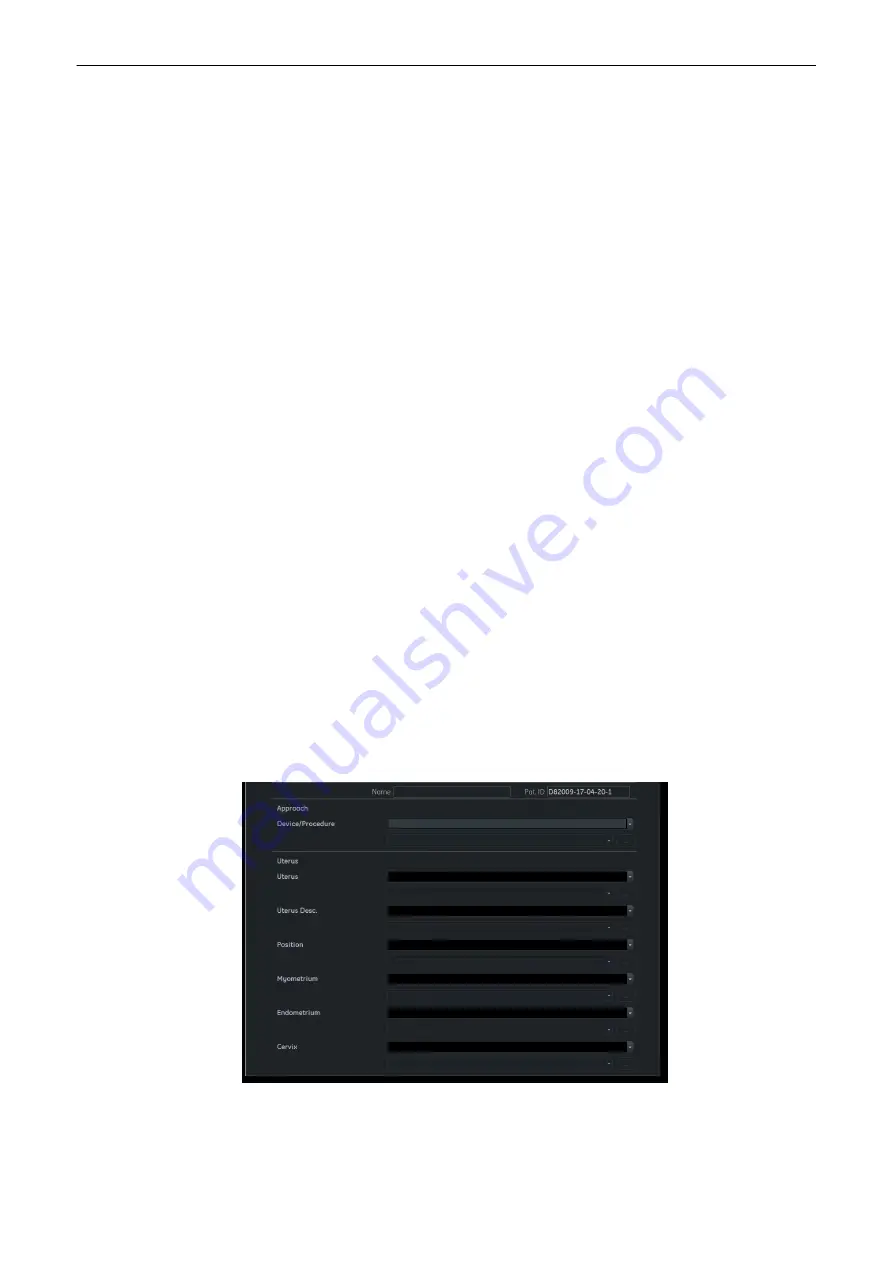
10.4.2 Findings Worksheet
Select
GYN
in the Worksheet/Report menu and press
Findings
to display the Findings
Worksheet.
Figure 10-8 Findings Worksheet
The content of the
Findings
worksheet depends on the on the selected measure configuration.
Select and adjust the settings as you prefer (i.e.
Uterus
,
Position
,....) by selecting the desired
Measurements and Calculations
10-22
Voluson™ SWIFT / Voluson SWIFT+ Instructions For Use
5831612-100 Revision 4
Содержание Voluson Swift
Страница 343: ......


