Using the Scan Assistant
1.
Start the exam by scanning the first item of the first category.
2.
When the item is scanned, freeze the image and press the P-Button configured for
confirming.
3.
The item will be checked and the next item turns green.
4.
Scan all items of the category and move to the next category. If the items cannot be
scanned in the predefined order, use by tapping an item or change between groups
using the on screen arrows.
5.
Press
End Exam
to finish. A summary of the Scan Assistant is displayed on the screen
showing all (not) examined categories and items.
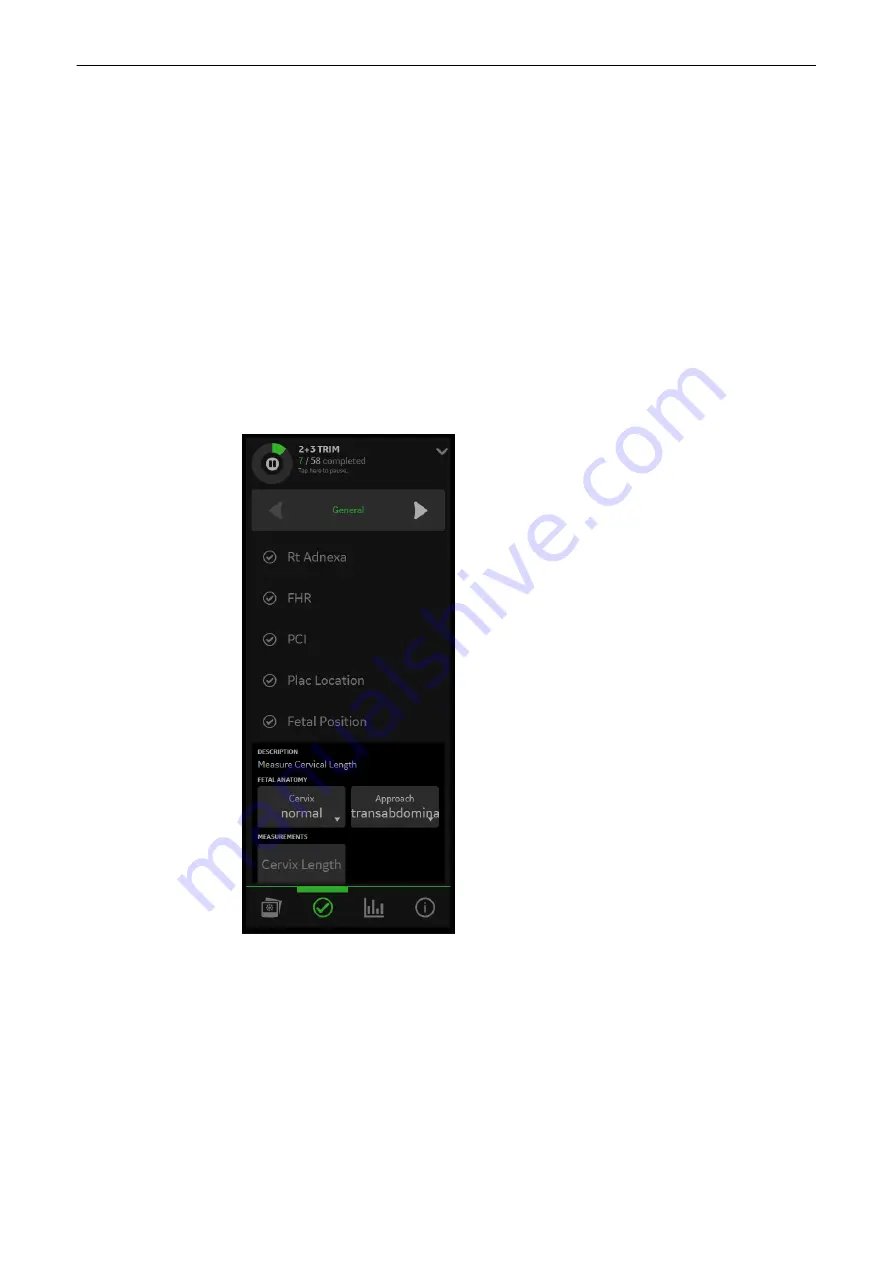
Scan Assistant Menu
If an exam in the Scan Assistant list is active, it is possible to swipe the Scan Assistant menu .
Note
When an exam is reloaded from the archive, no Scan Assistant screen is displayed.
Figure 7-1 Scan Assistant
When a new item is selected/confirmed which includes a mode change or a wrong probe
connected, the system displays a message informing the user about the issue (e.g. to select a
certain mode manually or to connect the correct probe,...).
Note
The progress bar shows the progress of items.
Note
Optional items are labeled "optional" and differ in appearance.
Image management
Voluson™ SWIFT / Voluson SWIFT+ Instructions For Use
5831612-100 Revision 4
7-3
Содержание Voluson Swift
Страница 343: ......