


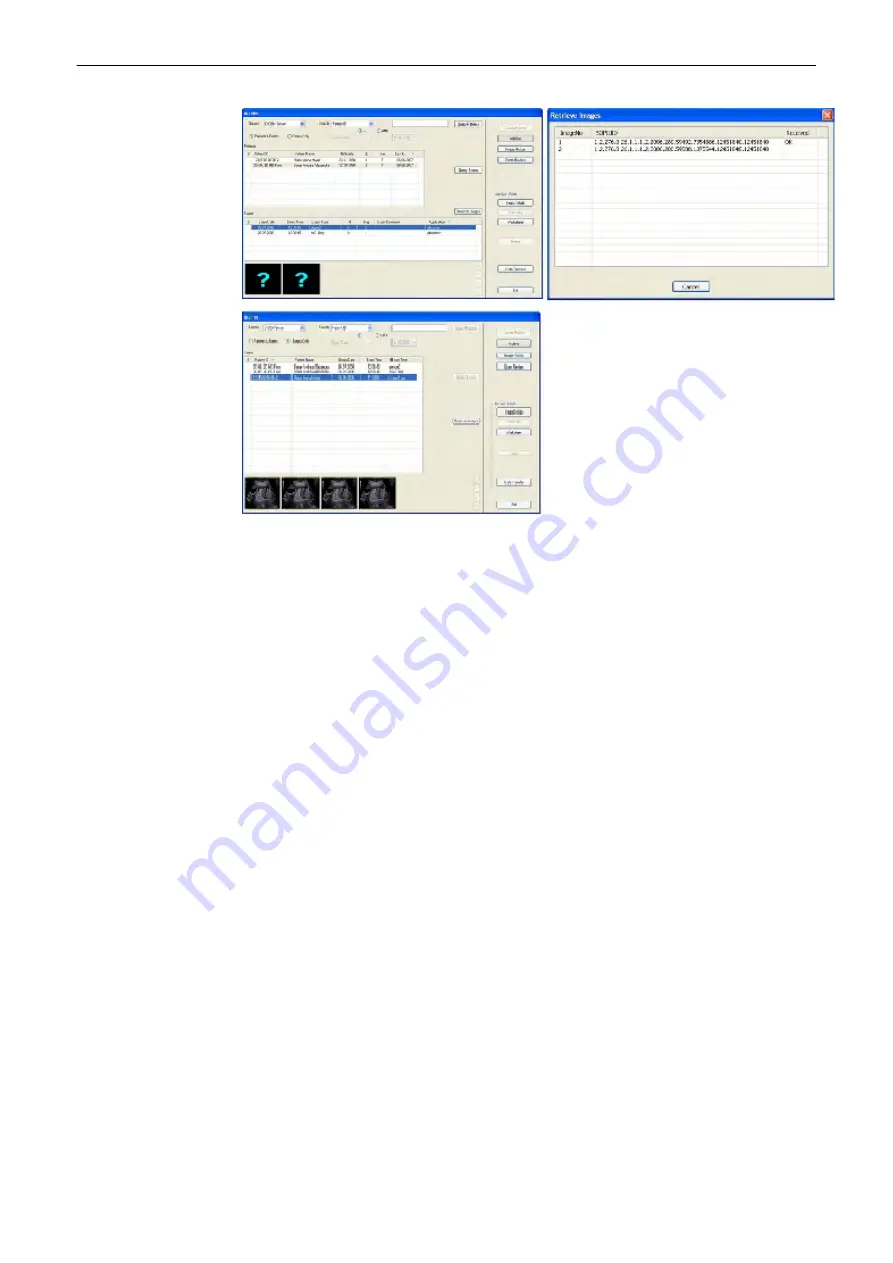
Figure 9-7 DICOM Server Workflow
Using DICOM Server
1.
Select a search criteria category from the reduced search drop down.
2.
Enter search criteria.
3.
Press
Query Patients
. (This is only possible in
Patients & Exams
View)
4.
The list of patients is filled with the patients from the DICOM Server that match the given
criteria. (Field
E
and
Last Exam
are empty because the exams belonging to this patient
are yet unknown.)
5.
Select one or more patients from the list. (In the
Archive Patient
Area, all buttons except
data transfer are disabled.)
6.
Press
Query Exams
. (This is only possible in
Patients & Exams
view)
7.
The list of exams is filled with the exams of the selected patient. If more than one patient
is selected, exams for these patients are available when switching between patients.
8.
It is possible to switch between
Patients & Exams
and
Exams only
view. The exams are
listed in both views.
9.
Select one or more exams from the list.
10. Press the
Retrieve Images
button.
11. A dialog with a list of images that are retrieved and a status indication is displayed
12. The process of retrieving images can be canceled by pressing
Cancel
.
13. After the images are retrieved the dialog vanishes and thumbnails of the retrieved
images are displayed instead.
14. The image data is now available locally. It can be reviewed in the
Exam Review
and
Image History
part of the archiving system.
15. In the
Archive Image
all buttons are now enabled.
16. Go to Data Transfer. The
Import
button is now available.
Archive
9-14
Voluson™ SWIFT / Voluson SWIFT+ Instructions For Use
5831612-100 Revision 4
Содержание Voluson Swift
Страница 343: ......


