14
ENGLISH
ENGLISH
3
w
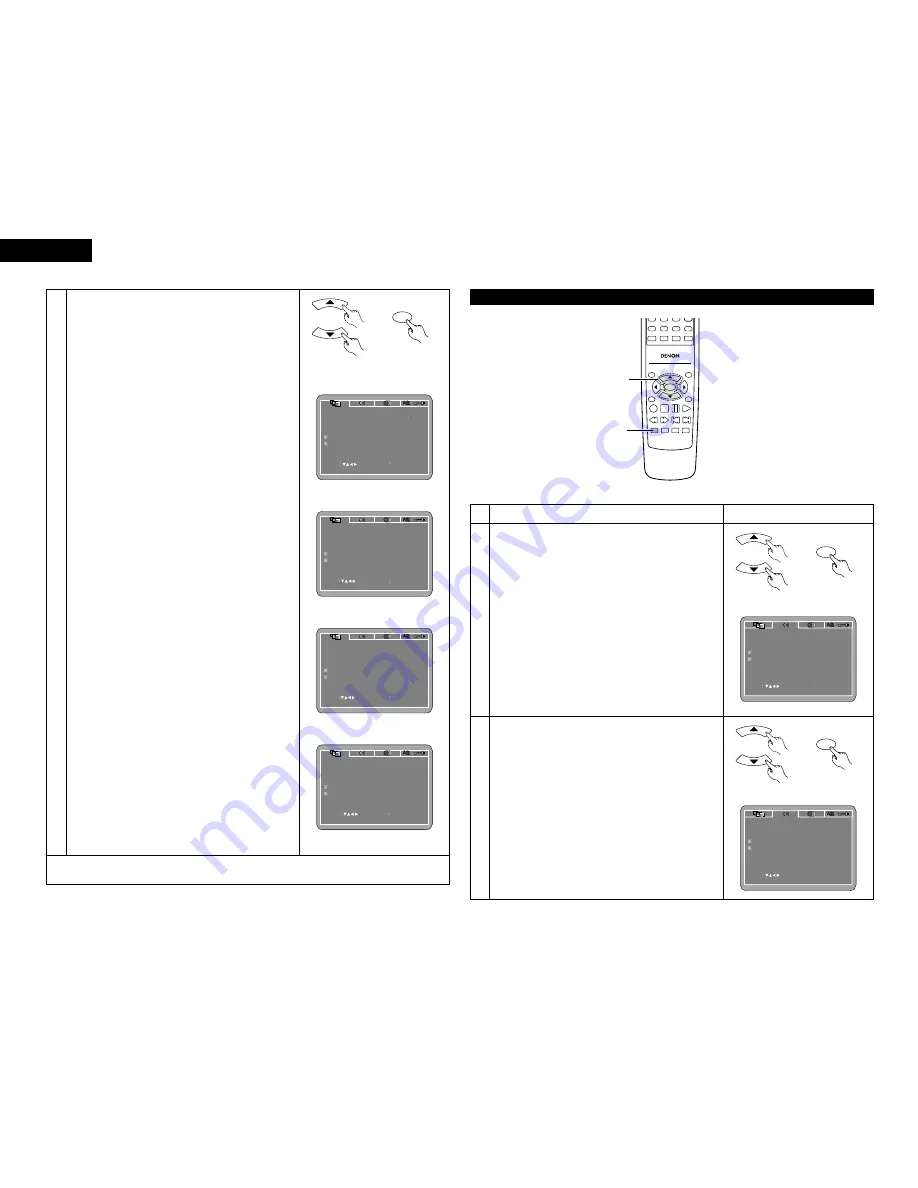
When “TV TYPE” is selected:
Press the ENTER button several times and select the
type.
PAL (Factory default)
Select this when your TV’s video format is PAL.
If PAL is selected, output format is fixed to PAL.
NTSC
Select this when your TV’s video format is NTSC.
If NTSC is selected, output format is fixed to NTSC.
MULTI
Select this when your TV is compatible with both the
NTSC and PAL formats.
If you play the disc recorded NTSC format, signal from
video output terminal will be switched to NTSC is
selected, output format is fixed to NTSC.
e
When “VIDEO OUT” is selected:
Press the ENTER button several times and select the
video out.
S-VIDEO (Factory default)
Video signals are output from the S-VIDEO output
connector.
COMPONENT
Video signals are output from the color component output
connectors.
RGB
Video signals are output from the 21-pin SCART
connector.
* The VIDEO OUT setting cannot be made when
“P.SCAN” is lit on the front panel display. Press the
“SHIFT” and “P.SCAN” button on the front panel to
turn off “P.SCAN”
r
When “VIDEO MODE” is selected:
Press the ENTER button several times and select the
video mode.
AUTO (Factory default)
The set identifies the type of material on the disc being
played (film or video) and selects the mode automatically.
This mode is suited for playing discs containing both film
and video material.
FILM
This mode is best suited for playing discs containing film
material or video material recorded with the progressive
scan method.
VIDEO
This mode is best suited for playing discs containing video
material.
t
When “SLIDE SHOW” is selected:
Press the ENTER button several times and select the
slide switching interval.
The time interval can be set within 5 and 15 seconds.
(The factory default setting is 5 seconds.)
NOTE:
• If stripes of noise appear on the picture or the picture is
unclear when playing a specific DVD video disc, try
changing the video mode.
VIDEO SETUP
TV ASPECT
VIDEO OUT
SLIDE SHOW
TV TYPE
VIDEO MODE
SET TV TYPE
4 3 PS
SET ENT E R BUTTON
SELECT
MULTI
S-VIDEO
AUTO
5 SEC
VIDEO SETUP
TV ASPECT
VIDEO OUT
SLIDE SHOW
TV TYPE
VIDEO MODE
SET ENT E R BUTTON
SELECT
SET VIDEO OUT
4 3 PS
MULTI
S-VIDEO
AUTO
5 SEC
VIDEO SETUP
TV ASPECT
VIDEO OUT
SLIDE SHOW
TV TYPE
VIDEO MODE
SELECT
SET ENT E R BUTTON
4 3 PS
SET SLIDE INTERVAL TIME
MULTI
S-VIDEO
AUTO
5 SEC
✽
To exit the setup mode
Press the RETURN or SETUP button.
When “AUDIO SETUP” is selected
TOP MENU
/PBC
MENU
RETURN
ANGLE
DISPLAY STOP STILL /PAUSE
PLAY
RC-963
7
8
9
0
+10
A-B REPEAT
REPEAT
AUDIO
SUBTITLE
ENTER
SETUP NTSC/PAL ZOOM SLIDE SHOW
SLOW/SEARCH
SKIP
RANDOM
CLEAR
2,3
1
2
Use the
•
and
ª
cursor buttons to select the desired setting.
DIGITAL OUT
Use this to select the digital output’s signal format.
96k LPCM OUT
Use this to set the digital audio output when playing DVDs
recorded in linear PCM audio.
DOWNMIX
Set this when connecting the unit to a stereo device.
COMPRESSION
Use this to set the dynamic range output when playing
discs.
NOTE:
• Downmix and compression are displayed when the
“SETUP MENU MODE” at “SYSTEM SETUP” is set to
“EXPERT”.
3
q
When “DIGITAL OUT” is selected:
Press the ENTER button several times and select the
output format.
NORMAL
When playing DVDs recorded in Dolby Digital or DTS,
bitstream signals are output from the digital audio output
terminals. When playing DVDs recorded in linear PCM,
linear PCM signals are output.
Select “NORMAL” when making digital connections to an
AV amplifier with built-in Dolby Digital and DTS decoder.
PCM (Factory default)
When playing Dolby Digital bitstream signals or DVDs
recorded in linear PCM, the signals are converted into 48
kHz/16-bit PCM (2-channel) signals and output from the
digital outputs. When playing DVDs recorded in PCM,
linear PCM signals are output.
1
See page 12.
SET ENT E R BUTTON
SELECT
AUDIO SETUP
DIGITAL OUT
DOWNMIX
96K LPCM OUT
COMPRESSION
PCM
96K
LT/RT
OFF
SET DIGITAL OUT
SET ENT E R BUTTON
SELECT
AUDIO SETUP
DIGITAL OUT
DOWNMIX
96K LPCM OUT
COMPRESSION
PCM
96K
LT/RT
OFF
SET DIGITAL OUT
VIDEO SETUP
TV ASPECT
VIDEO OUT
SLIDE SHOW
TV TYPE
VIDEO MODE
SET ENT E R BUTTON
SELECT
SET VIDEO MODE
4 3 PS
MULTI
S-VIDEO
AUTO
5 SEC
Remote control unit
ENTER
Remote control unit
Remote control unit
ENTER
Remote control unit
Remote control unit
ENTER
Remote control unit


