Specifying Paper Size and Type in the Multi-Purpose
Tray
0U6X-013
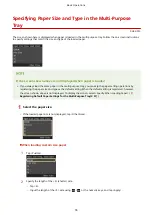
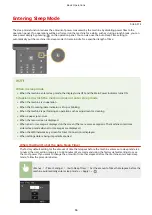
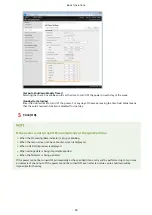
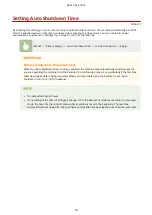
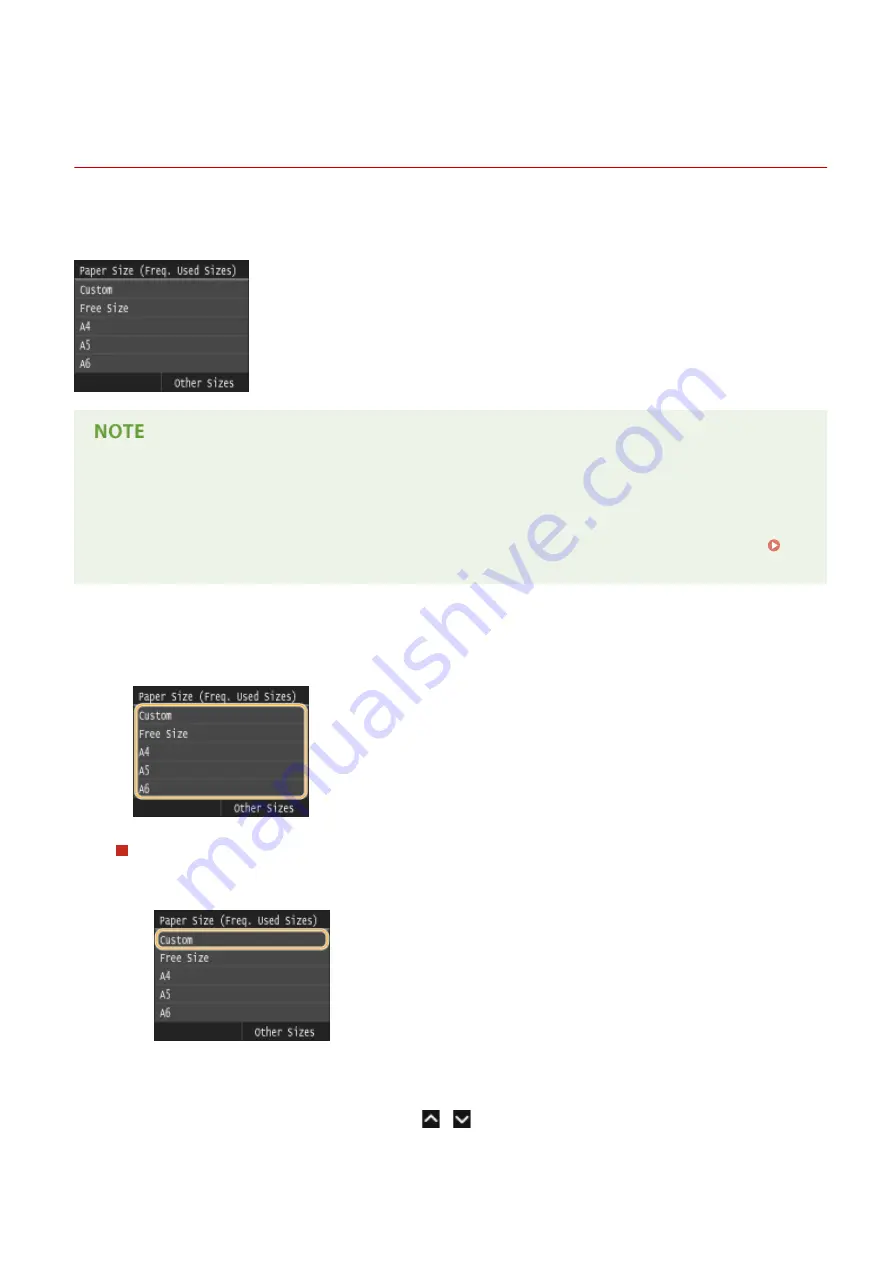
The screen shown here is displayed when paper is loaded in the multi-purpose tray. Follow the on-screen instructions
to specify settings that match the size and type of the loaded paper.
If the screen shown above is not displayed when paper is loaded
●
If you always load the same paper in the multi-purpose tray, you can skip the paper setting operations by
registering the paper size and type as the default setting. When the default setting is registered, however,
the screen shown above is not displayed. To display the screen, select <Specify When Loading Paper> (
Registering Default Paper Settings for the Multi-Purpose Tray(P. 57) ).
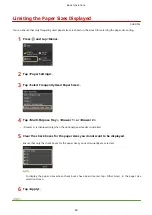
1
Select the paper size.
●
If the loaded paper size is not displayed, tap <Other Sizes>.
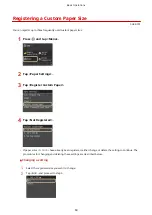
When loading custom size paper
1
Tap <Custom>.
2
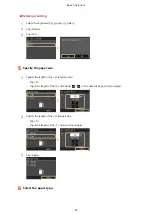
Specify the length of the <X> (shorter) side.
●
Tap <X>.
●
Input the length of the <X> side using
/
or the numeric keys, and tap <Apply>.
Basic Operations
55
Содержание LBP253 Series
Страница 1: ...LBP253x User s Guide USRMA 0769 00 2016 06 en Copyright CANON INC 2015 ...
Страница 32: ...Main Power indicator Lights when the machine is turned ON LINKS Using the Display P 30 Basic Operations 26 ...
Страница 79: ...Printing 73 ...
Страница 105: ...LINKS Basic Printing Operations P 74 Printing Borders P 97 Printing Watermarks P 100 Printing 99 ...
Страница 121: ...LINKS Printing via Secure Print P 116 Printing 115 ...
Страница 131: ...LINKS Basic Printing Operations P 74 Registering Combinations of Frequently Used Print Settings P 122 Printing 125 ...
Страница 183: ...4 Click Edit in IPv6 Settings 5 Select the Use IPv6 check box and configure the required settings Network 177 ...
Страница 197: ...3 Click OK 4 Click Close LINKS Setting Up Print Server P 192 Network 191 ...
Страница 273: ...LINKS Configuring Settings for Key Pairs and Digital Certificates P 273 IPSec Policy List P 441 Security 267 ...
Страница 381: ...Troubleshooting 375 ...
Страница 433: ...4 Install the toner cartridge Fully push it in until it cannot go any further 5 Close the front cover Maintenance 427 ...
Страница 467: ...For more information about this function see Basic Printing Operations P 74 Appendix 461 ...
Страница 498: ...4 Click Next Uninstall begins Wait a moment This process may take some time 5 Click Exit 6 Click Back Exit Appendix 492 ...
Страница 499: ...Appendix 493 ...
Страница 506: ...Manual Display Settings 0U6X 0HF Appendix 500 ...


