4
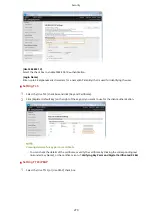
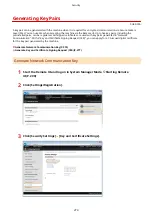
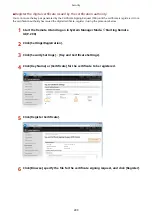
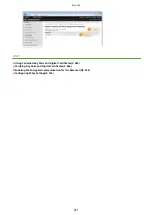
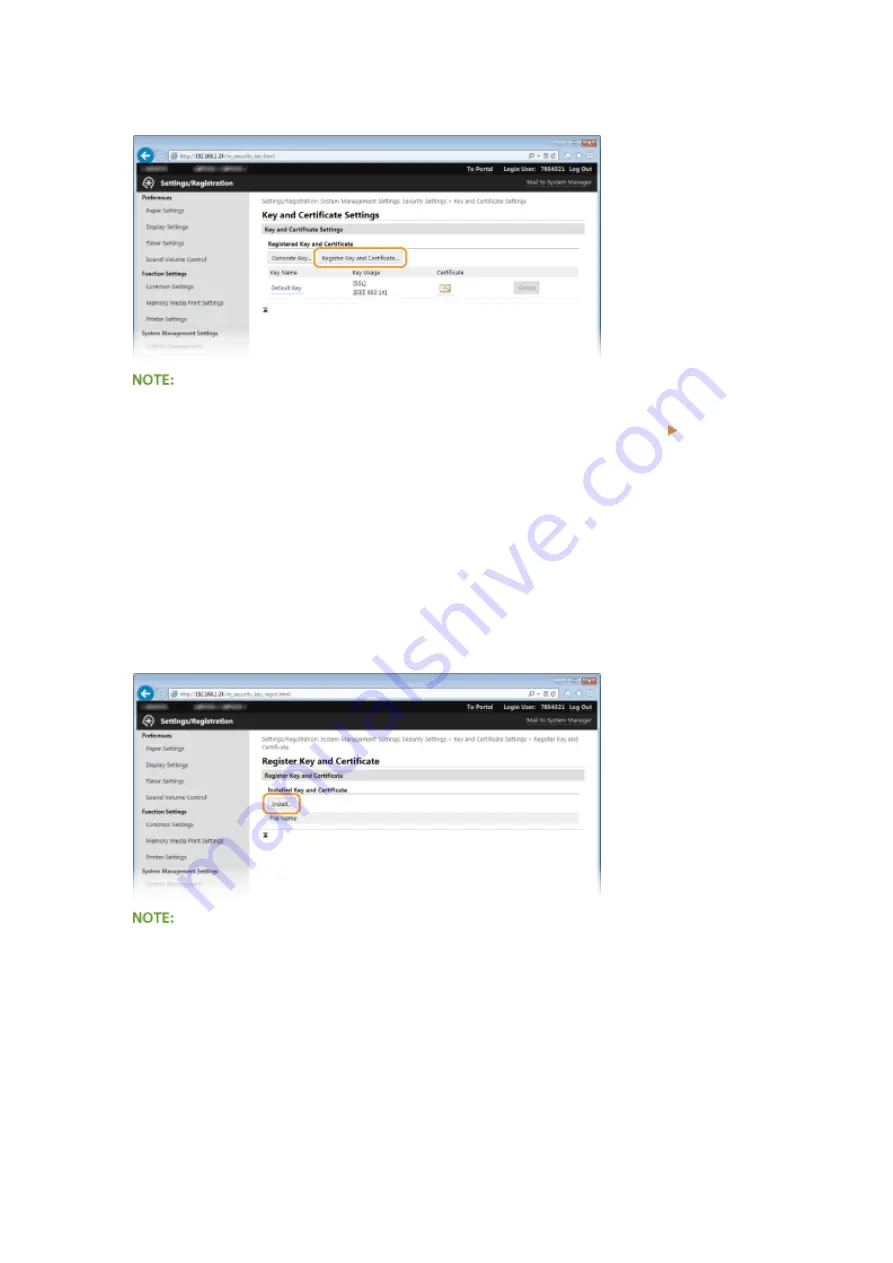
Click [Register Key and Certificate] or [Register CA Certificate].
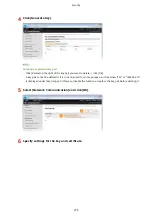
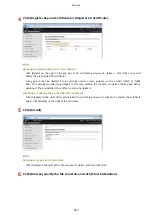
Deleting a registered key pair or CA certificate
●
Click [Delete] on the right of the key pair or CA certificate you want to delete click [OK]. You cannot
delete the preinstalled CA certificates.
●
A key pair cannot be deleted if it is currently used for some purpose, such as when "[SSL]" or "[IEEE
802.1X]" is displayed under [Key Usage]. In this case, disable the function or replace the key pair before
deleting it. The preinstalled CA certificate cannot be deleted.
Disabling or enabling the preinstalled CA certificates
●
Click [Disable] on the right of the preinstalled CA certificate you want to disable. To enable the certificate
again, click [Enable] on the right of the certificate.
5
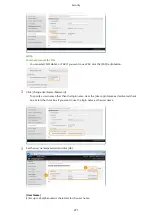
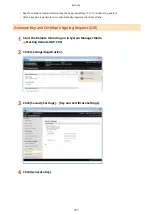
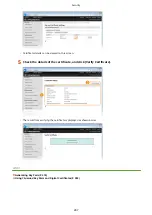
Click [Install].
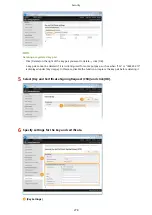
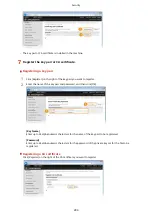
Deleting a key pair or CA certificate
●
Click [Delete] on the right of the file you want to delete, and then click [OK].
6
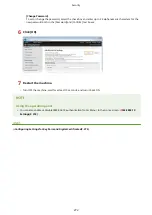
Click [Browse], specify the file to install, and click [Start Installation].
Security
283
Содержание LBP253 Series
Страница 1: ...LBP253x User s Guide USRMA 0769 00 2016 06 en Copyright CANON INC 2015 ...
Страница 32: ...Main Power indicator Lights when the machine is turned ON LINKS Using the Display P 30 Basic Operations 26 ...
Страница 79: ...Printing 73 ...
Страница 105: ...LINKS Basic Printing Operations P 74 Printing Borders P 97 Printing Watermarks P 100 Printing 99 ...
Страница 121: ...LINKS Printing via Secure Print P 116 Printing 115 ...
Страница 131: ...LINKS Basic Printing Operations P 74 Registering Combinations of Frequently Used Print Settings P 122 Printing 125 ...
Страница 183: ...4 Click Edit in IPv6 Settings 5 Select the Use IPv6 check box and configure the required settings Network 177 ...
Страница 197: ...3 Click OK 4 Click Close LINKS Setting Up Print Server P 192 Network 191 ...
Страница 273: ...LINKS Configuring Settings for Key Pairs and Digital Certificates P 273 IPSec Policy List P 441 Security 267 ...
Страница 381: ...Troubleshooting 375 ...
Страница 433: ...4 Install the toner cartridge Fully push it in until it cannot go any further 5 Close the front cover Maintenance 427 ...
Страница 467: ...For more information about this function see Basic Printing Operations P 74 Appendix 461 ...
Страница 498: ...4 Click Next Uninstall begins Wait a moment This process may take some time 5 Click Exit 6 Click Back Exit Appendix 492 ...
Страница 499: ...Appendix 493 ...
Страница 506: ...Manual Display Settings 0U6X 0HF Appendix 500 ...


